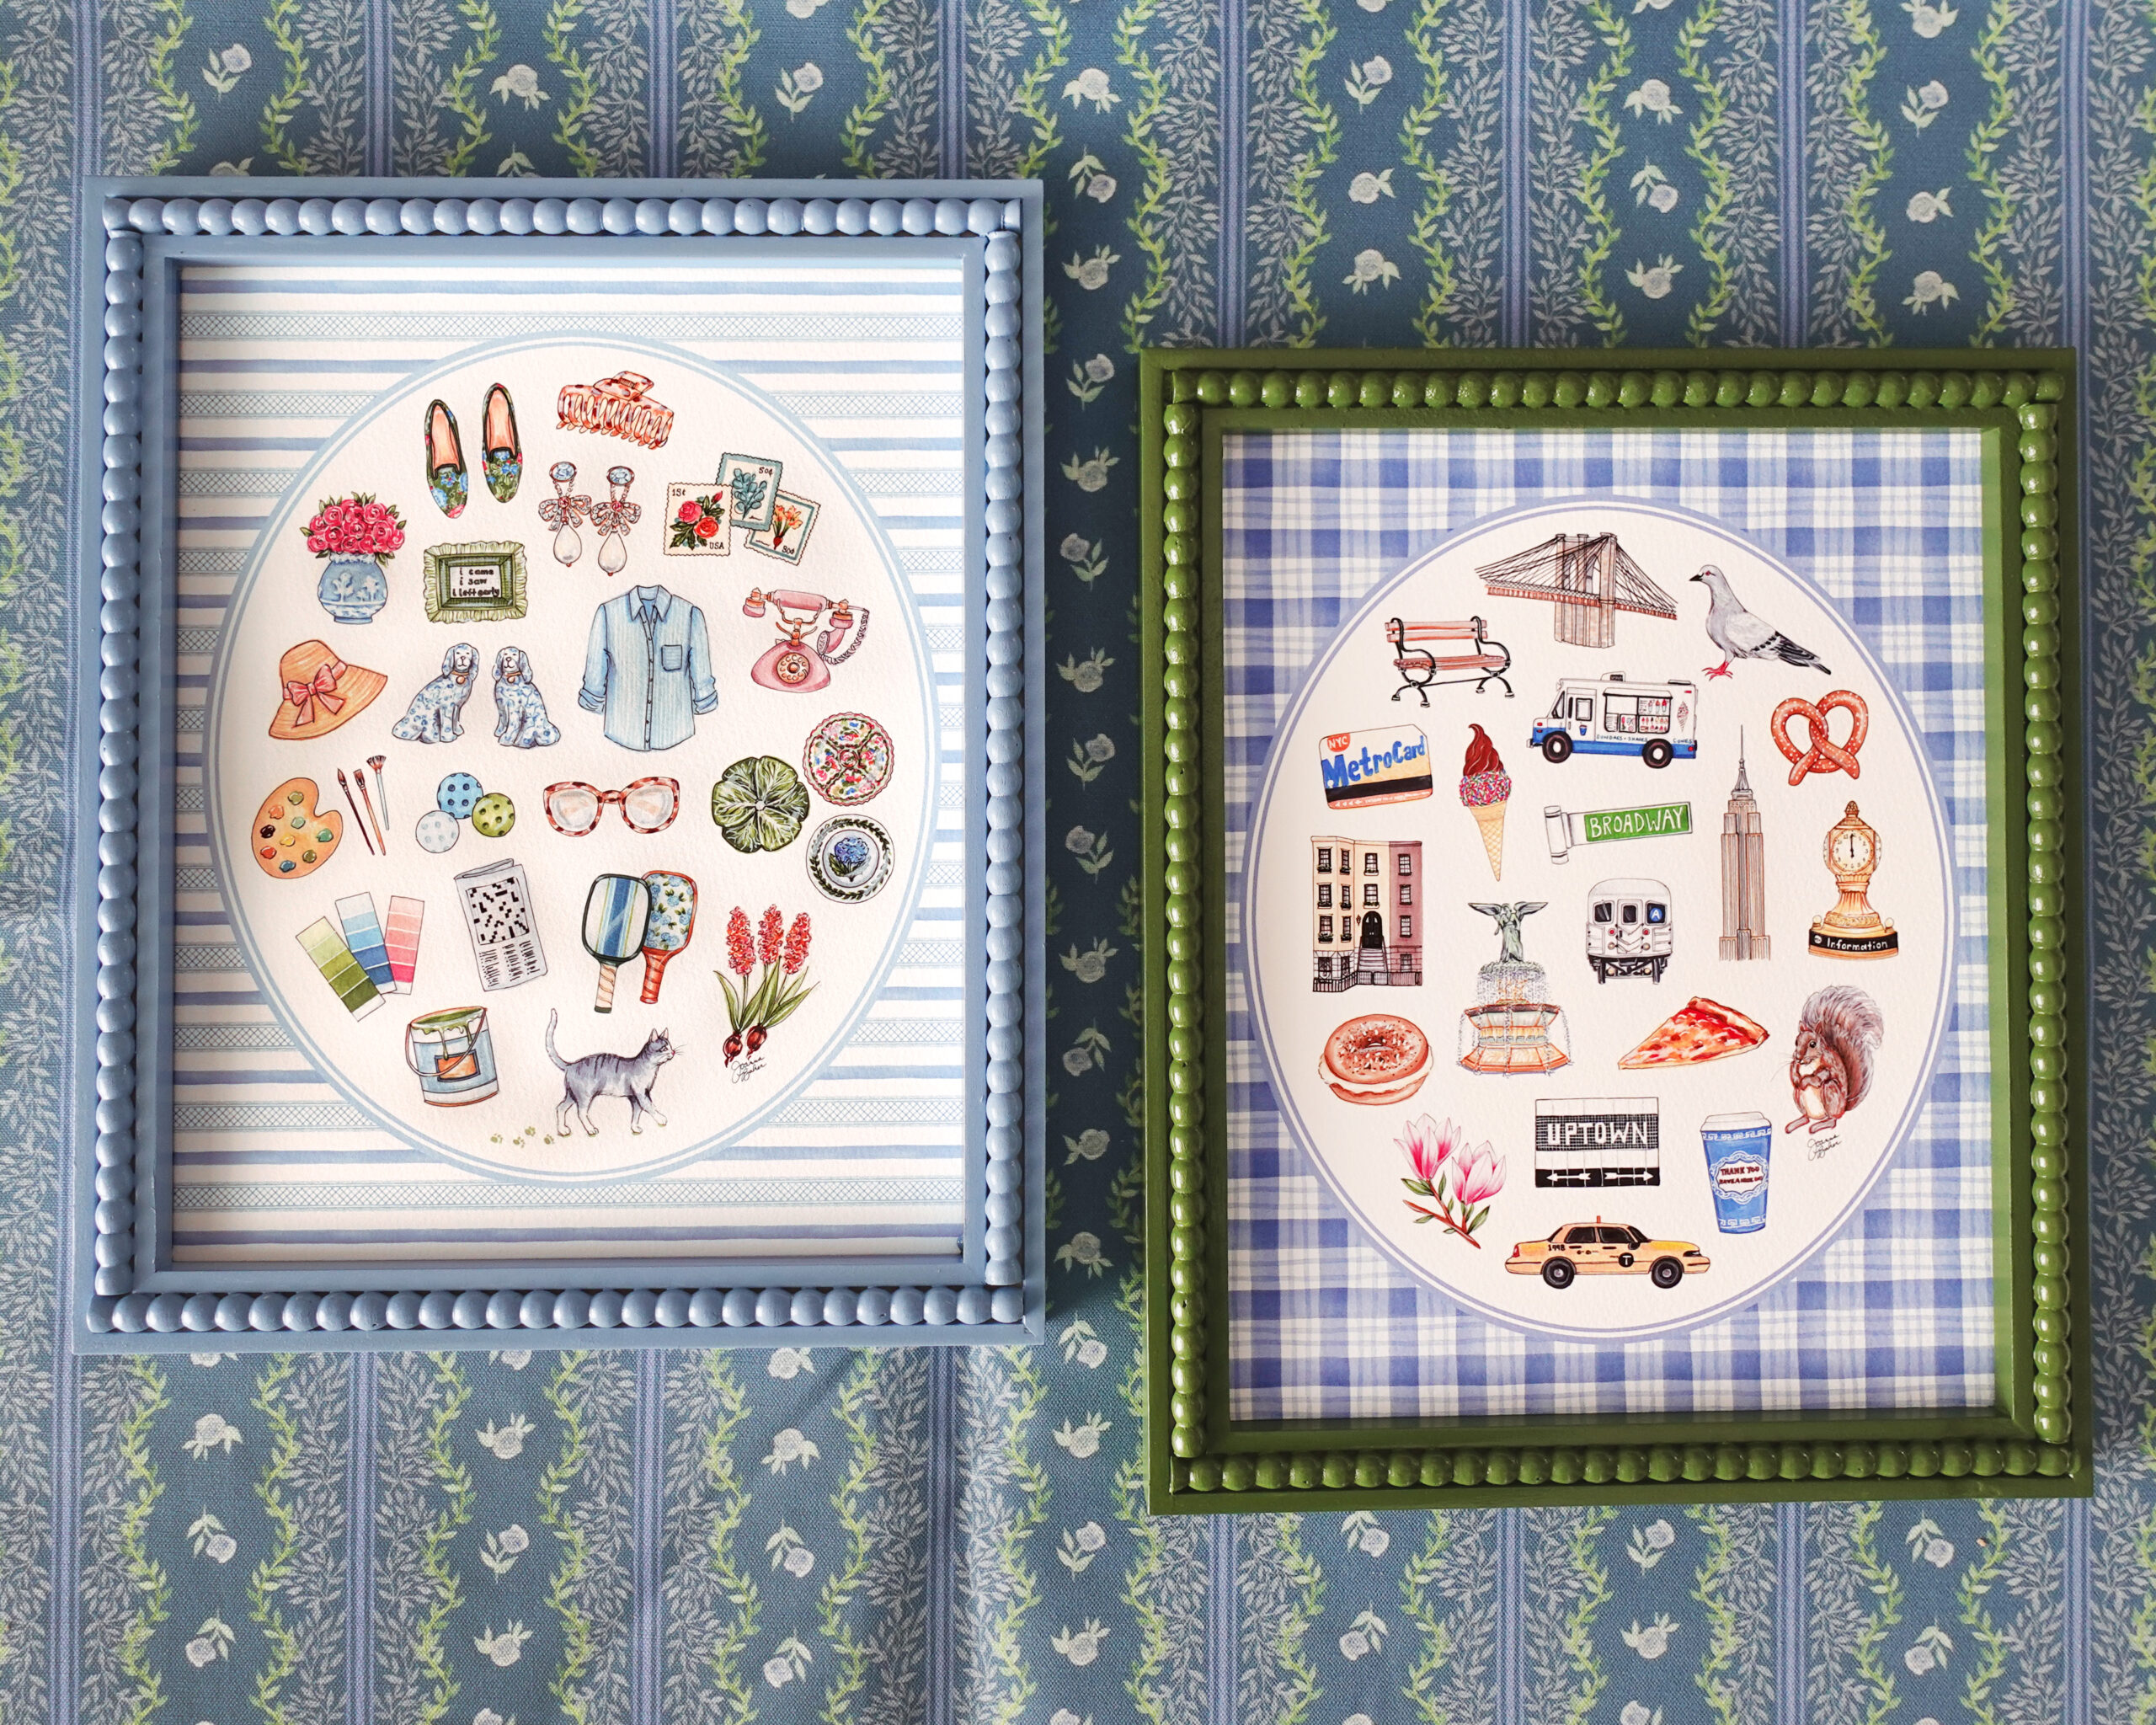
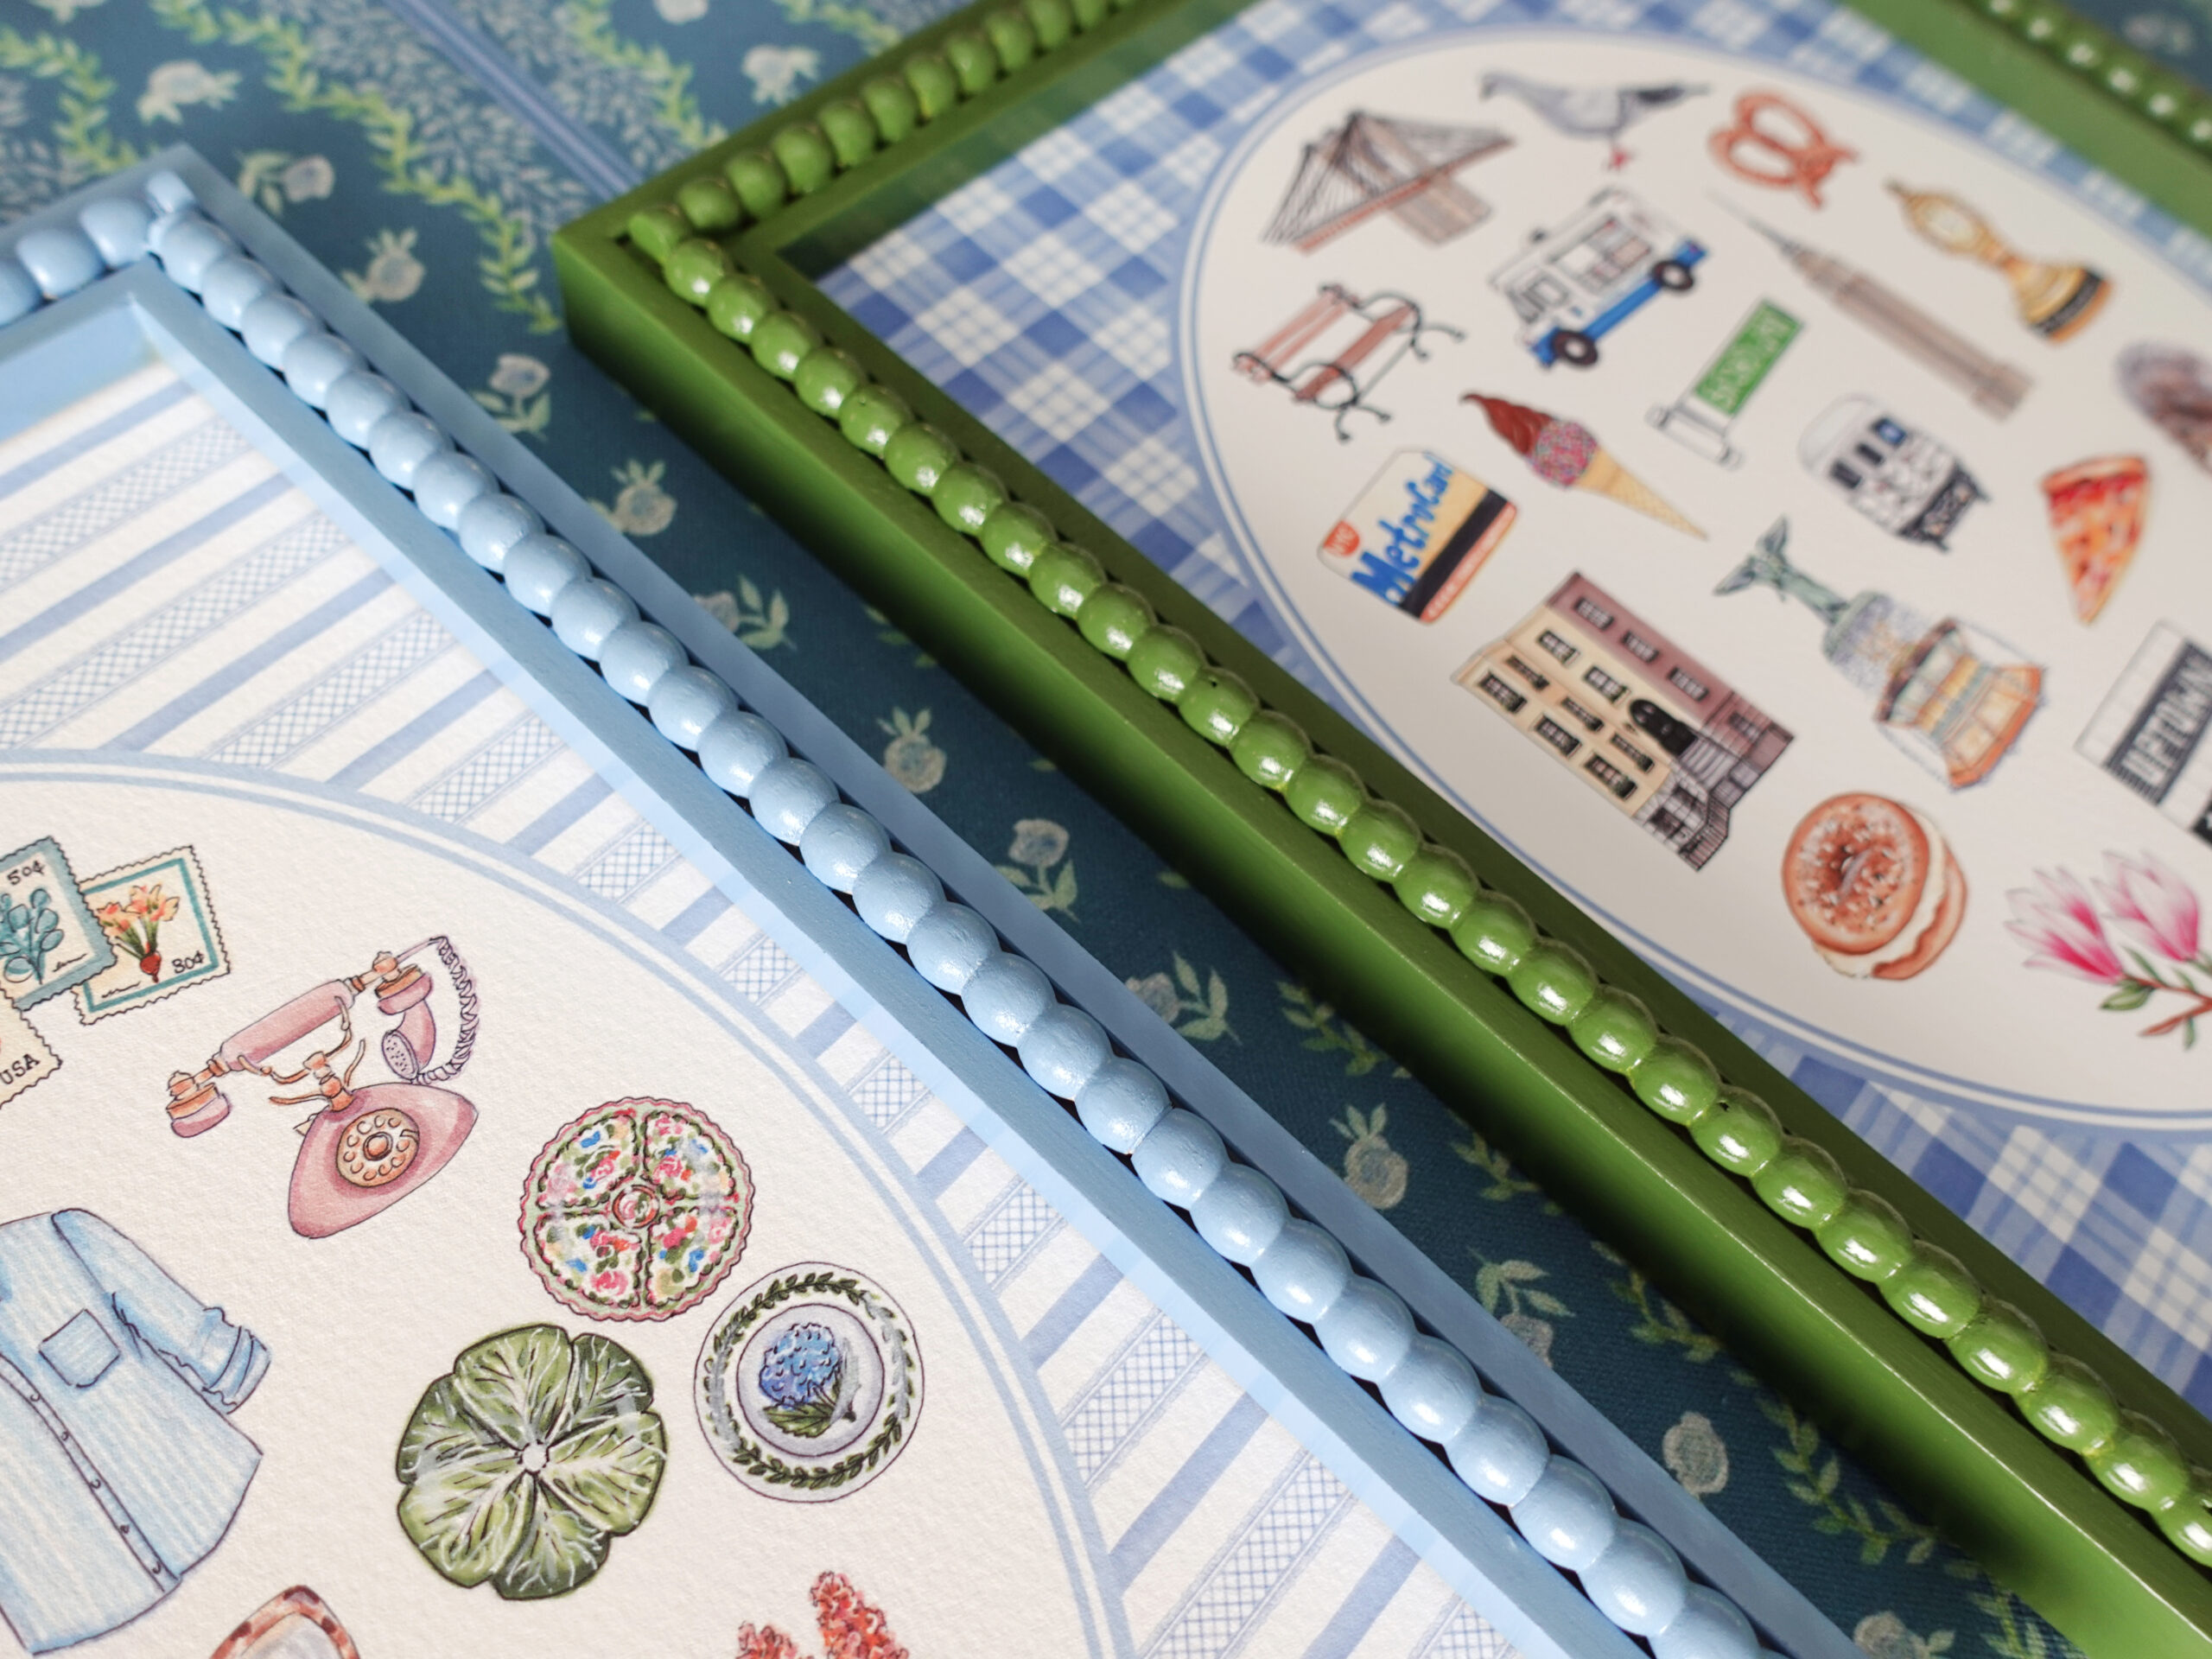
With my new art print collection launching in May, I wanted to add some pizazz to my listing photos by featuring them in fun new frames. I love how playful the bobbin style frames are and thought they’d be perfect for the new Favorite Things and updated alphabet prints. Awhile ago, one of my favorite interior design content creators, Alisa from A Glass of Bovino, created this DIY blog post all about how to make your own bobbin frame from scratch. I’ve had it bookmarked forEVER and finally decided to give it a go!
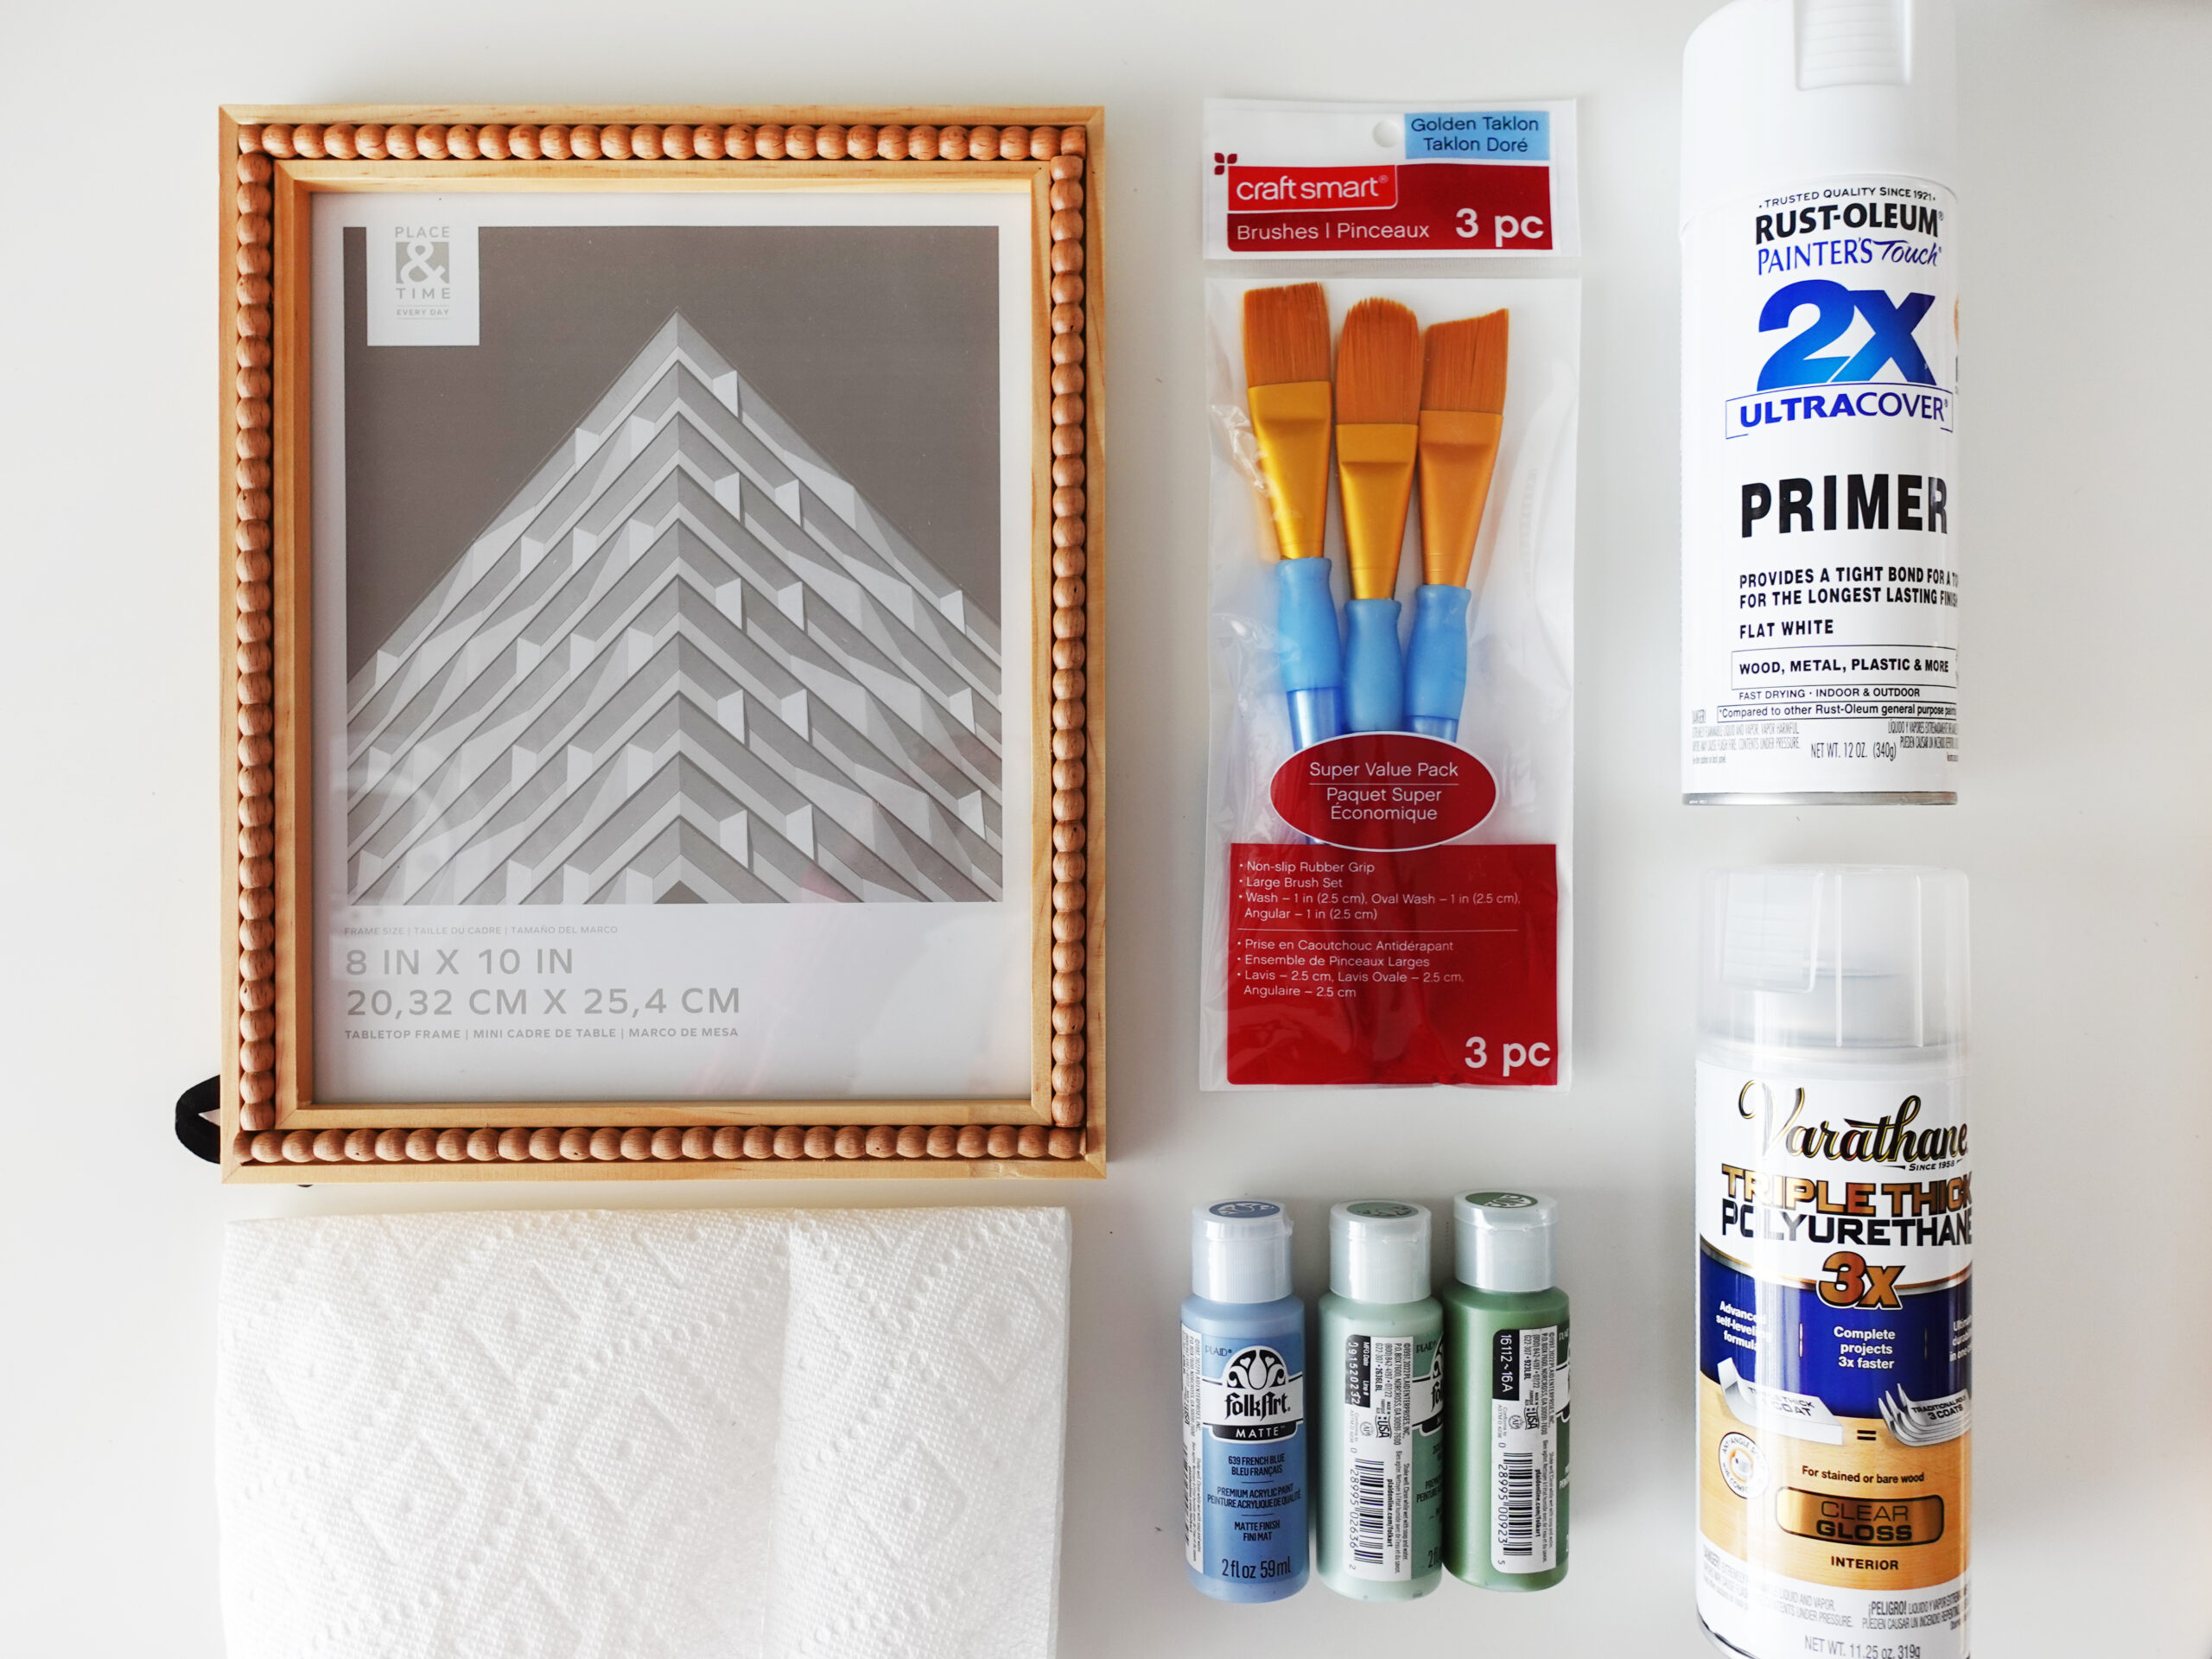
Instead of adding the little half domes to blank frames like Alisa did, I was able to find this amazing (and affordable) bobbin-inspired frame and since it was unfinished wood, I figured I could paint it just the same. As per her suggestions, I purchased this primer and this varnish. For paints, I went with an acrylic craft paint in French Blue & Clover Trefel, and picked up some brushes that I wouldn’t mind ruining (there are lots of little crevices to paint!) I also picked up acrylic craft paint in Villa Green but ended up going with the darker green shade.
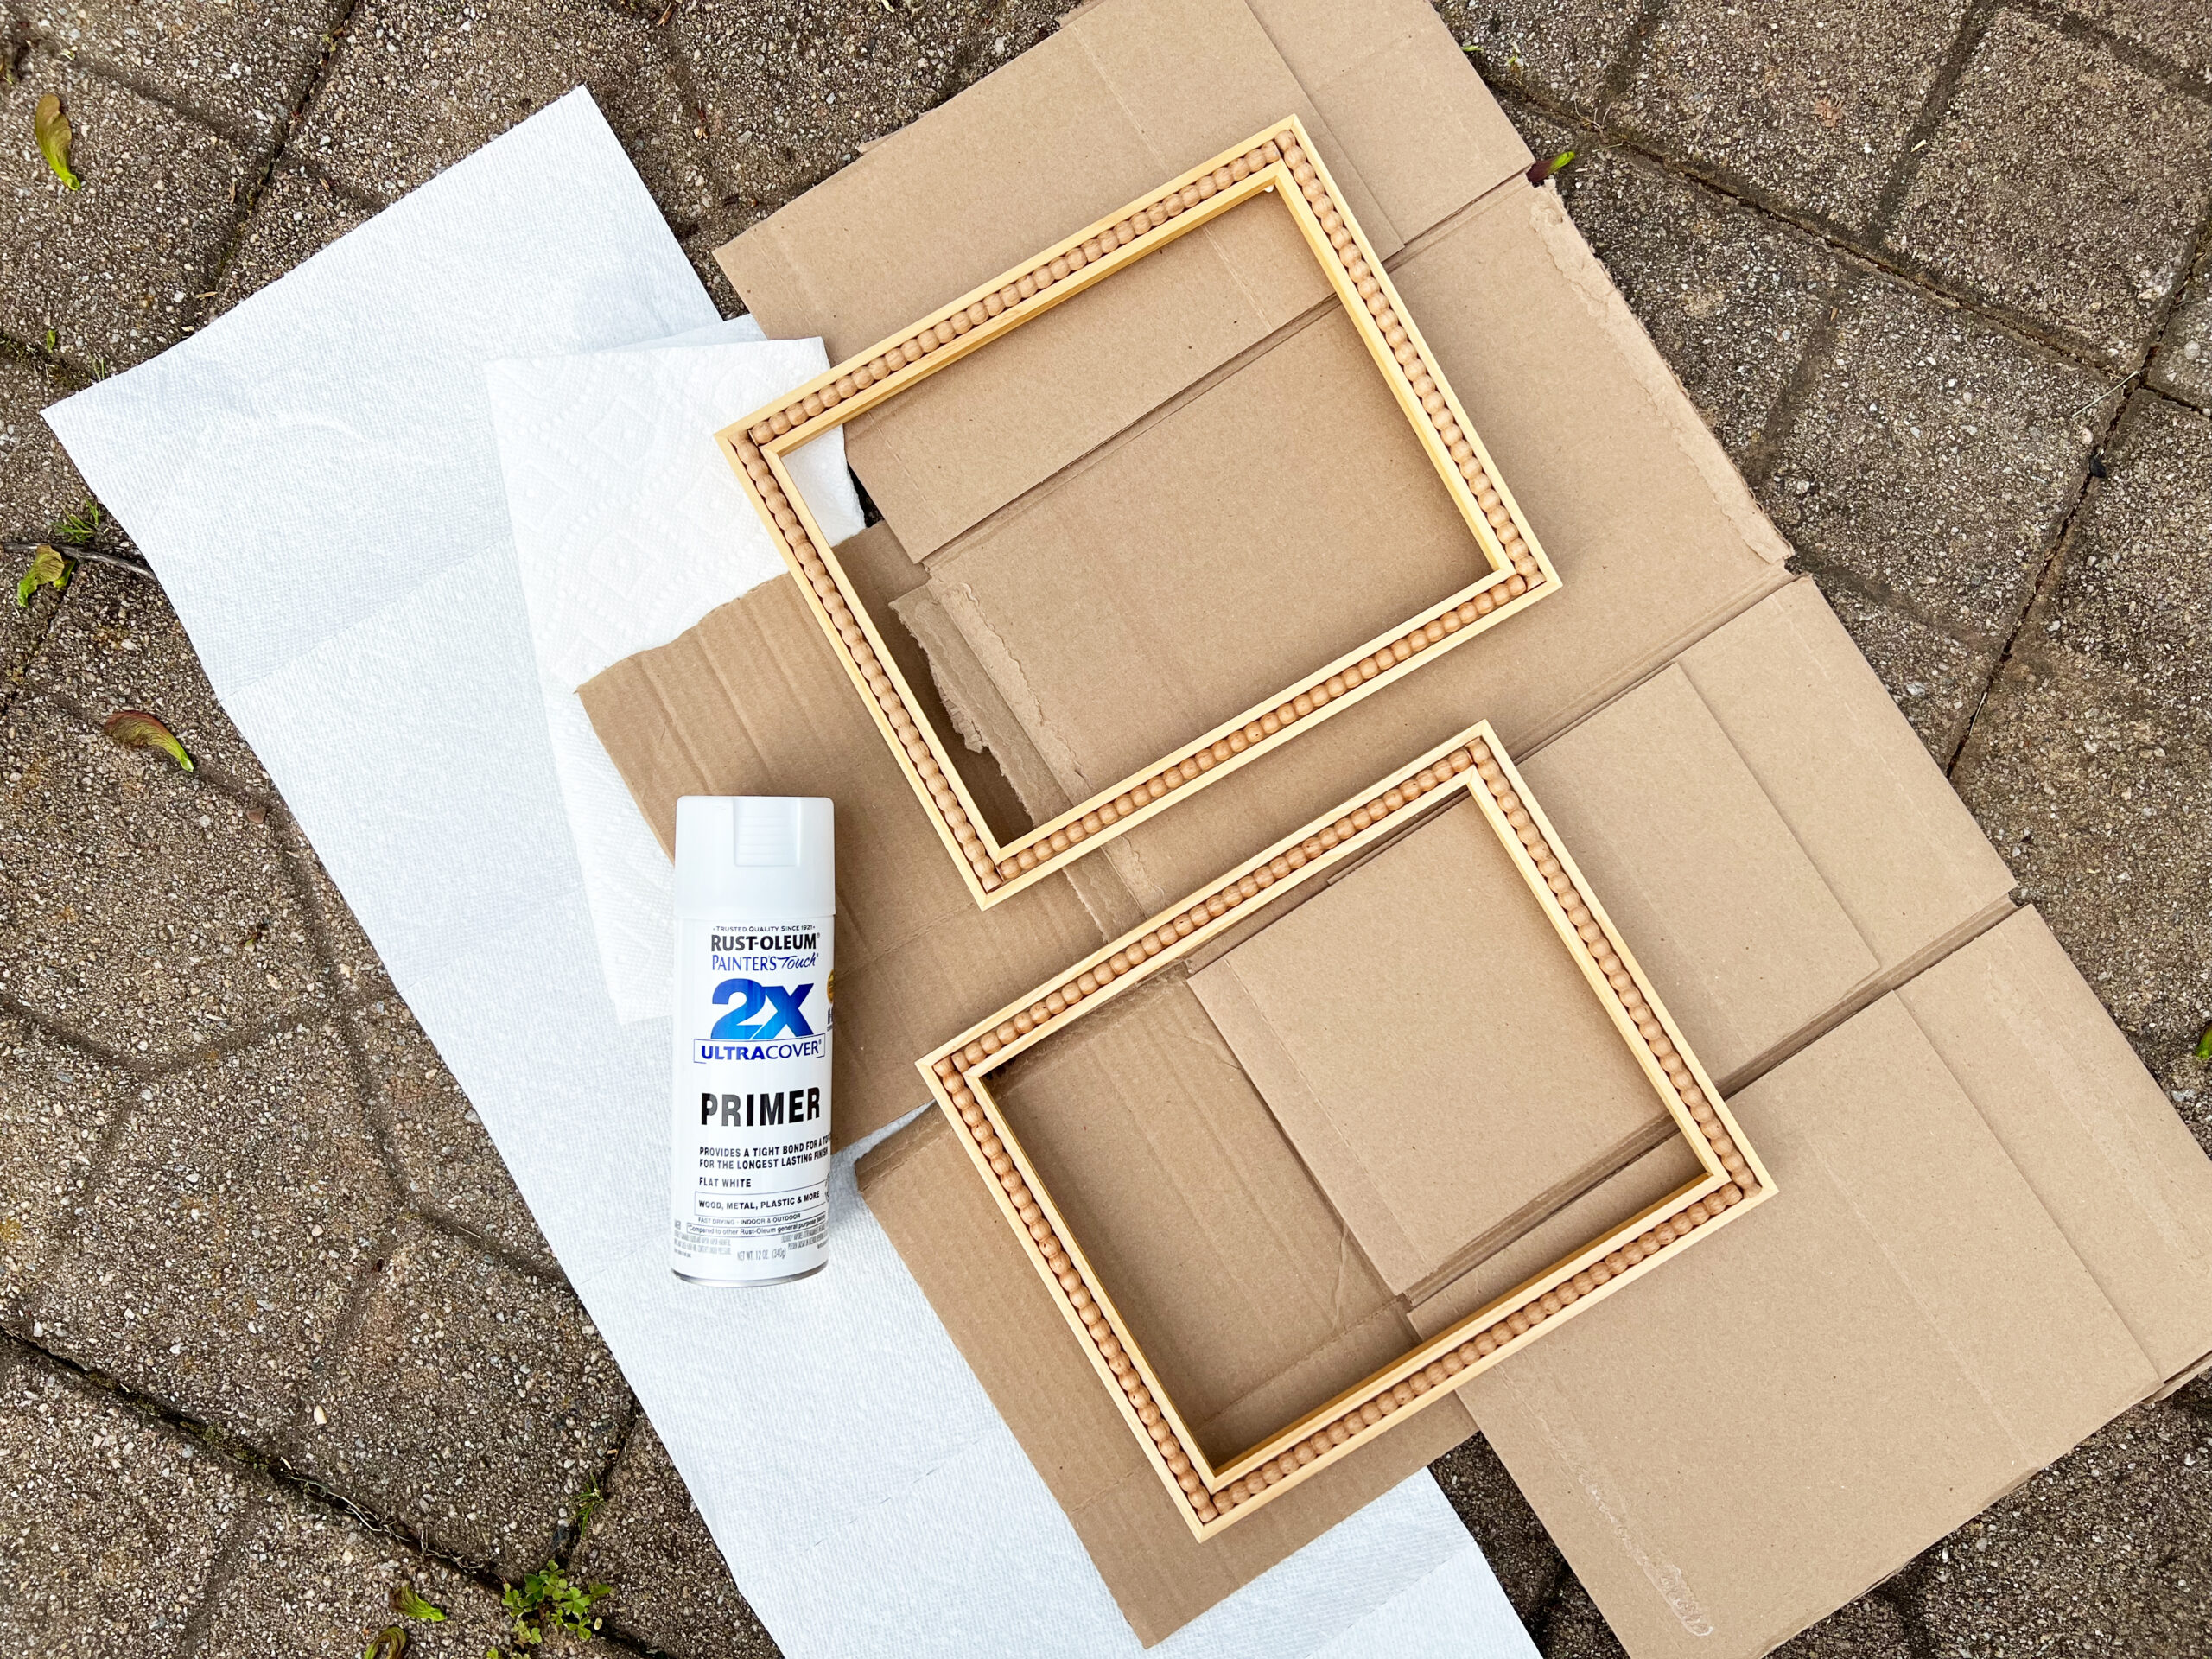
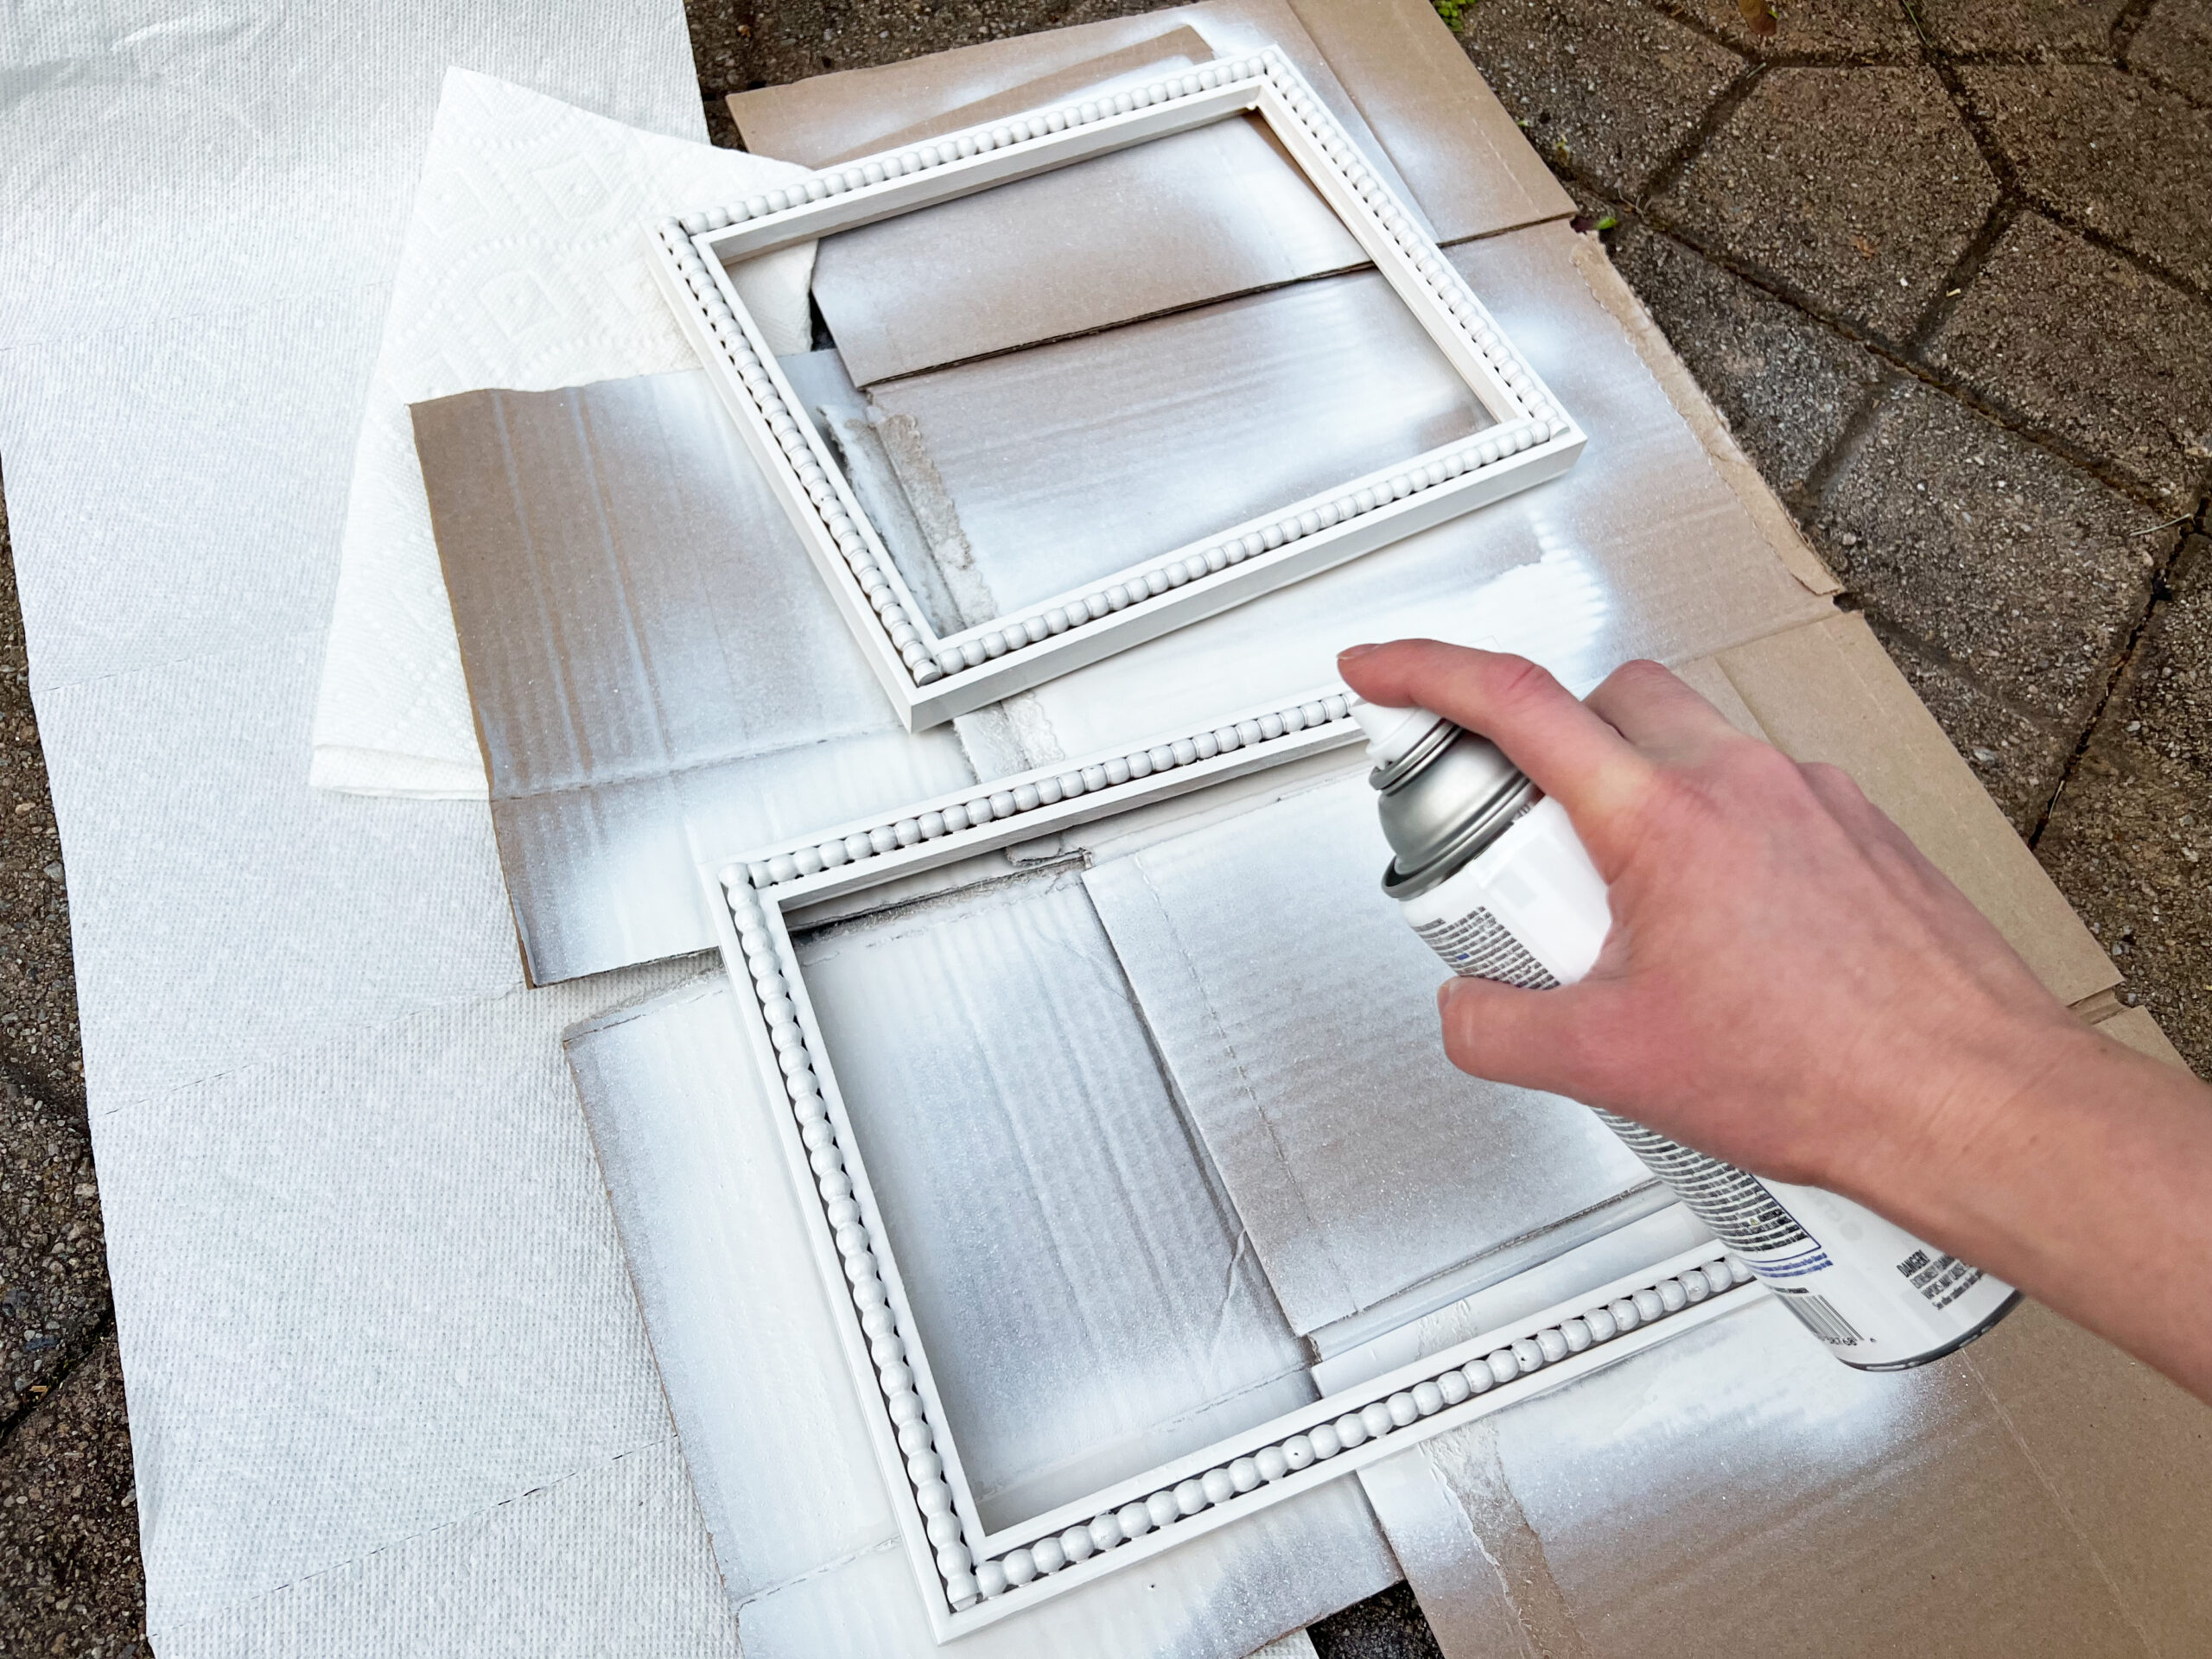
First up – taking apart the frame which was super easy to do (not all frames are). Once the backing and glass were removed, I coated the entire front, outside edges, and inside edges with primer. I left the back unprimed as I didn’t care too much what it looked like. But if you plan on setting this frame on a table vs hanging it on a wall, you’ll want to wait for the front to dry first and then give the back a good coat as well. I let the primer dry overnight just to be safe. Make sure to spray around the sides of the bobbins to get full, even coverage. This may take a bit of moving around and looking at it from multiple angles.
The next day after the primer had sufficiently dried, I got to work on painting the frame with acrylic craft paint. This was probably to most time consuming part as there are so many little spaces in between the bobbins that are difficult to see. The paint went on pretty easily and I was able to cover everything with the brush below.

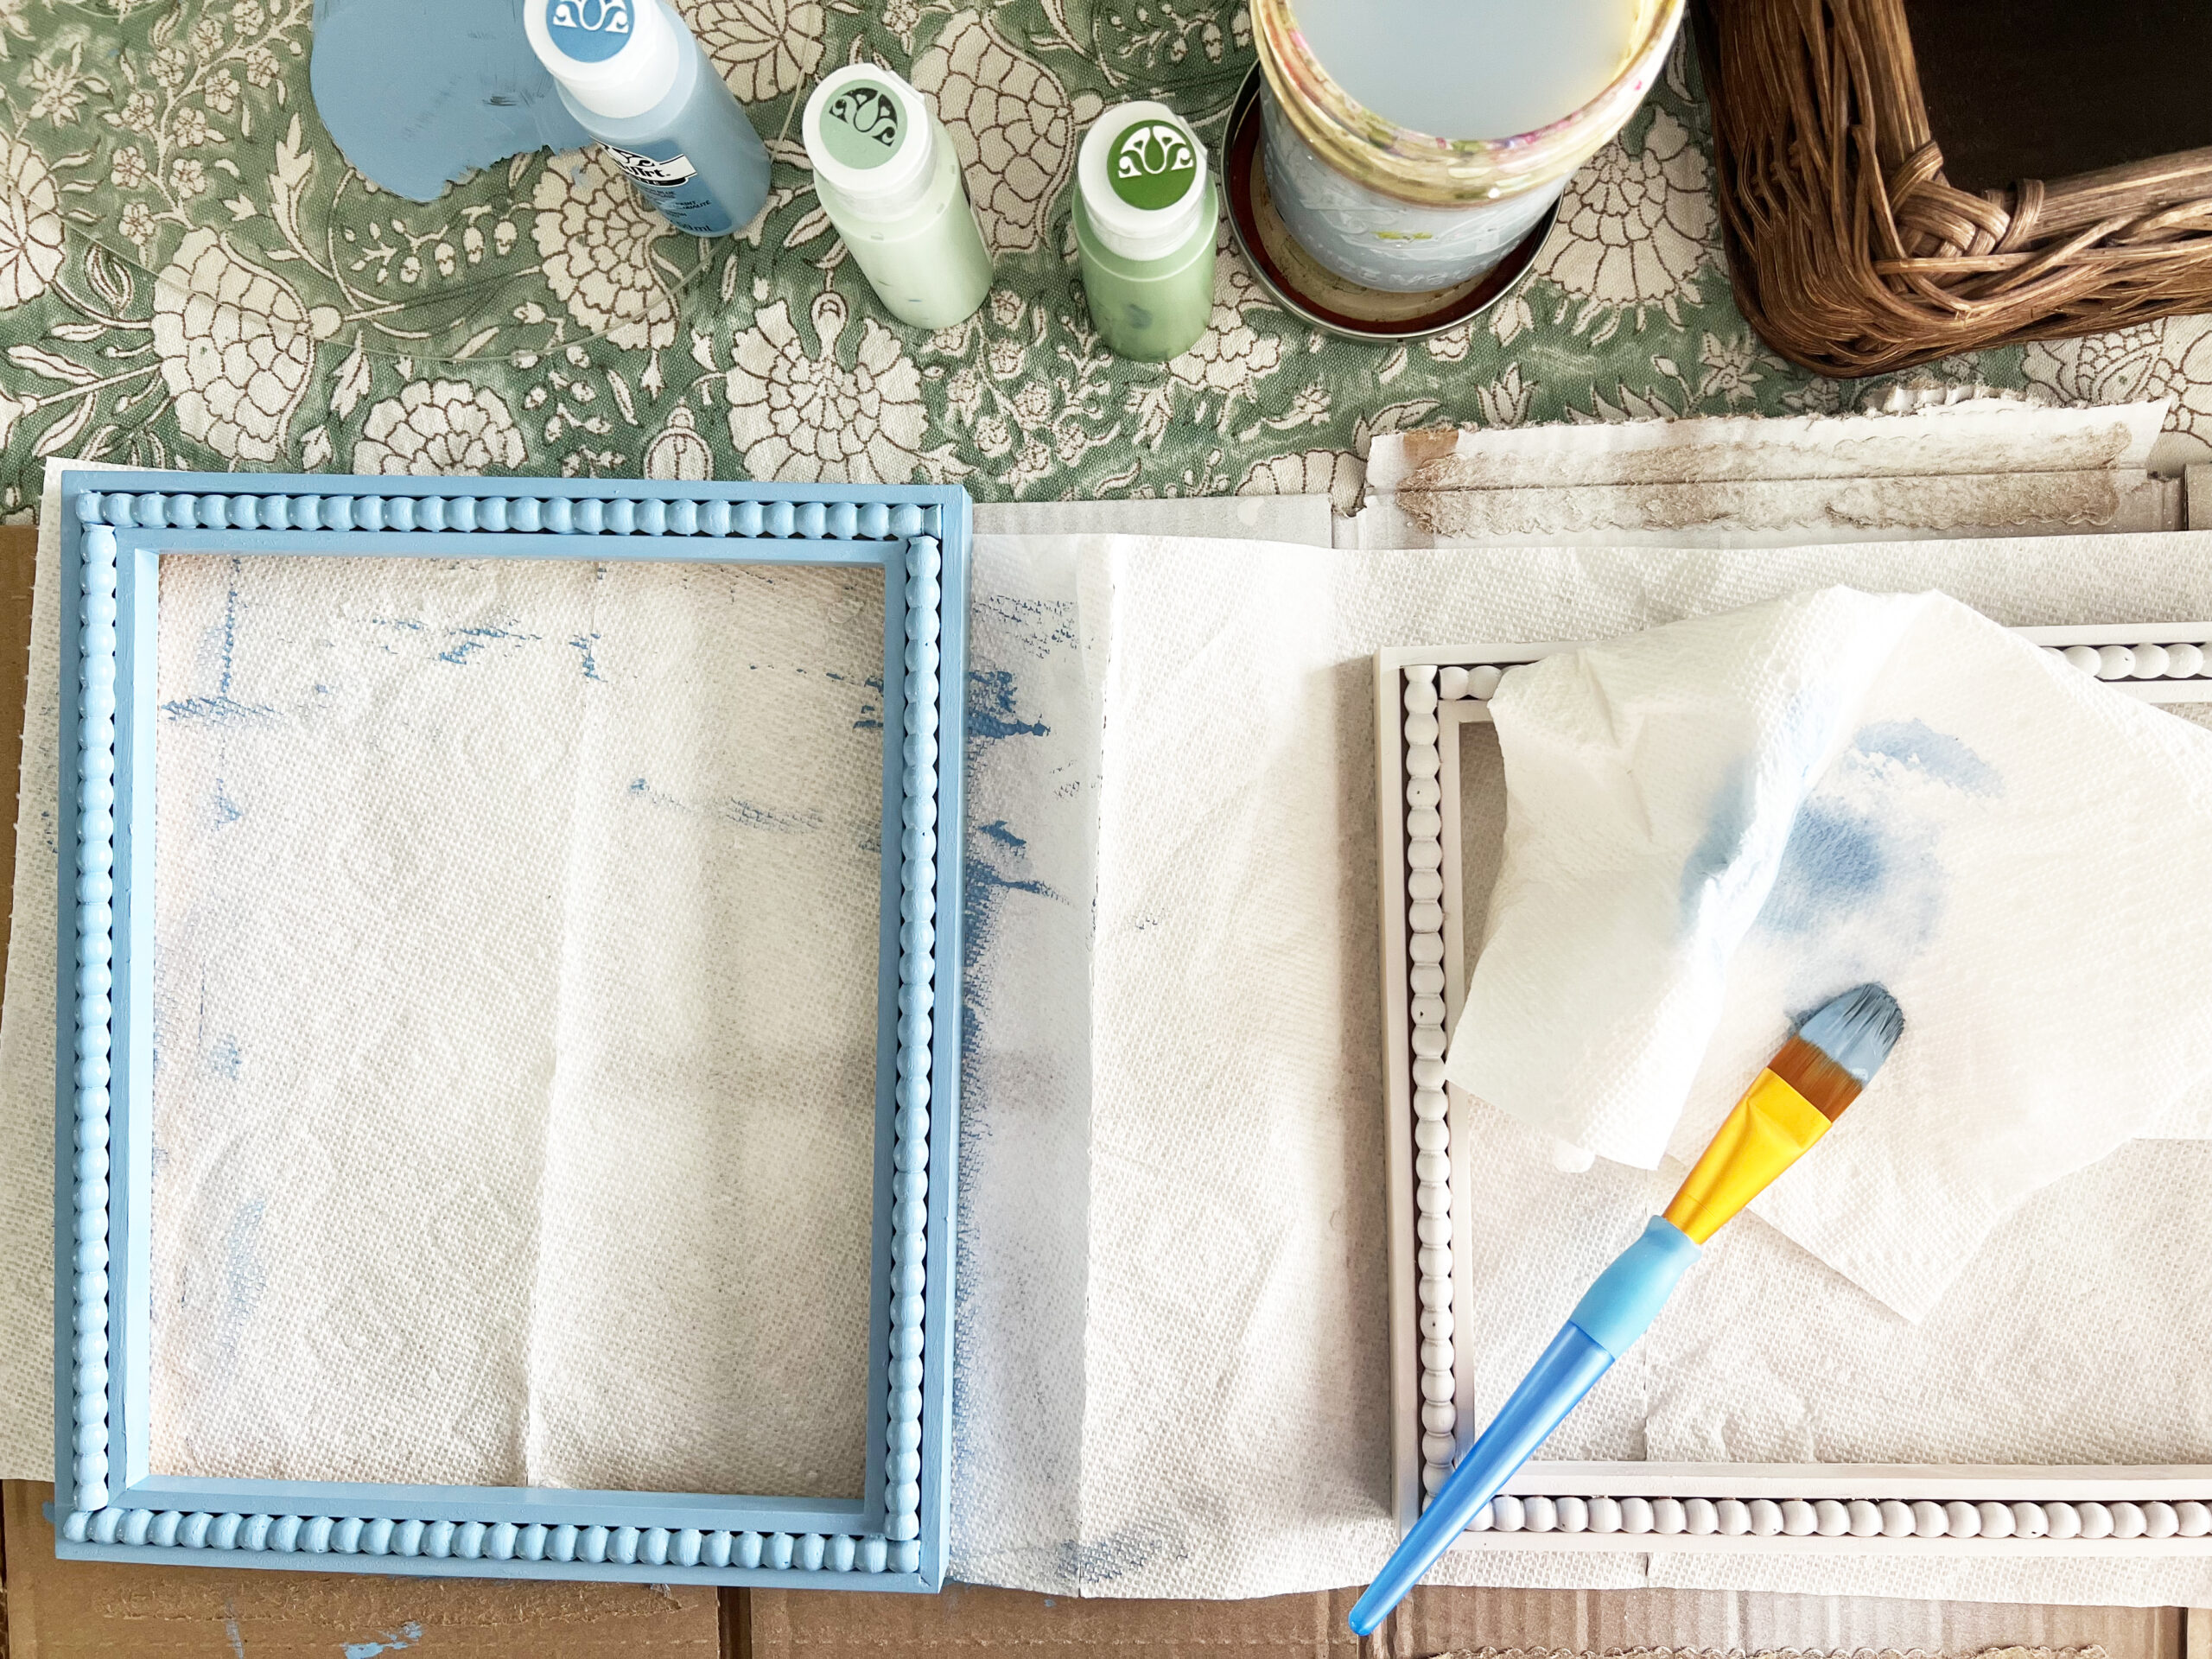

You can see that it definitely required two coats of paint for each frame although the French Blue seemed to have better coverage than the Clover Trefel. I must have touched up the frames 5-7 times each during this phase because I kept seeing spots that I missed! I found that it helps to bring the frames over to a window in between coats and view them in daylight because the reflections can really make unpainted patches tricky to spot under regular lighting.
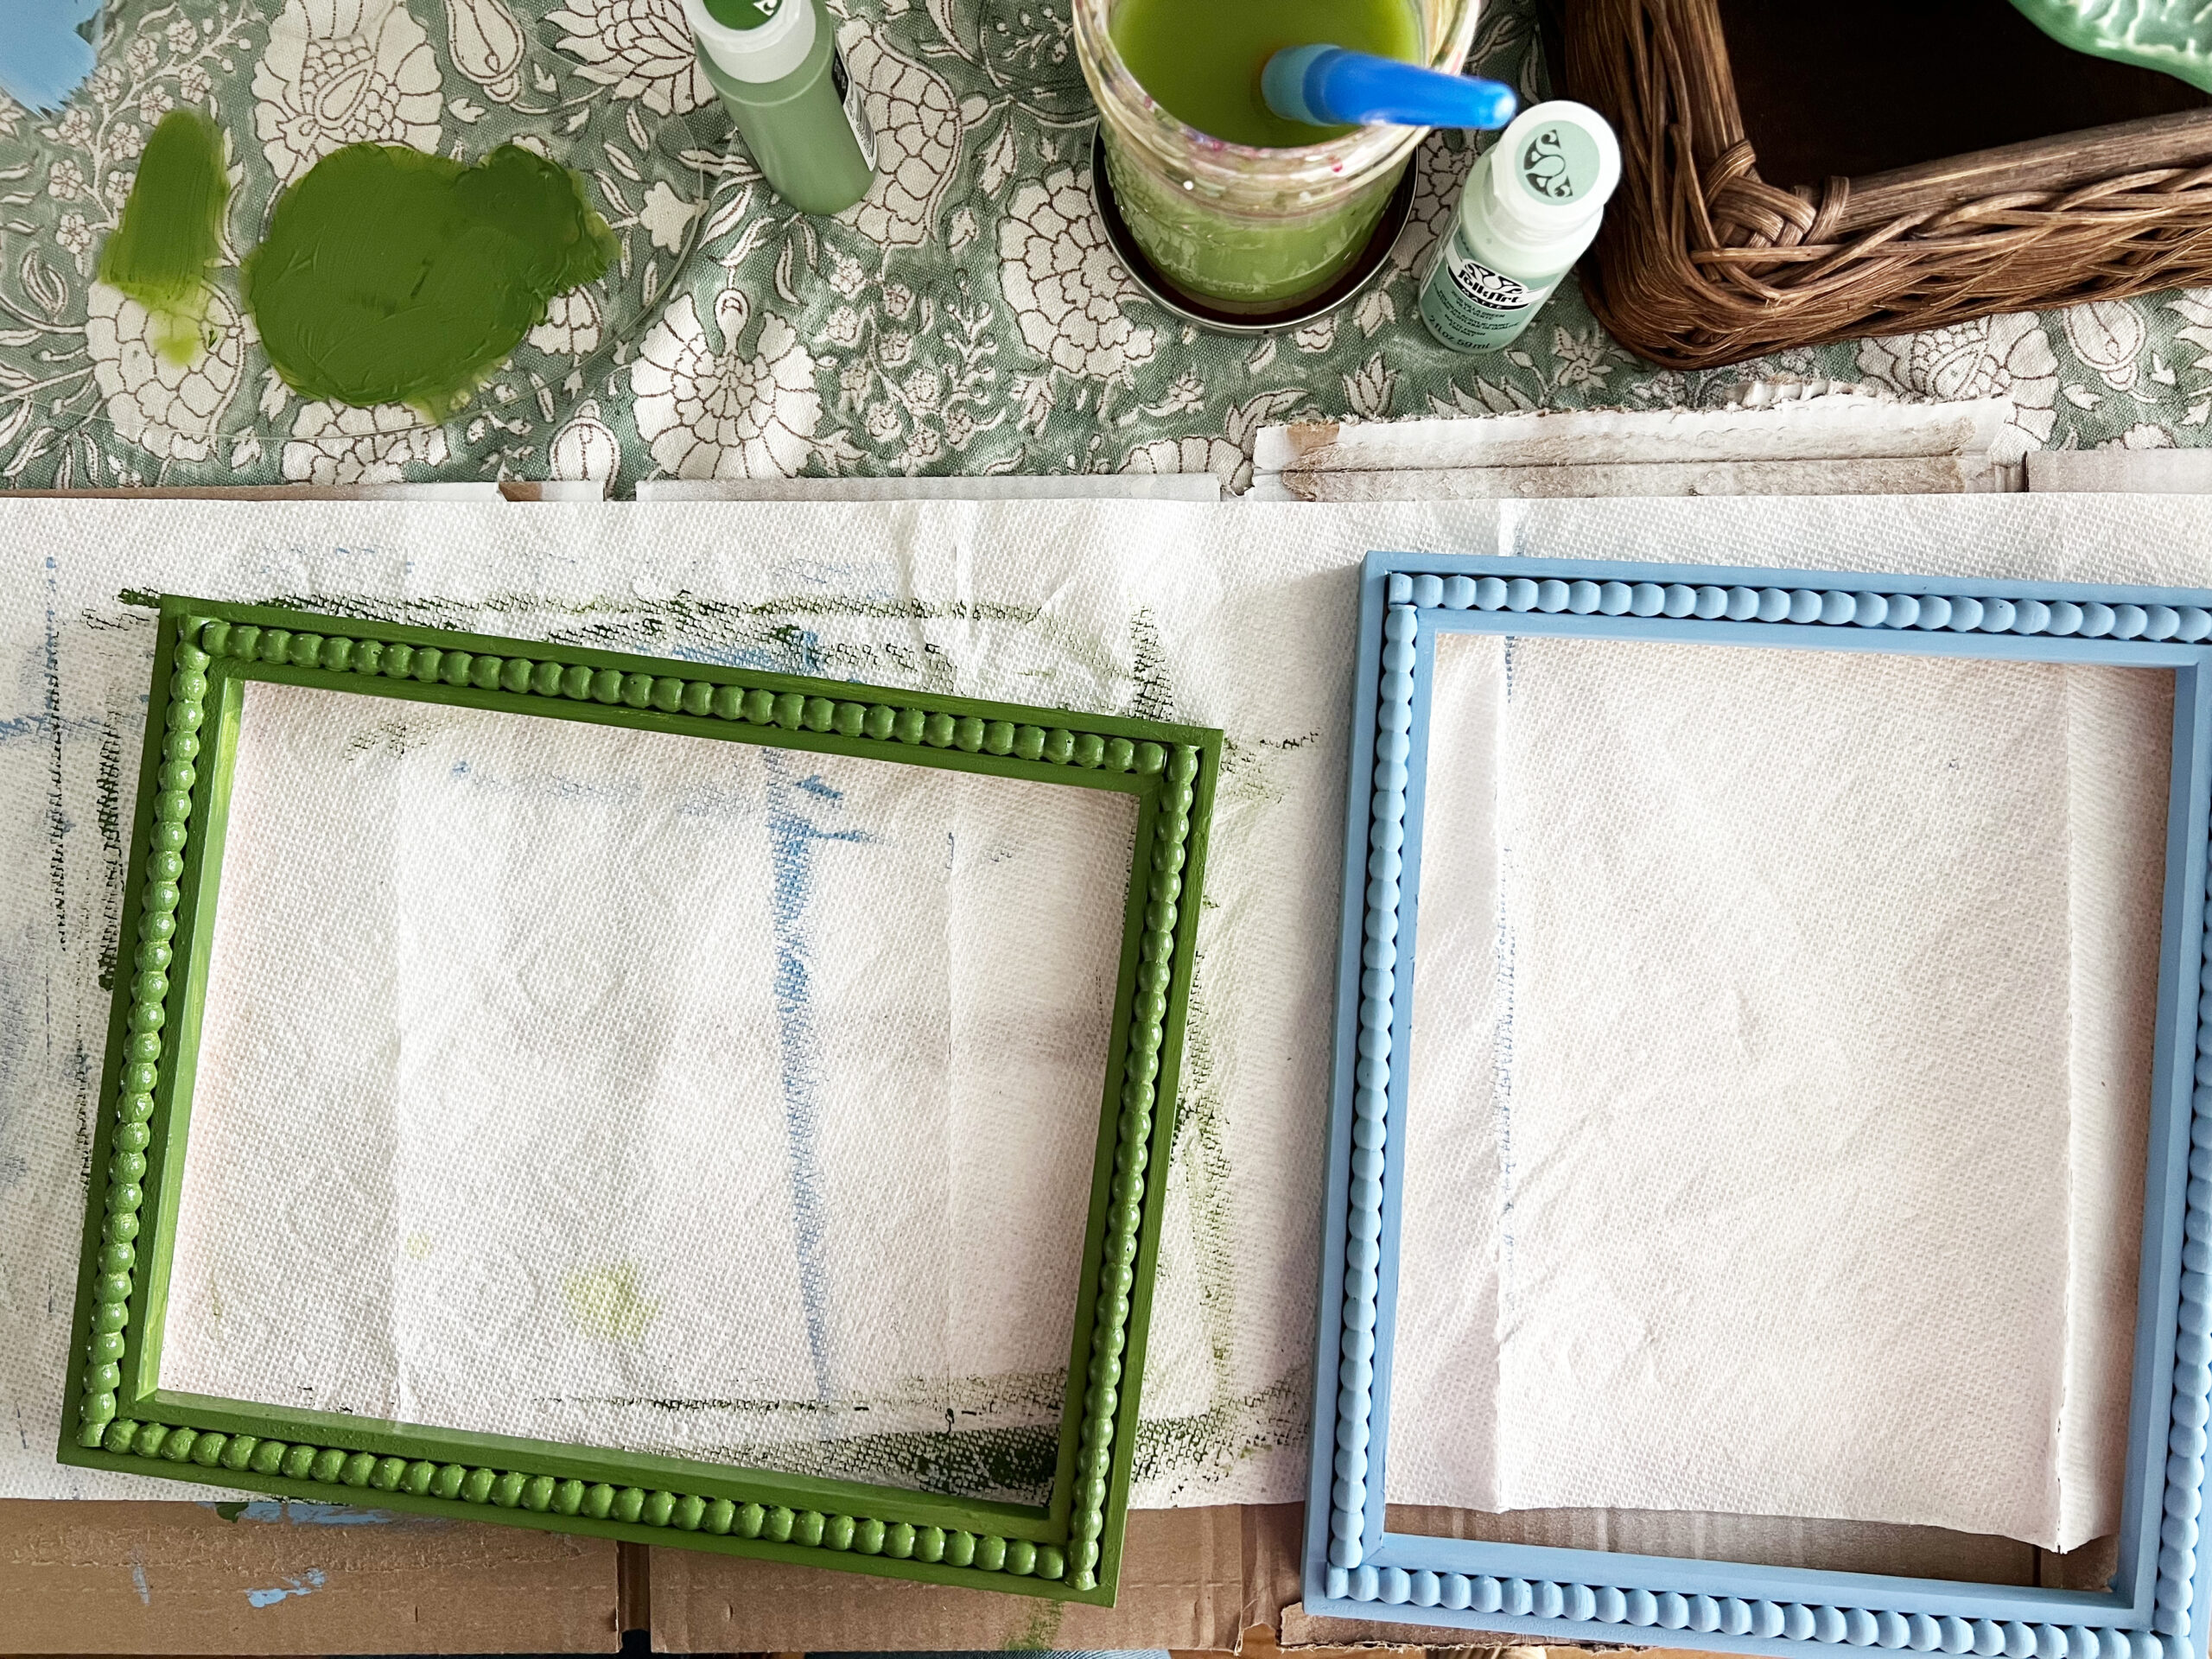
I let the frames dry for about an hour or so after the final touch ups. This paint has a matte finish so to get that ultra glossy bobbin frame look, you really need the spray varnish.
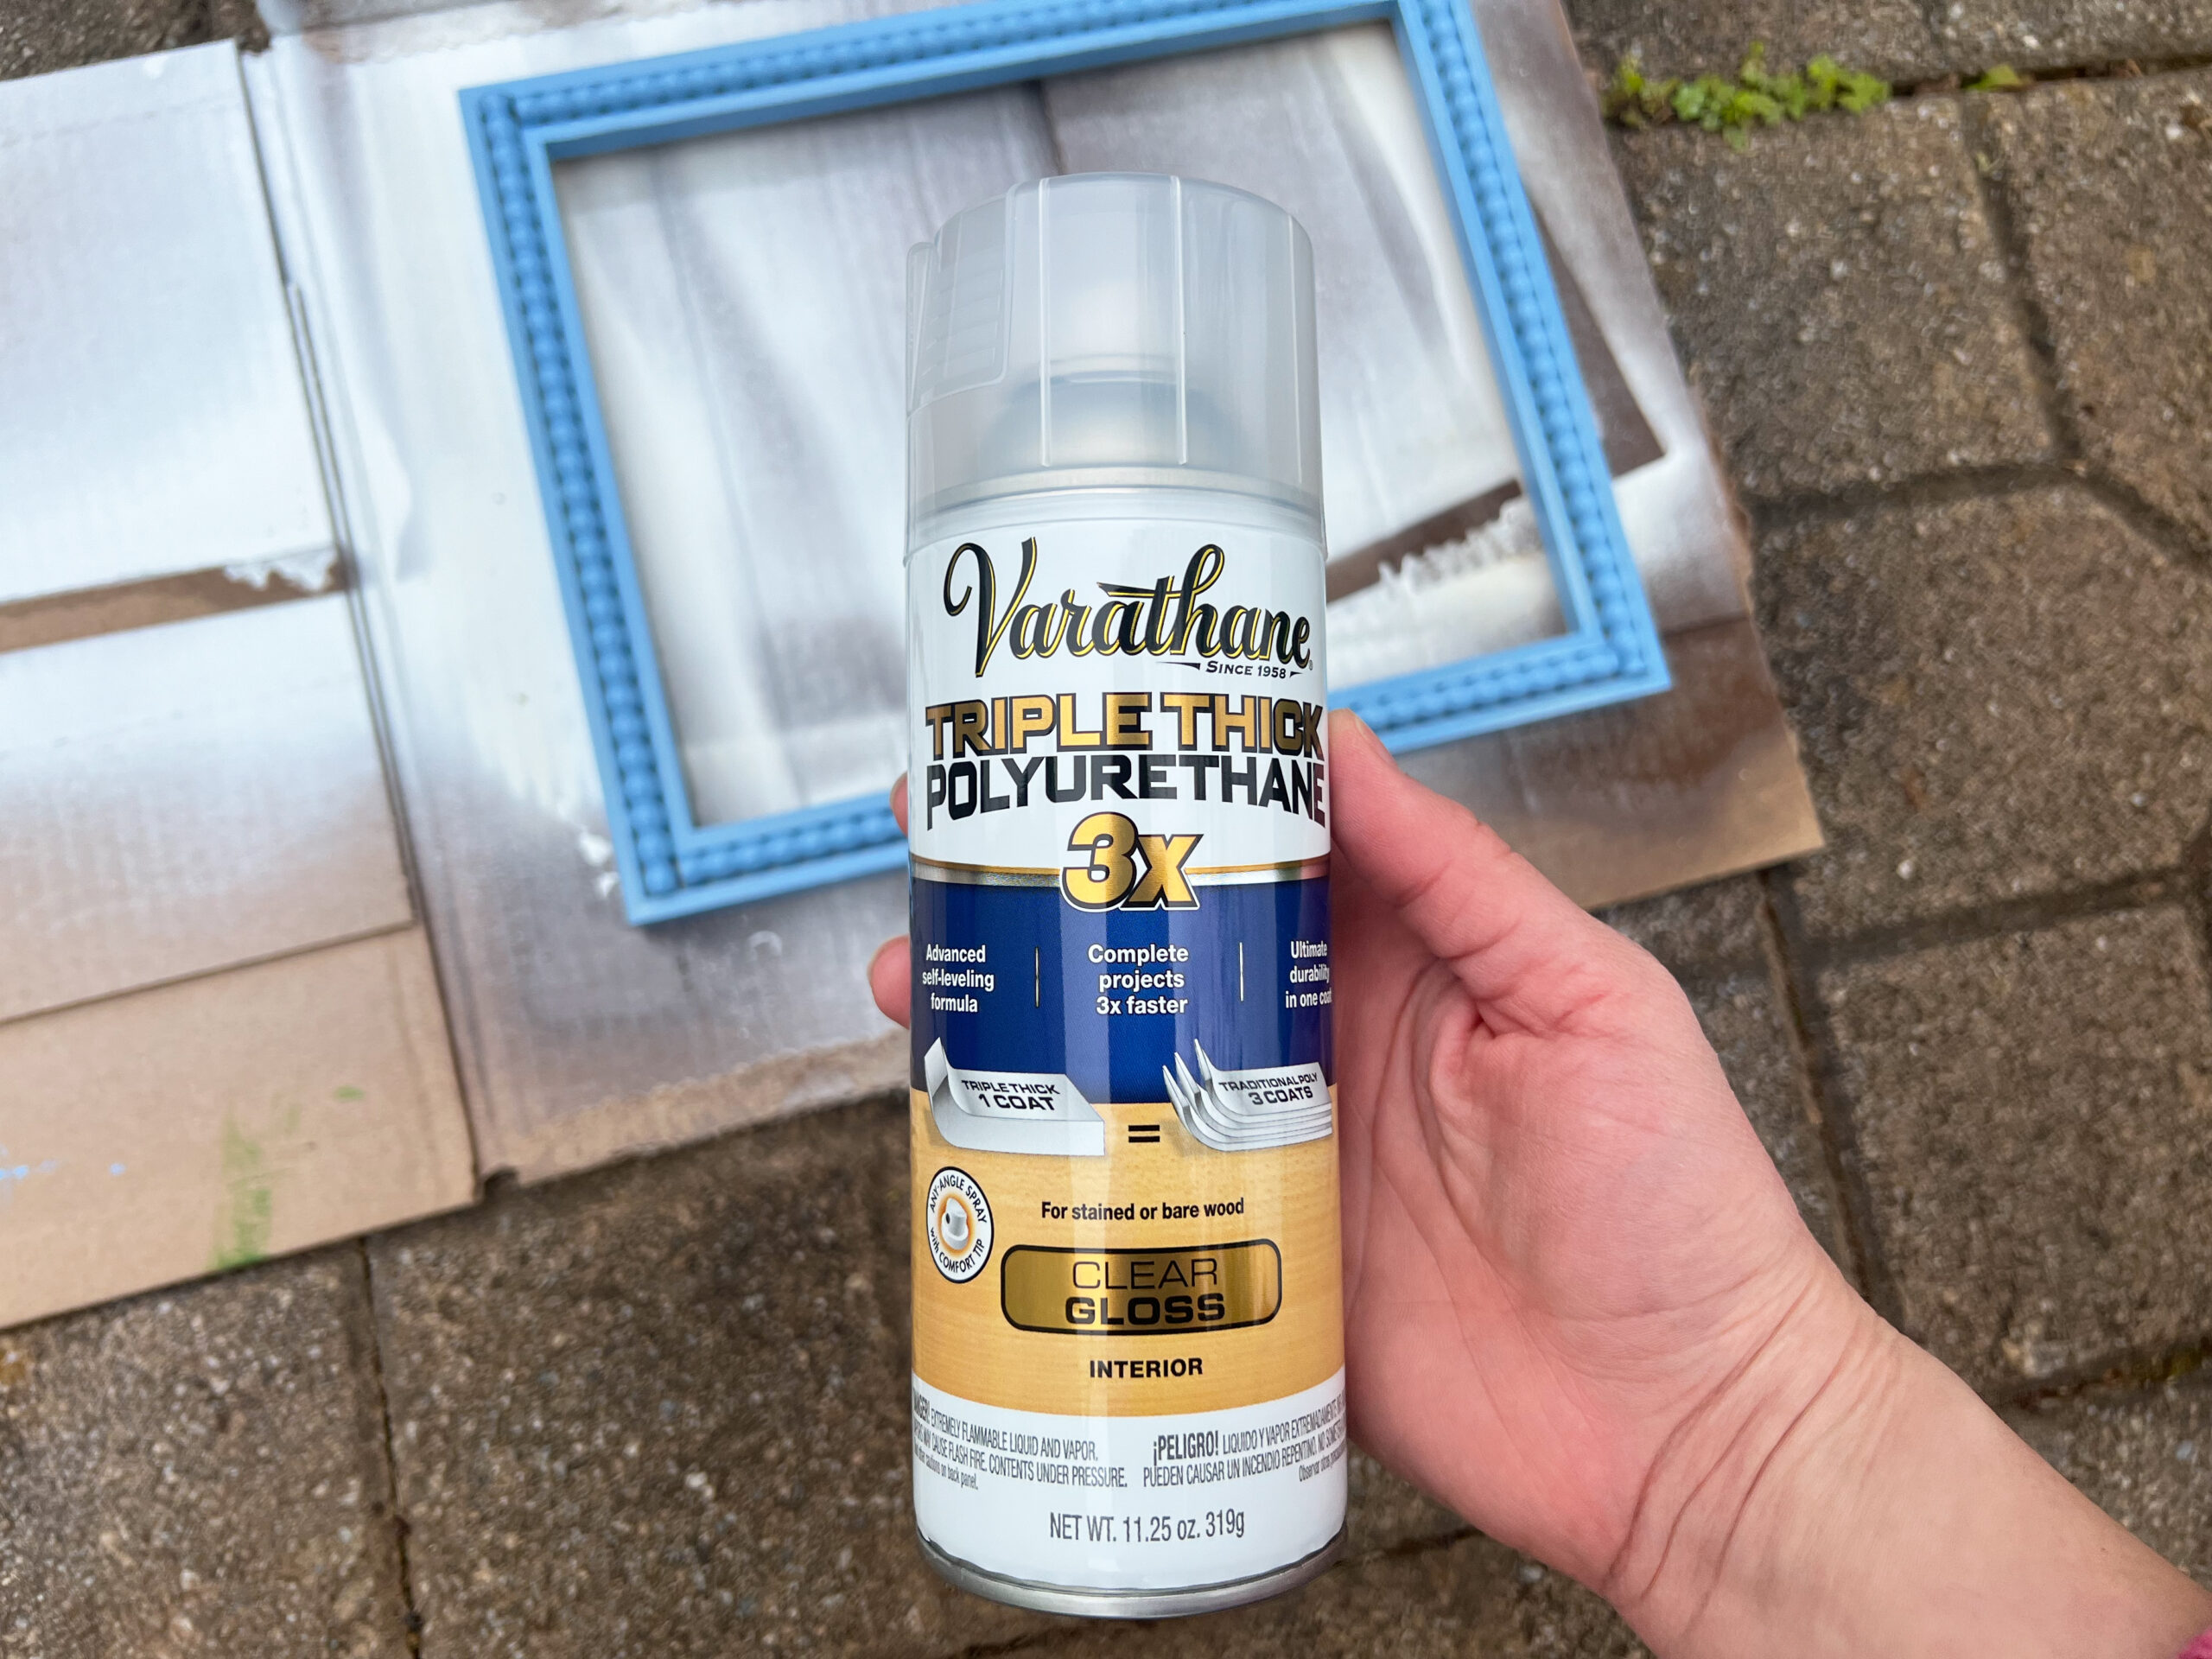
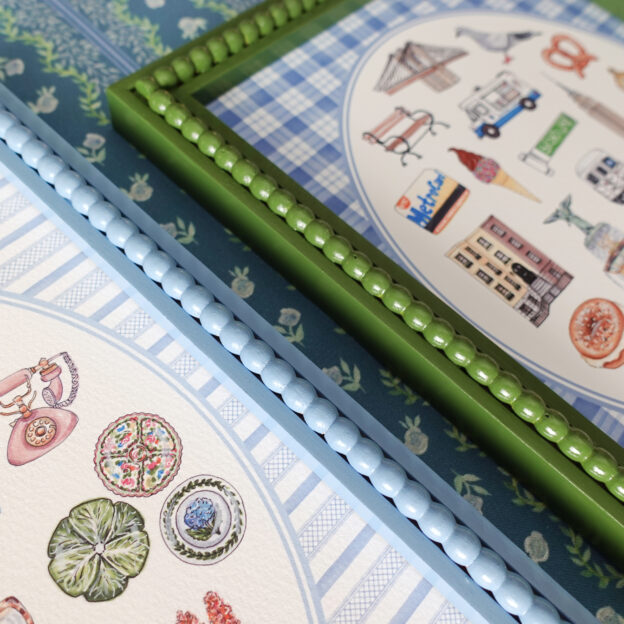
I took the frames back outside and gave them two coats of varnish with a few minutes in between each coat. The varnish dries to the touch in about an hour, but I brought the frames inside on the cardboard and let them finish drying overnight before I handled them. I love the glossy finish and am really happy with how they turned out. Now it’s time for an art photoshoot with my new DIY frames!
xoxo,
P.S. – Join my Collector’s Mailing List and be the first to know when my new Favorite Things & Alphabet art print collection launches! The fabric featured in the above photo can be found in my Spoonflower shop here.
** This post contains affiliate links to my Amazon storefront.