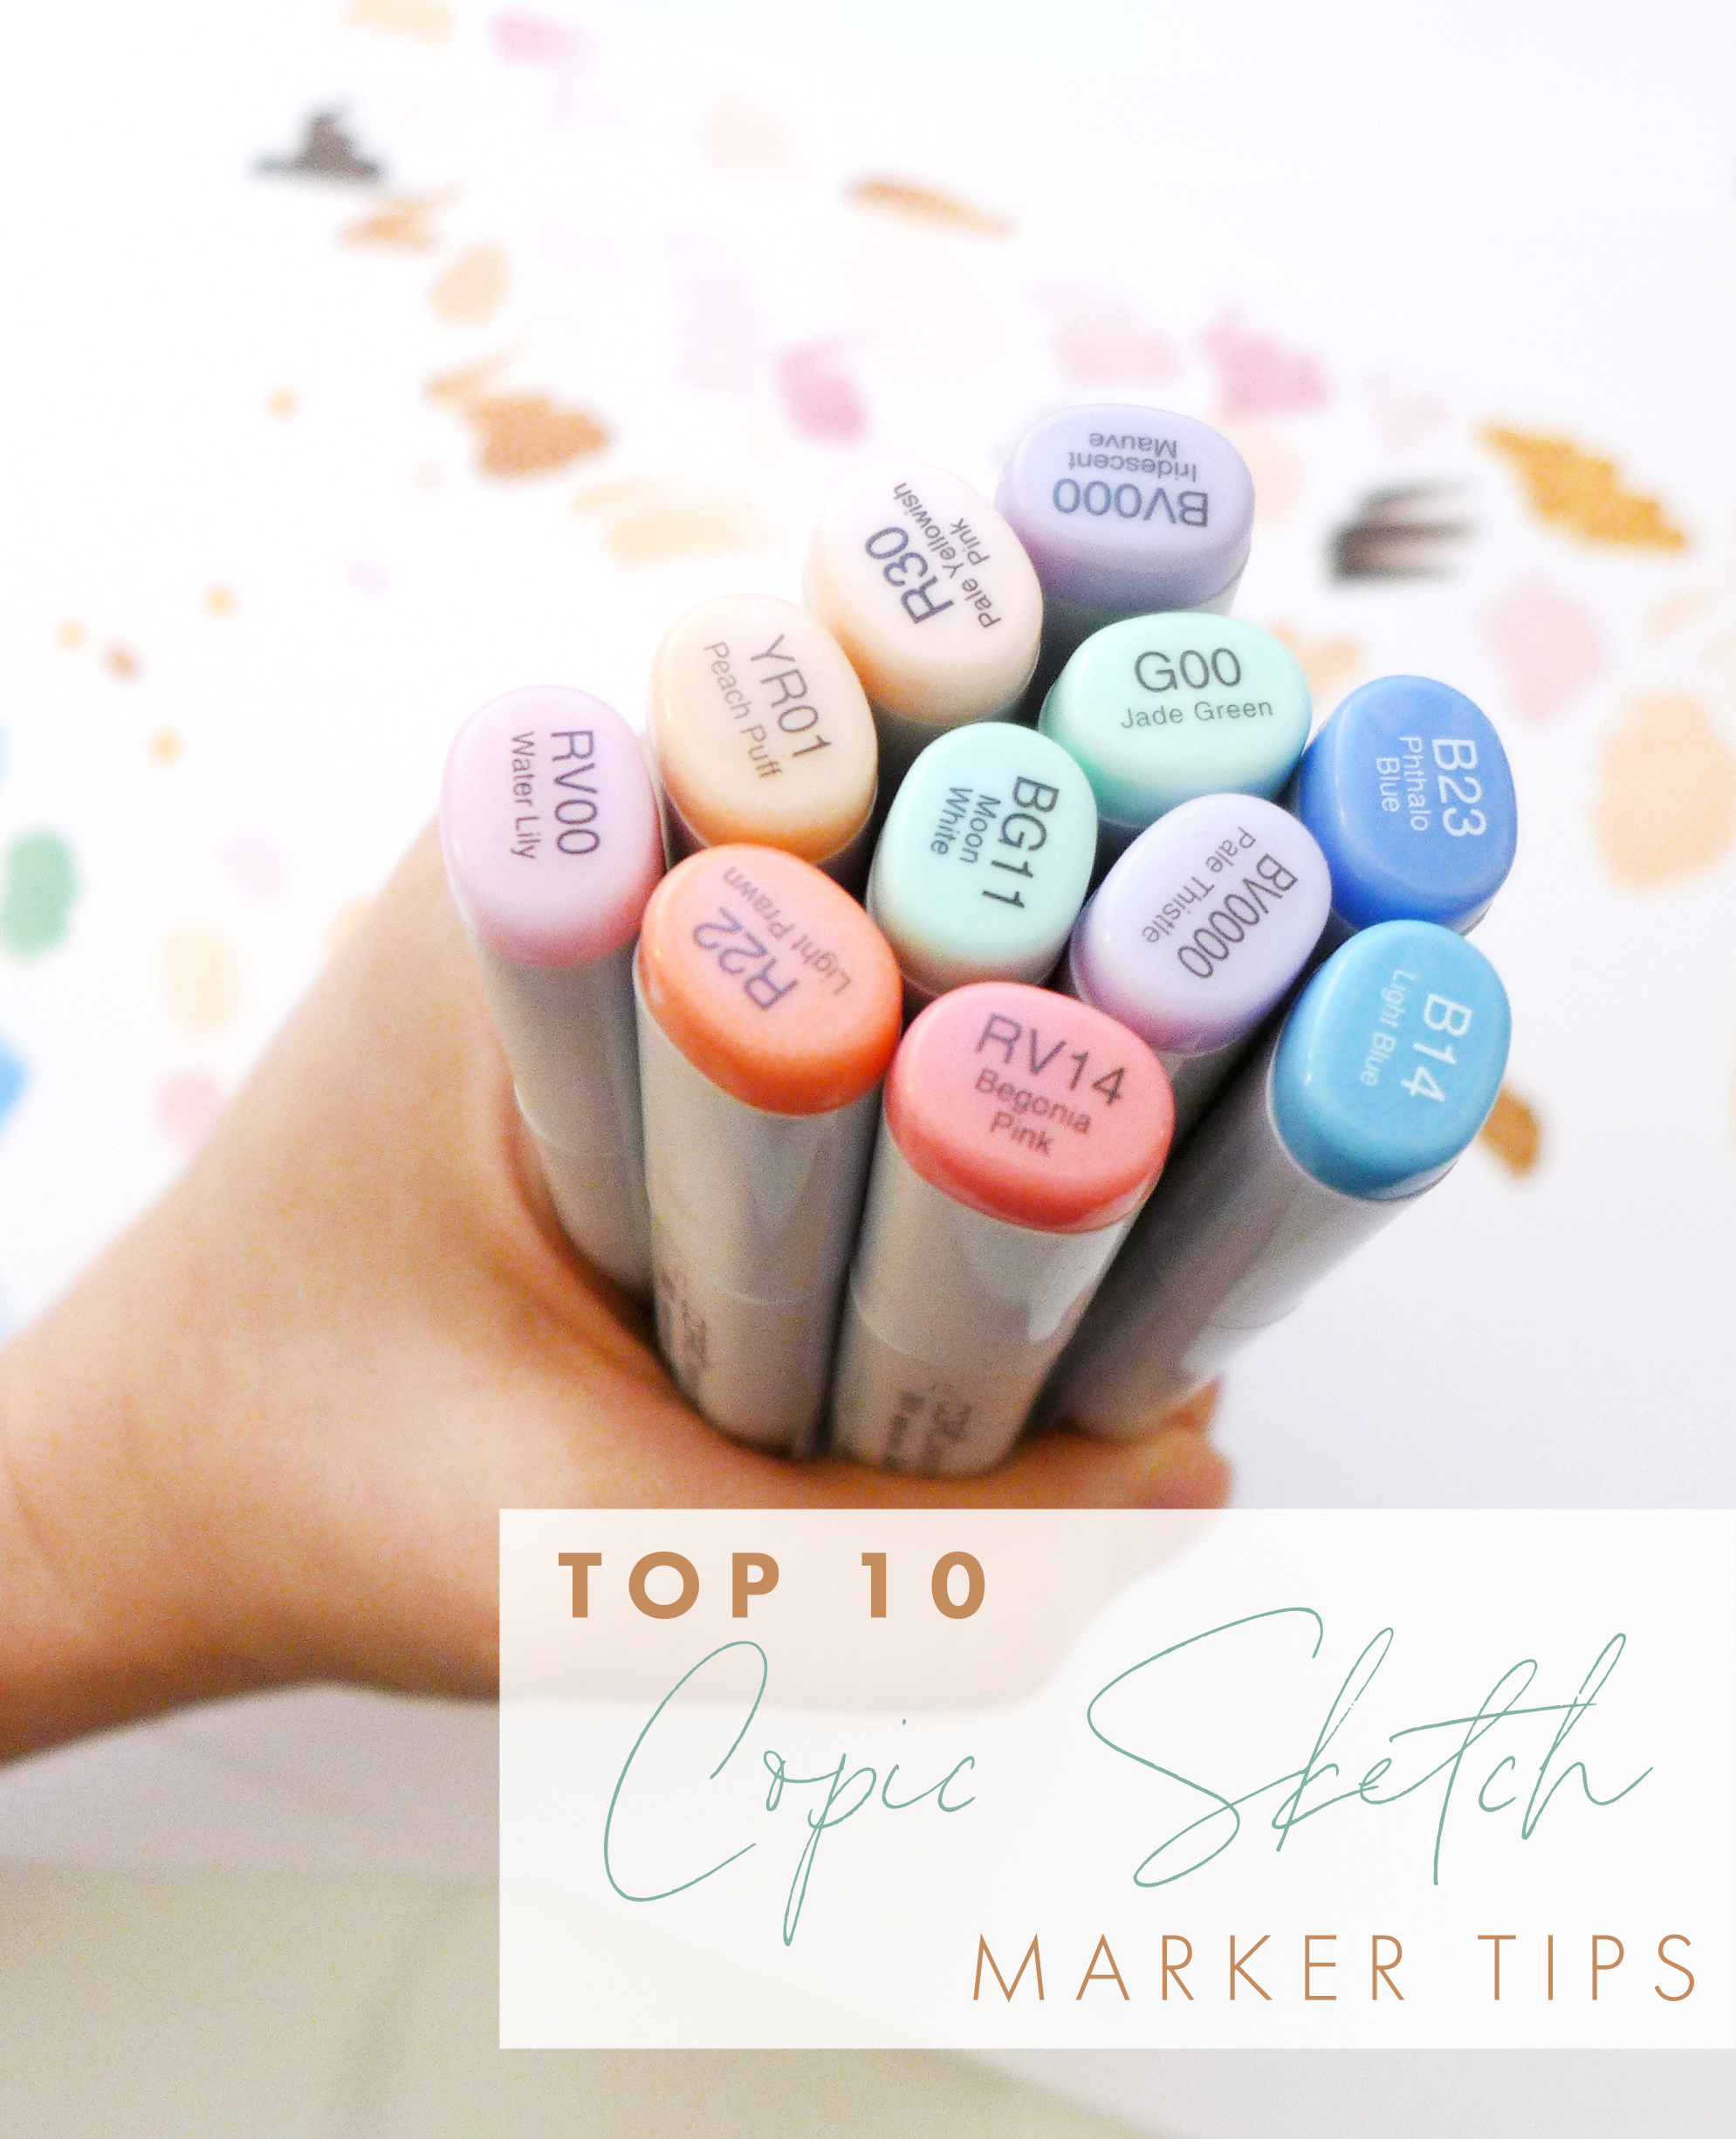
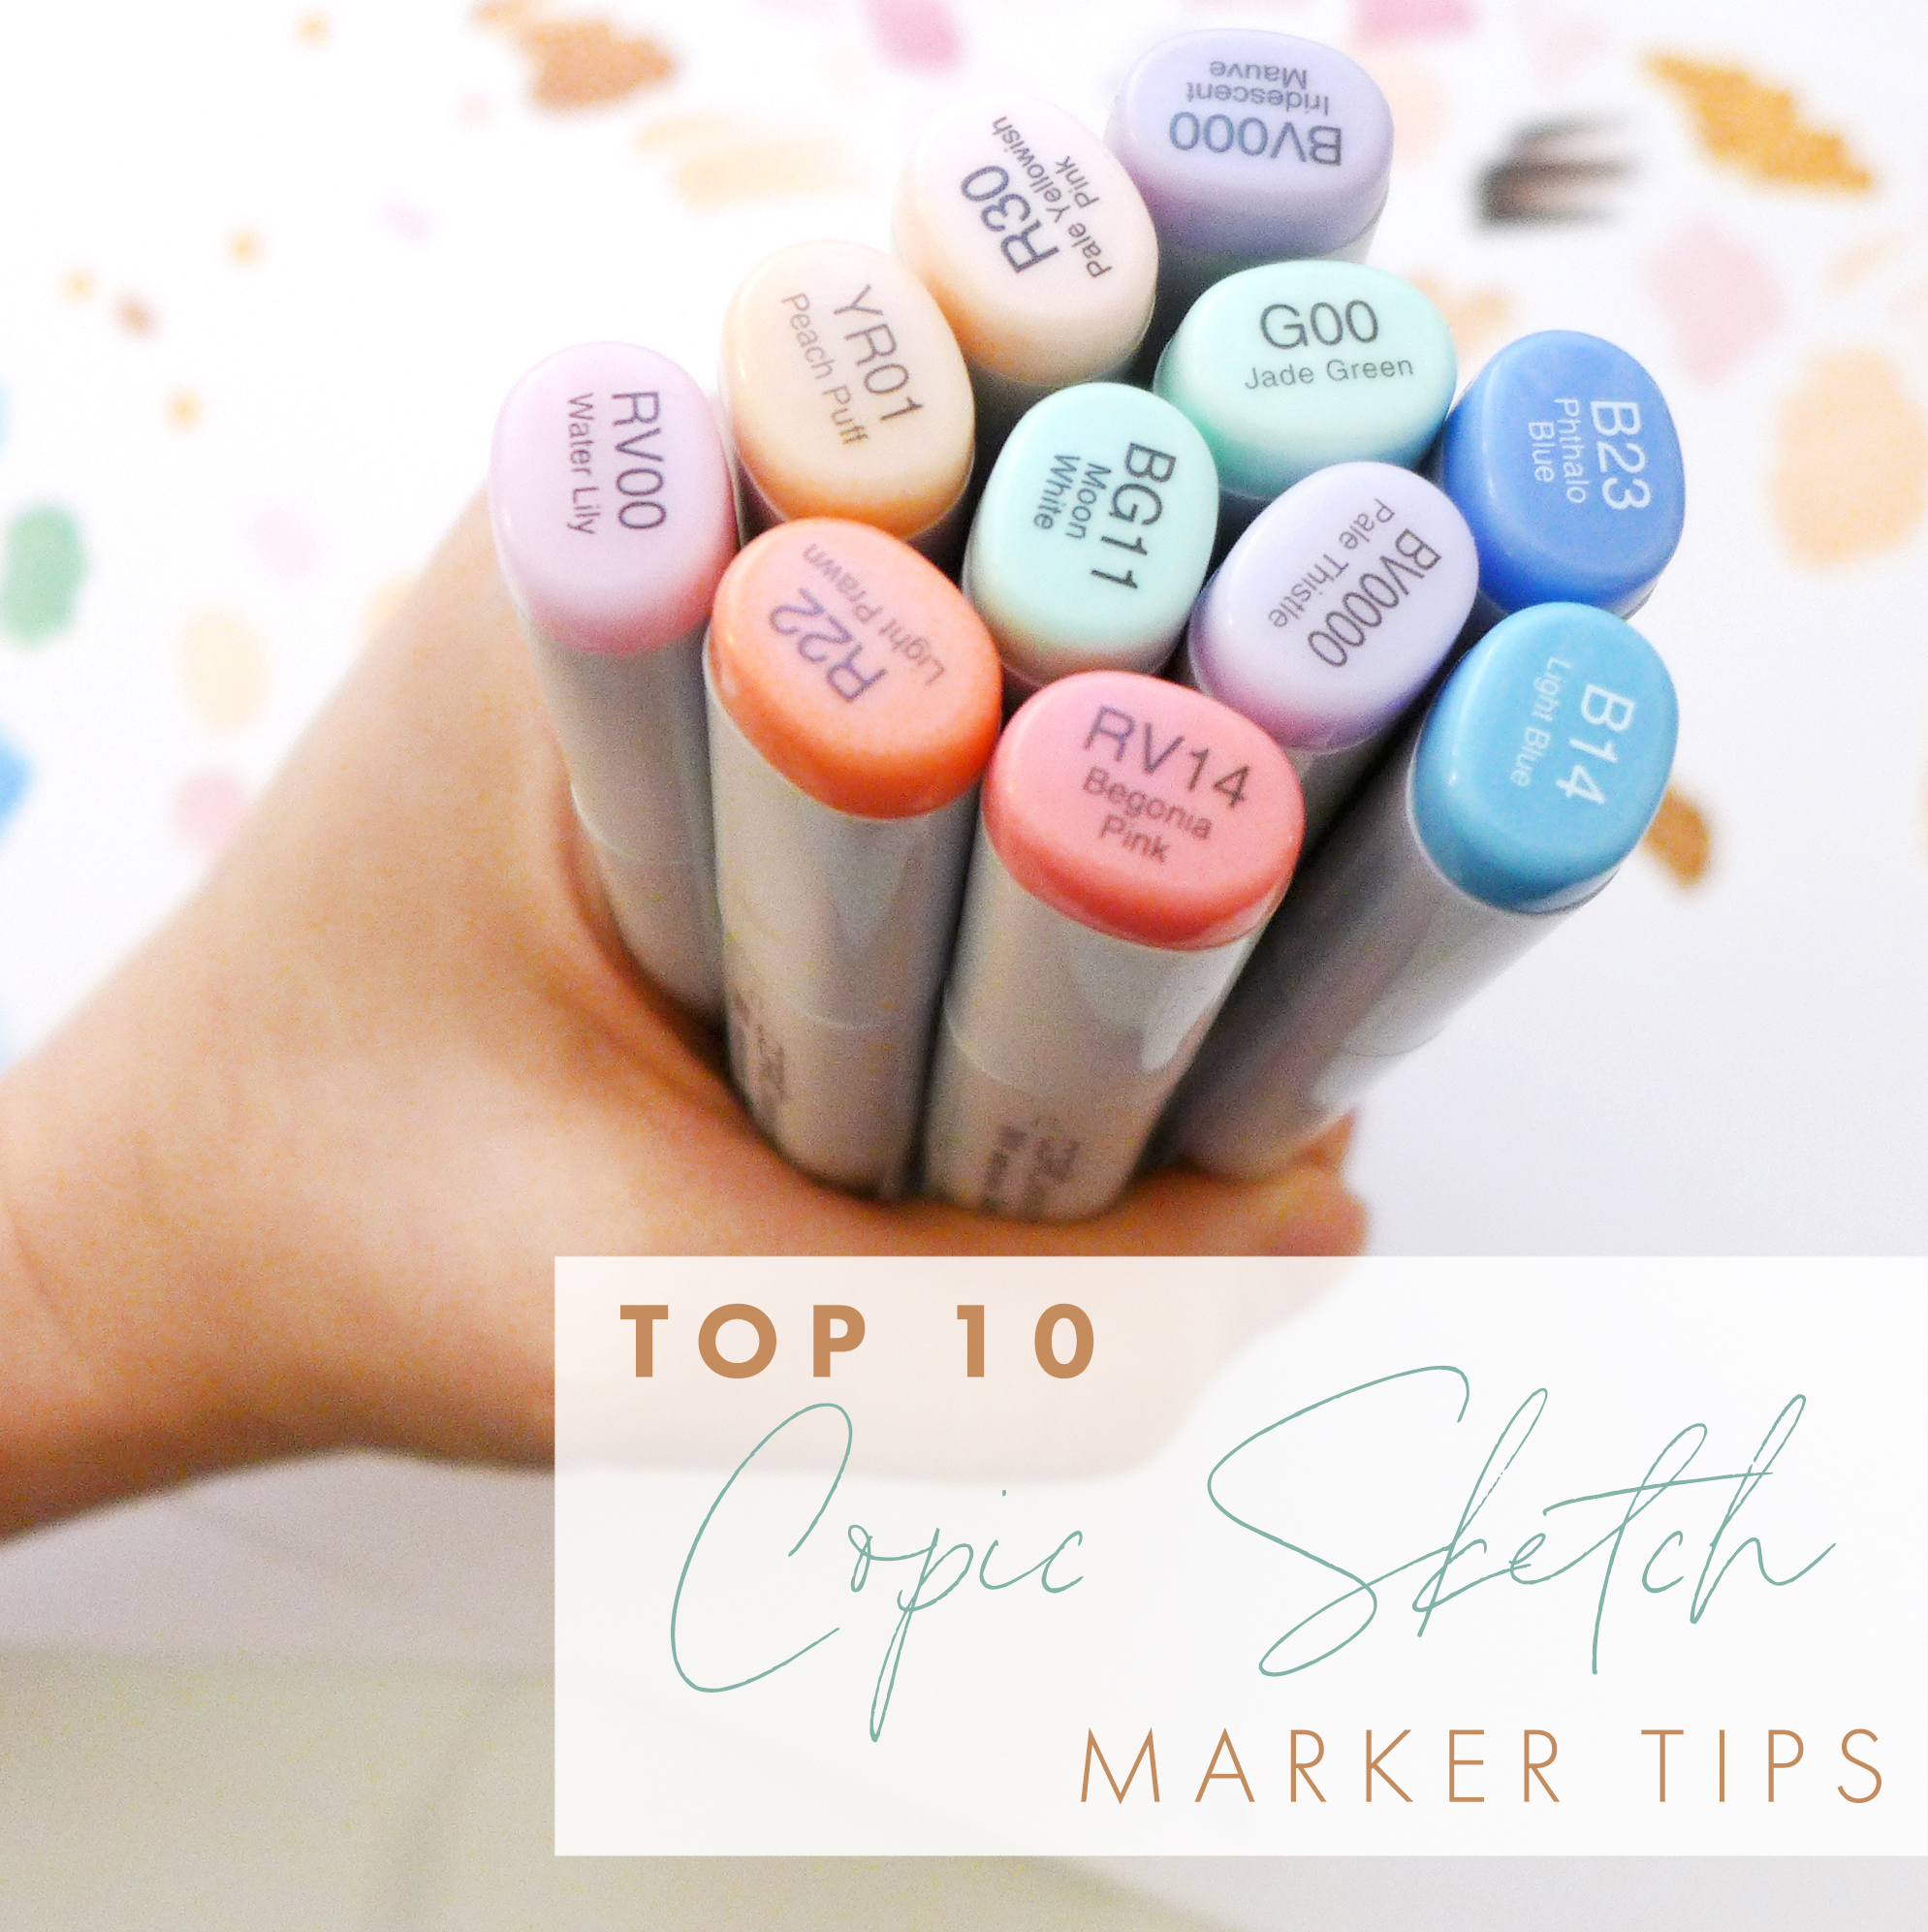
If you don’t already know by now – I love my Copic Sketch markers! They really are the cream of the crop when it comes to professional artist markers. The quality of the alcohol ink is super blendable, they’re available in an array of 358 beautiful colors, the ink is refillable and the marker tips are replaceable so you can prolong the life of each marker. While Copics are an investment, if you’re serious about creating illustrations with artist’s markers, you won’t find a better brush tip marker out there!
Copic Sketch markers are my favorite of all the Copic marker varieties. They have an ergonomic oval shape, a brush tip on one end and a chisel edge on the other. When you first try them out, it can be a little intimidating. But I promise with practice, you are going to fall in love with the effects you’re able to achieve in your illustrations. To help you work through that beginners phase and get past any frustration, I’ve put together a list of my Top 10 Copic Sketch Marker Tips for you to keep in mind as you’re collecting and creating.
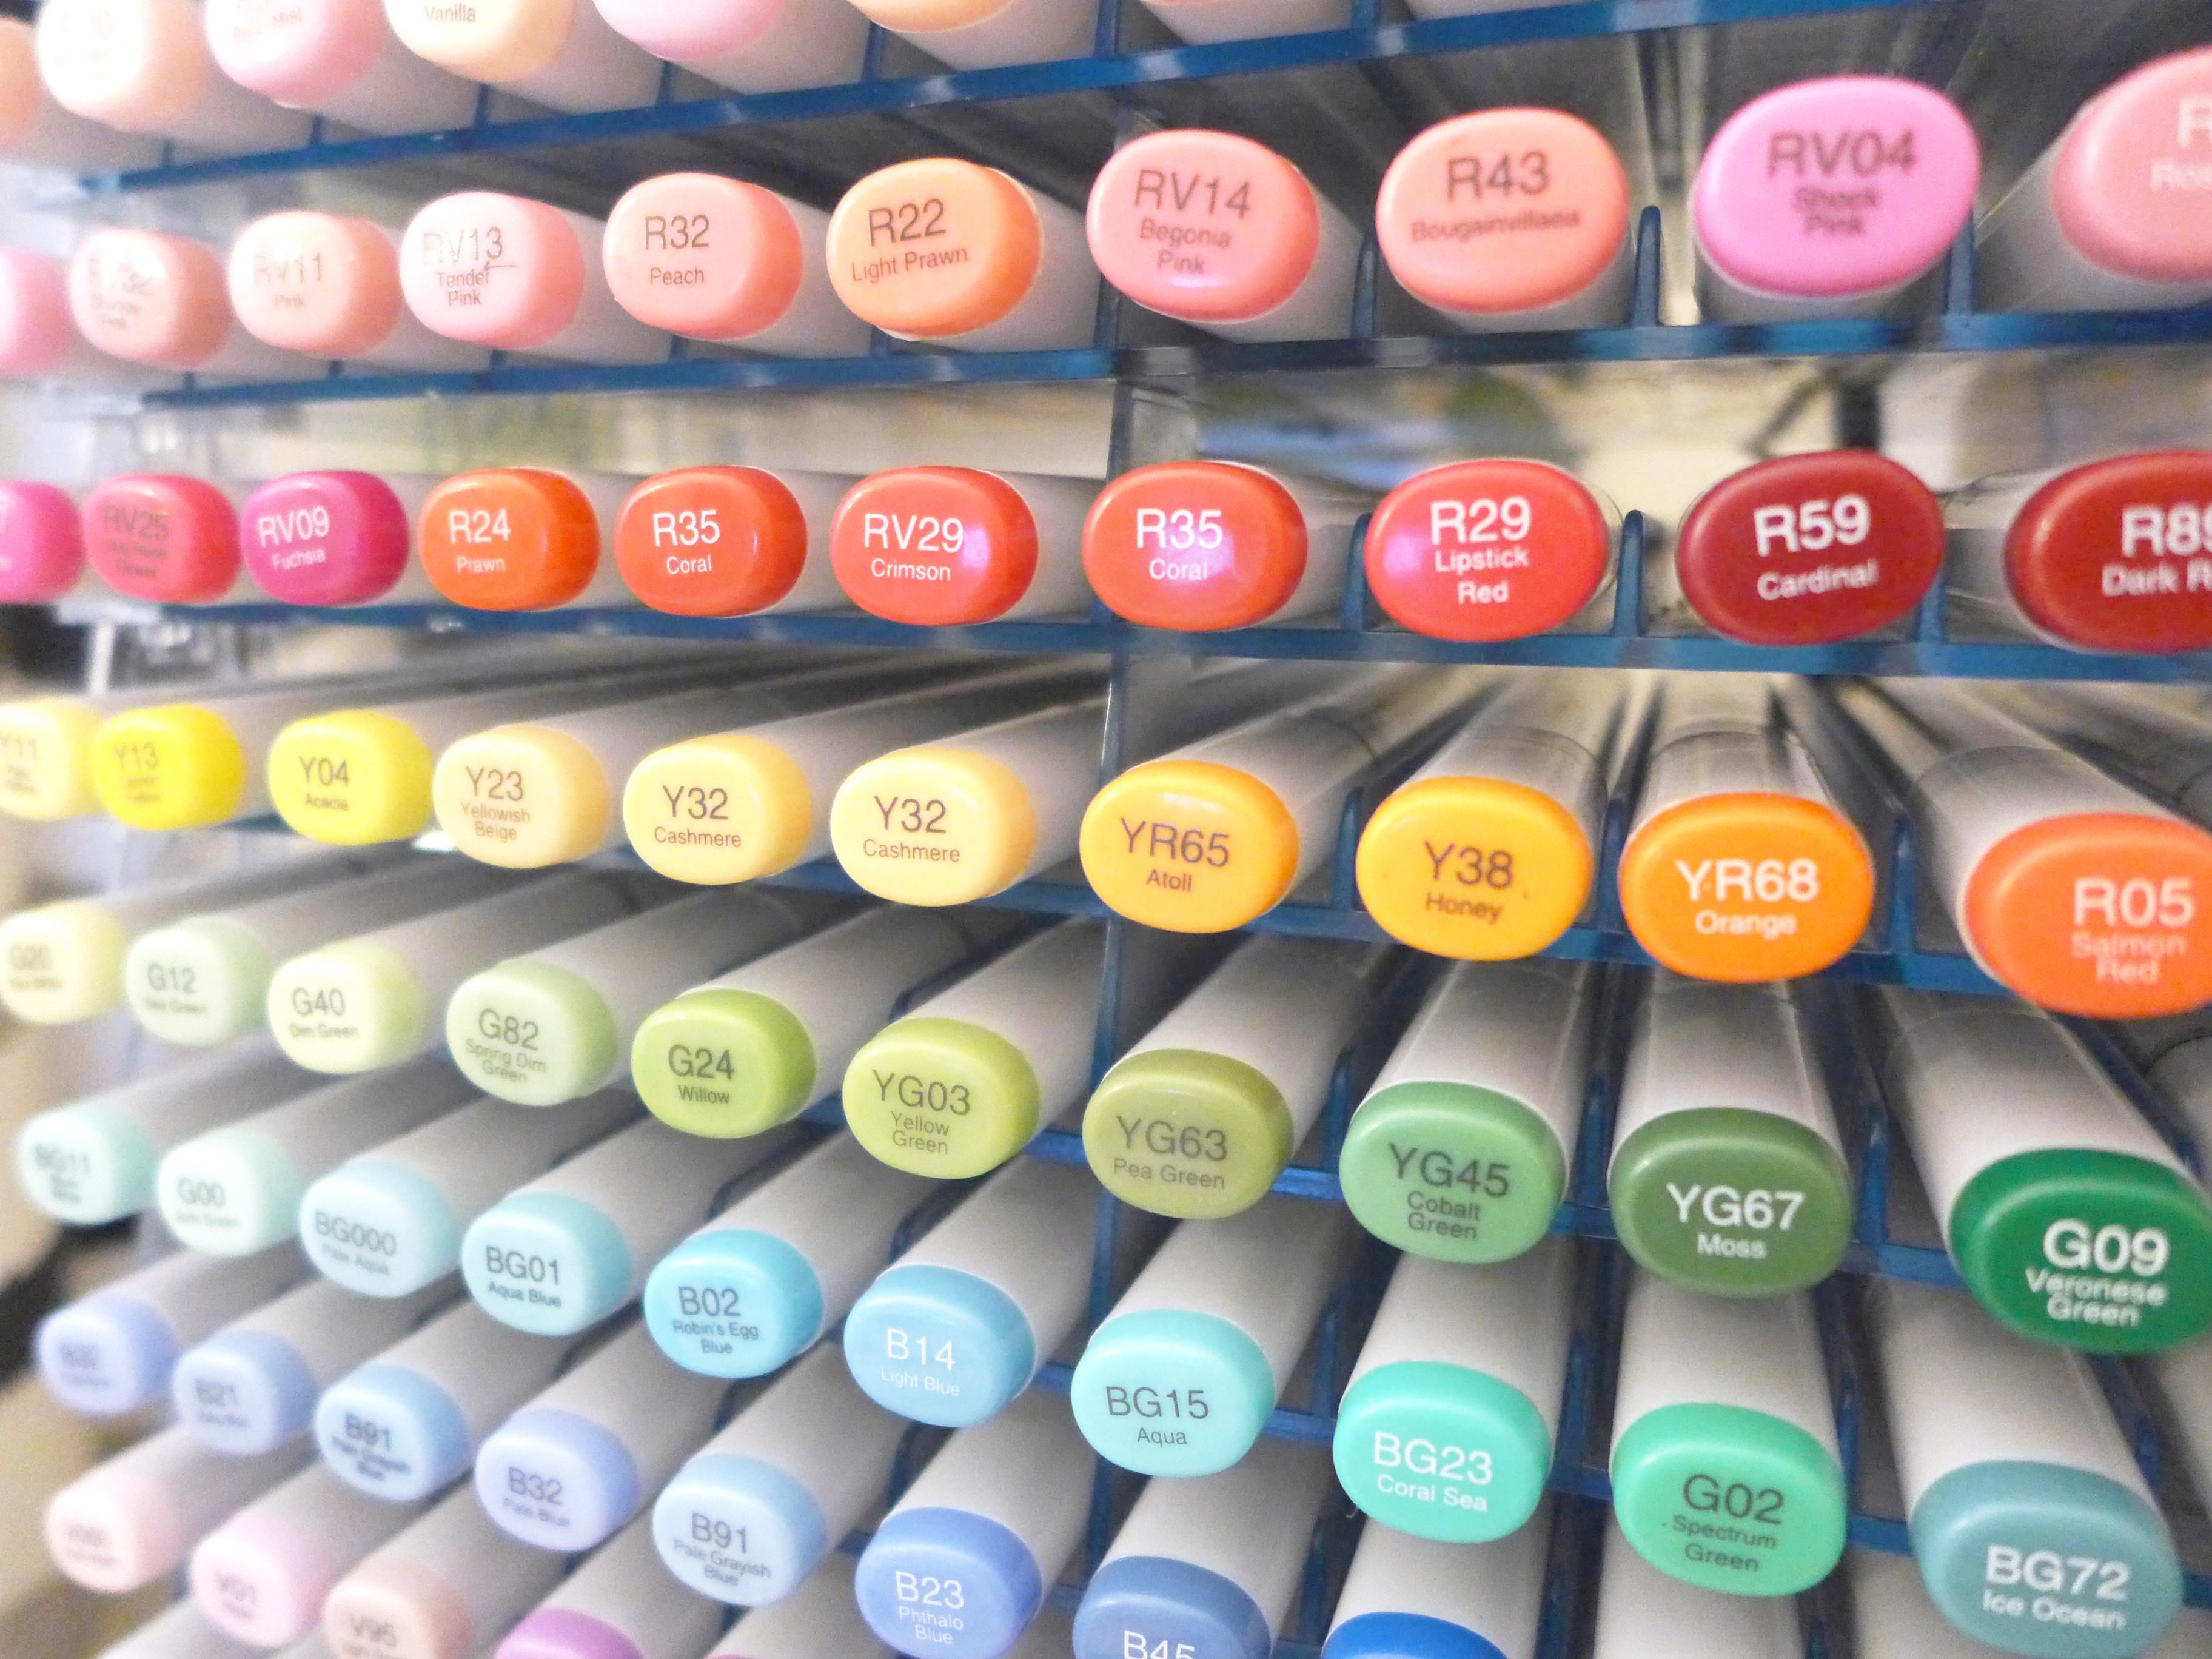
1. Buy markers in shade pairs or trios for easier blending
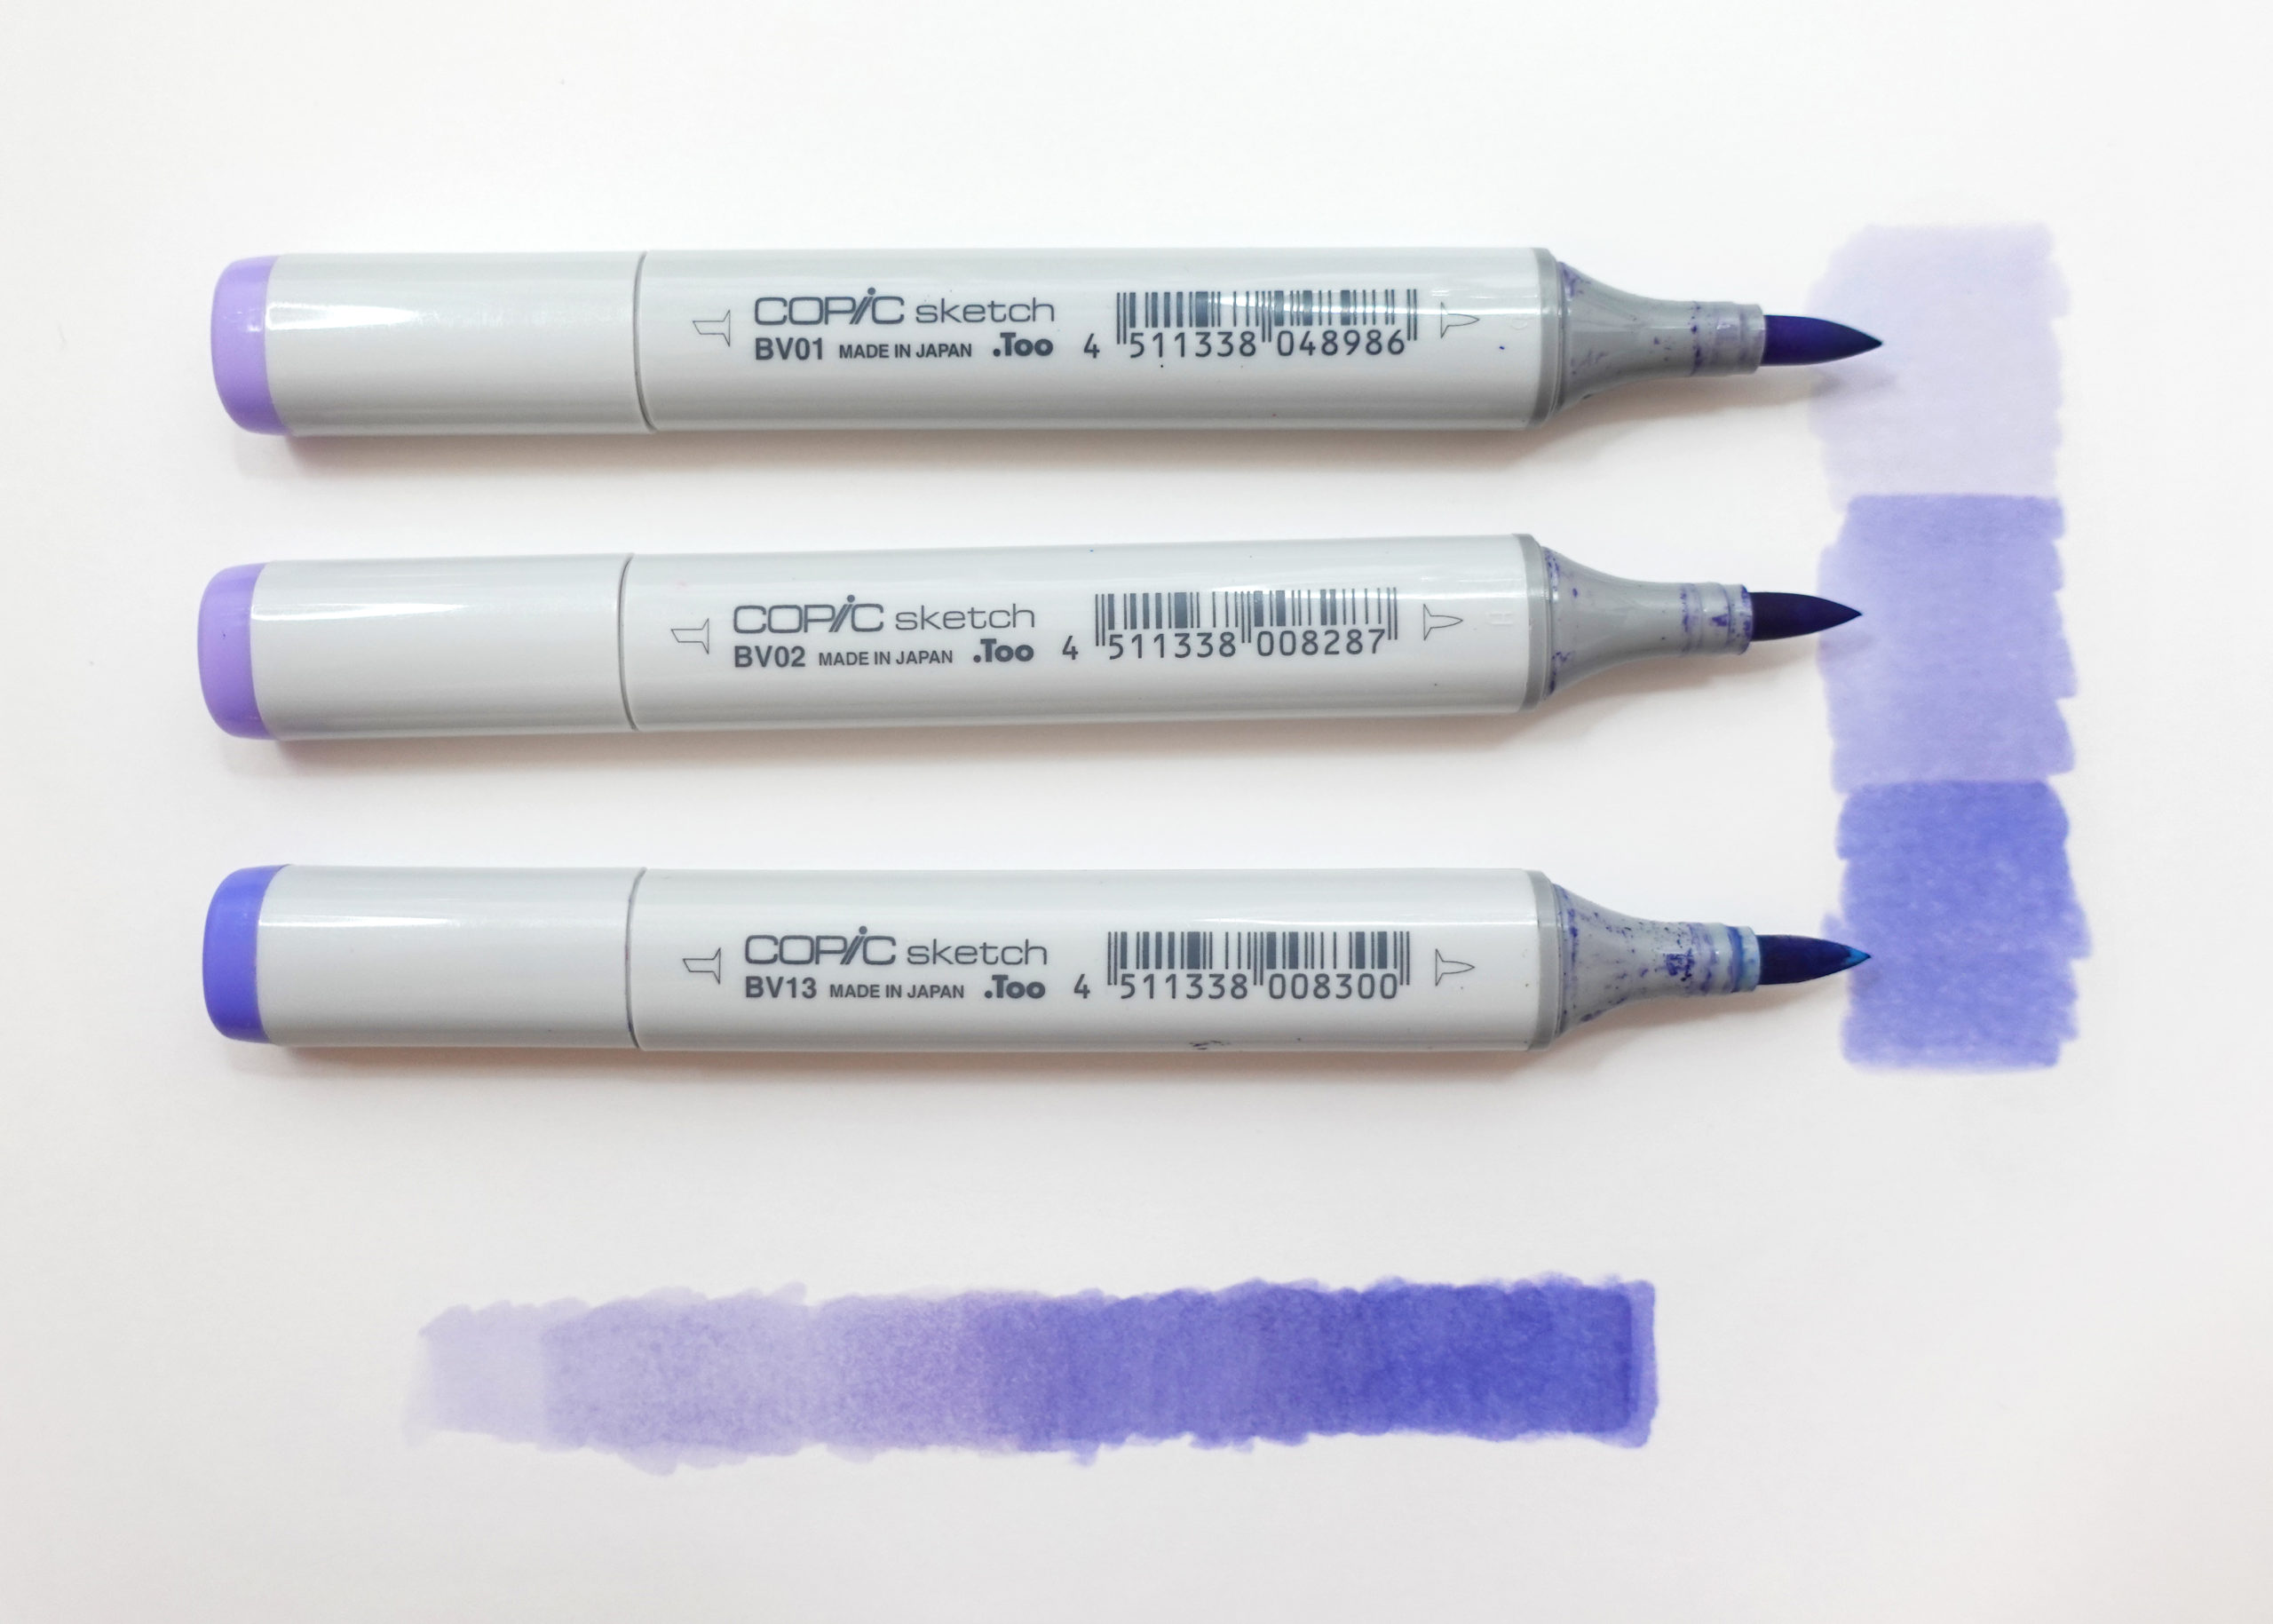
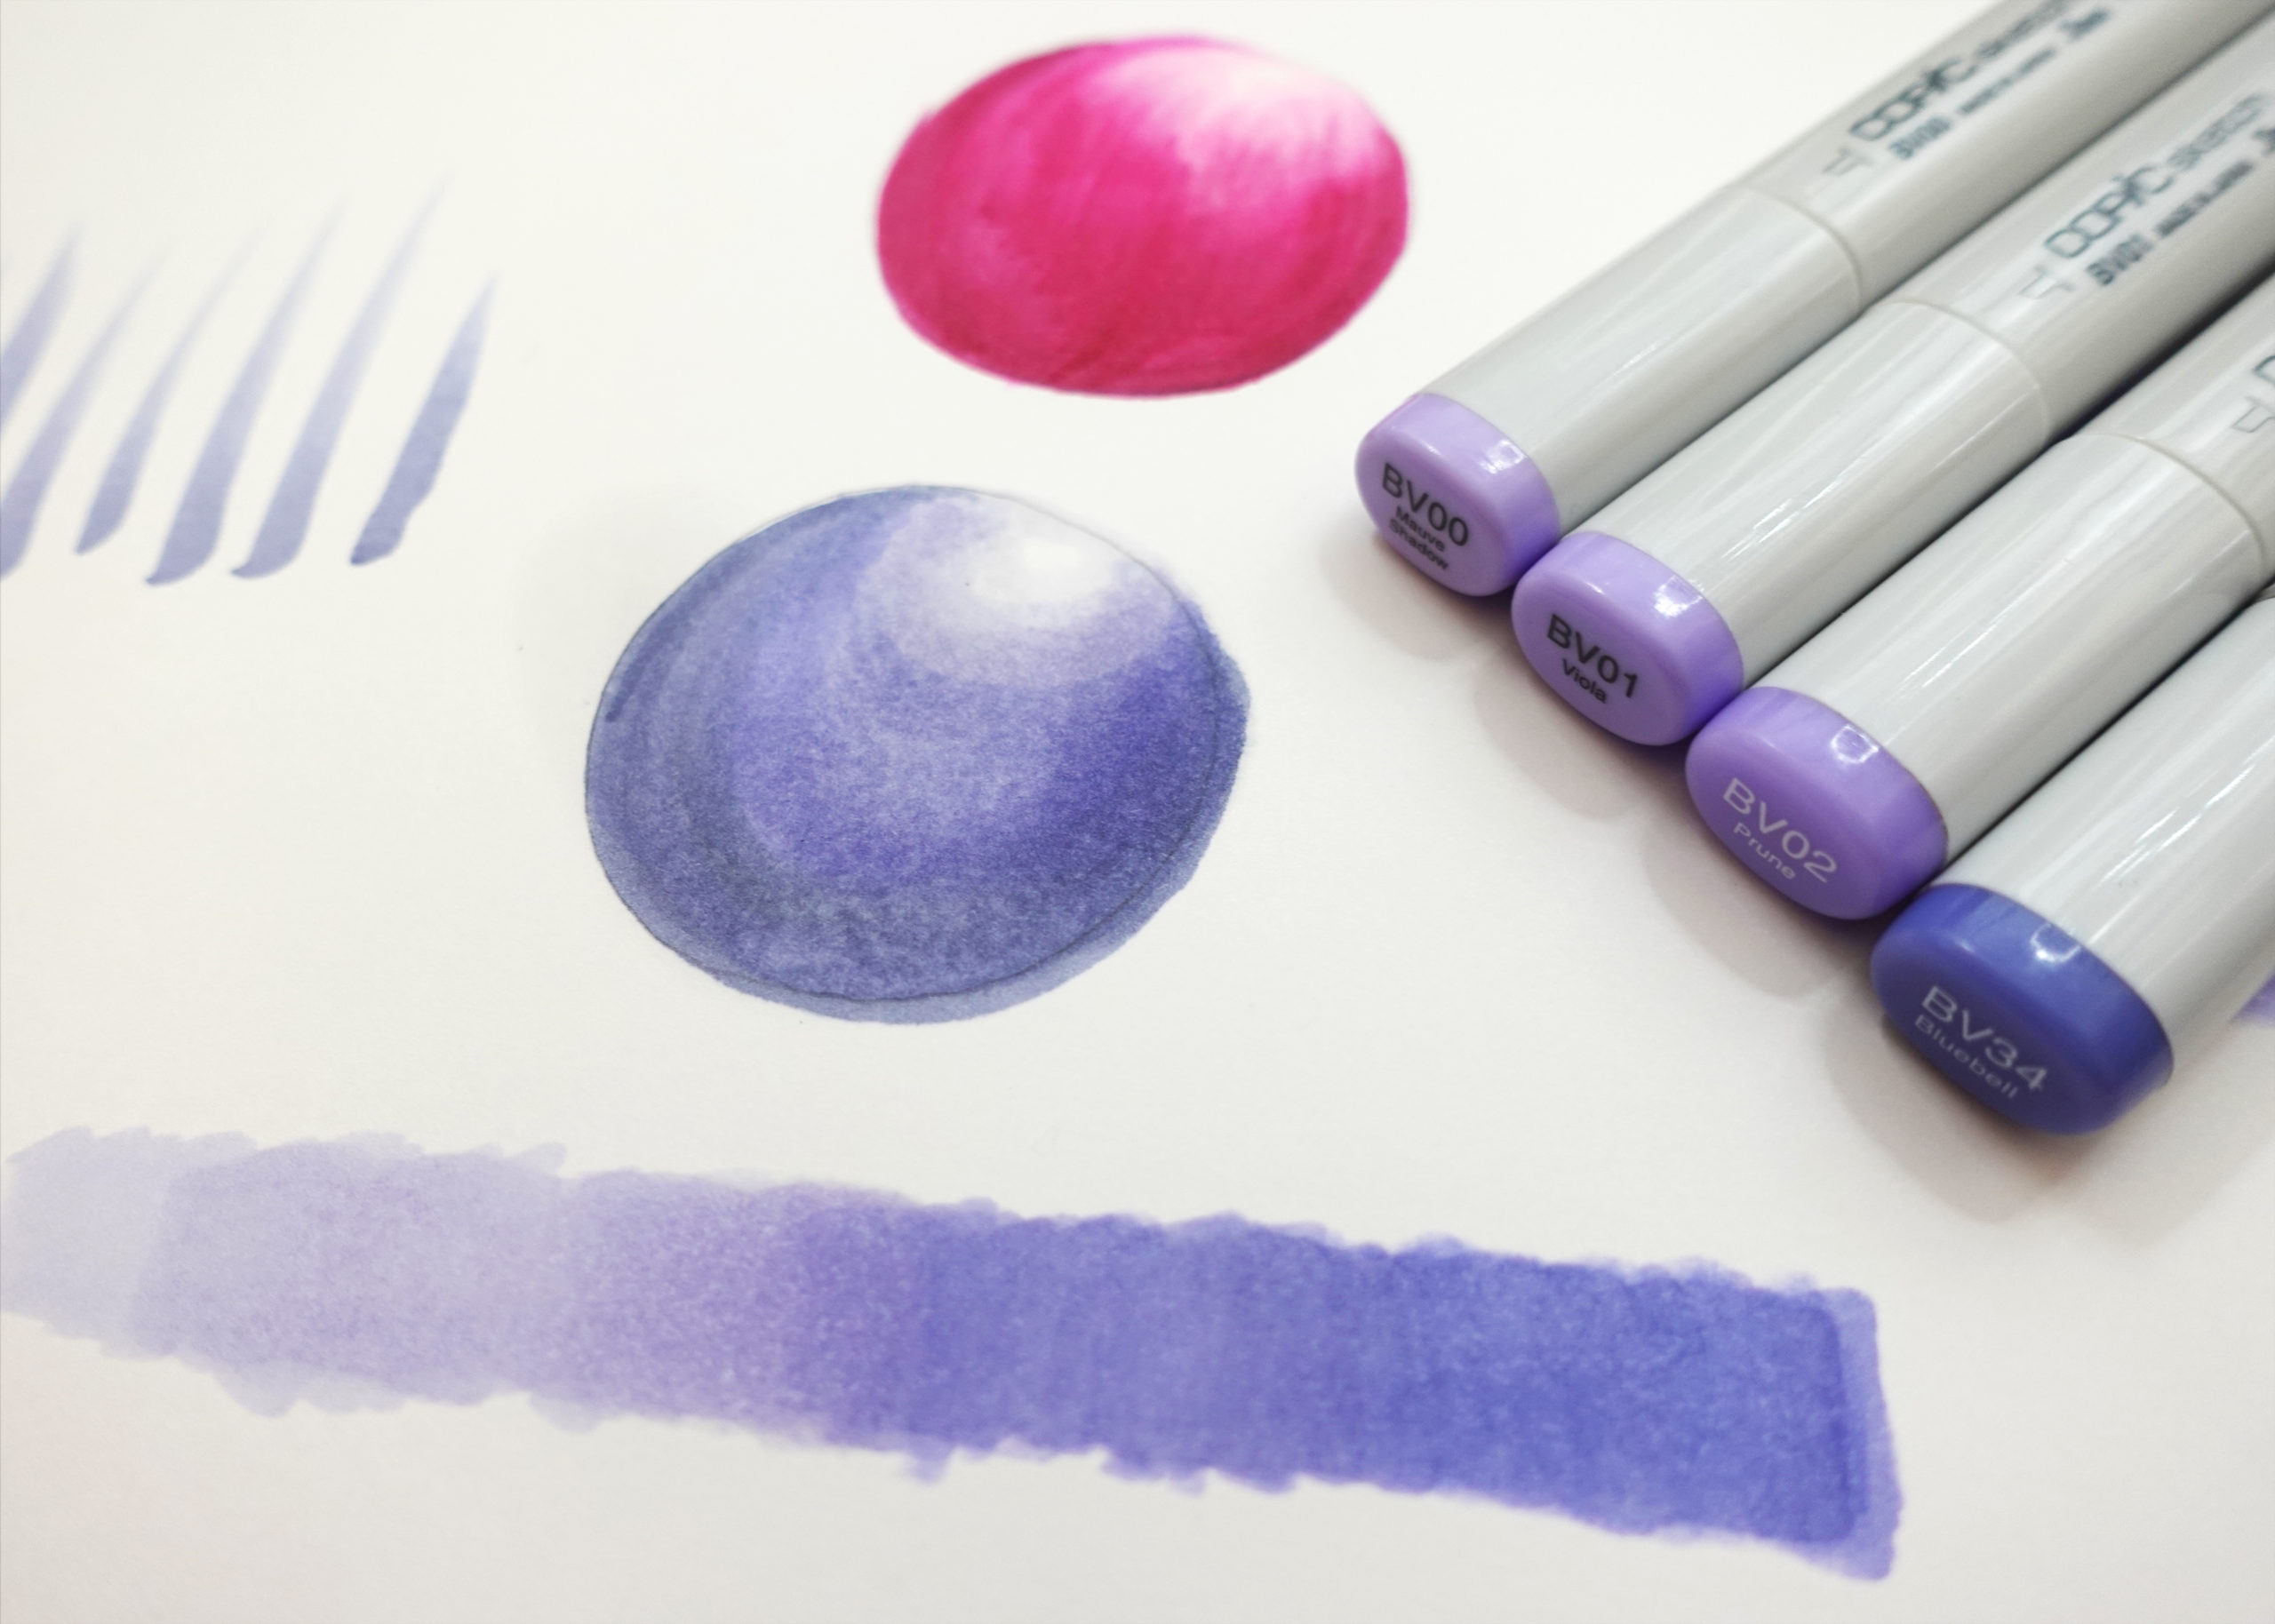
I’ve built my Copic collection of over 165 markers one by one over the years. I prefer to choose my own colors vs. buying a large preselected set because I’m more likely to use all the colors I’ve personally chosen. One thing that I do keep in mind when purchasing new colors is to make sure that I have other similar colors in that same color family that are a few shades lighter or darker than the color I’m buying. That way I can add more depth and dimension by using the darker of the two colors to build up shadows. If you’re just starting to build your collection, I suggest buying markers in pairs or trios of similar colors that you can blend from lightest to darkest. Copic even sells blending trios to help you figure out which colors will blend well together.
2. Keep track of your marker collection with a visual color chart
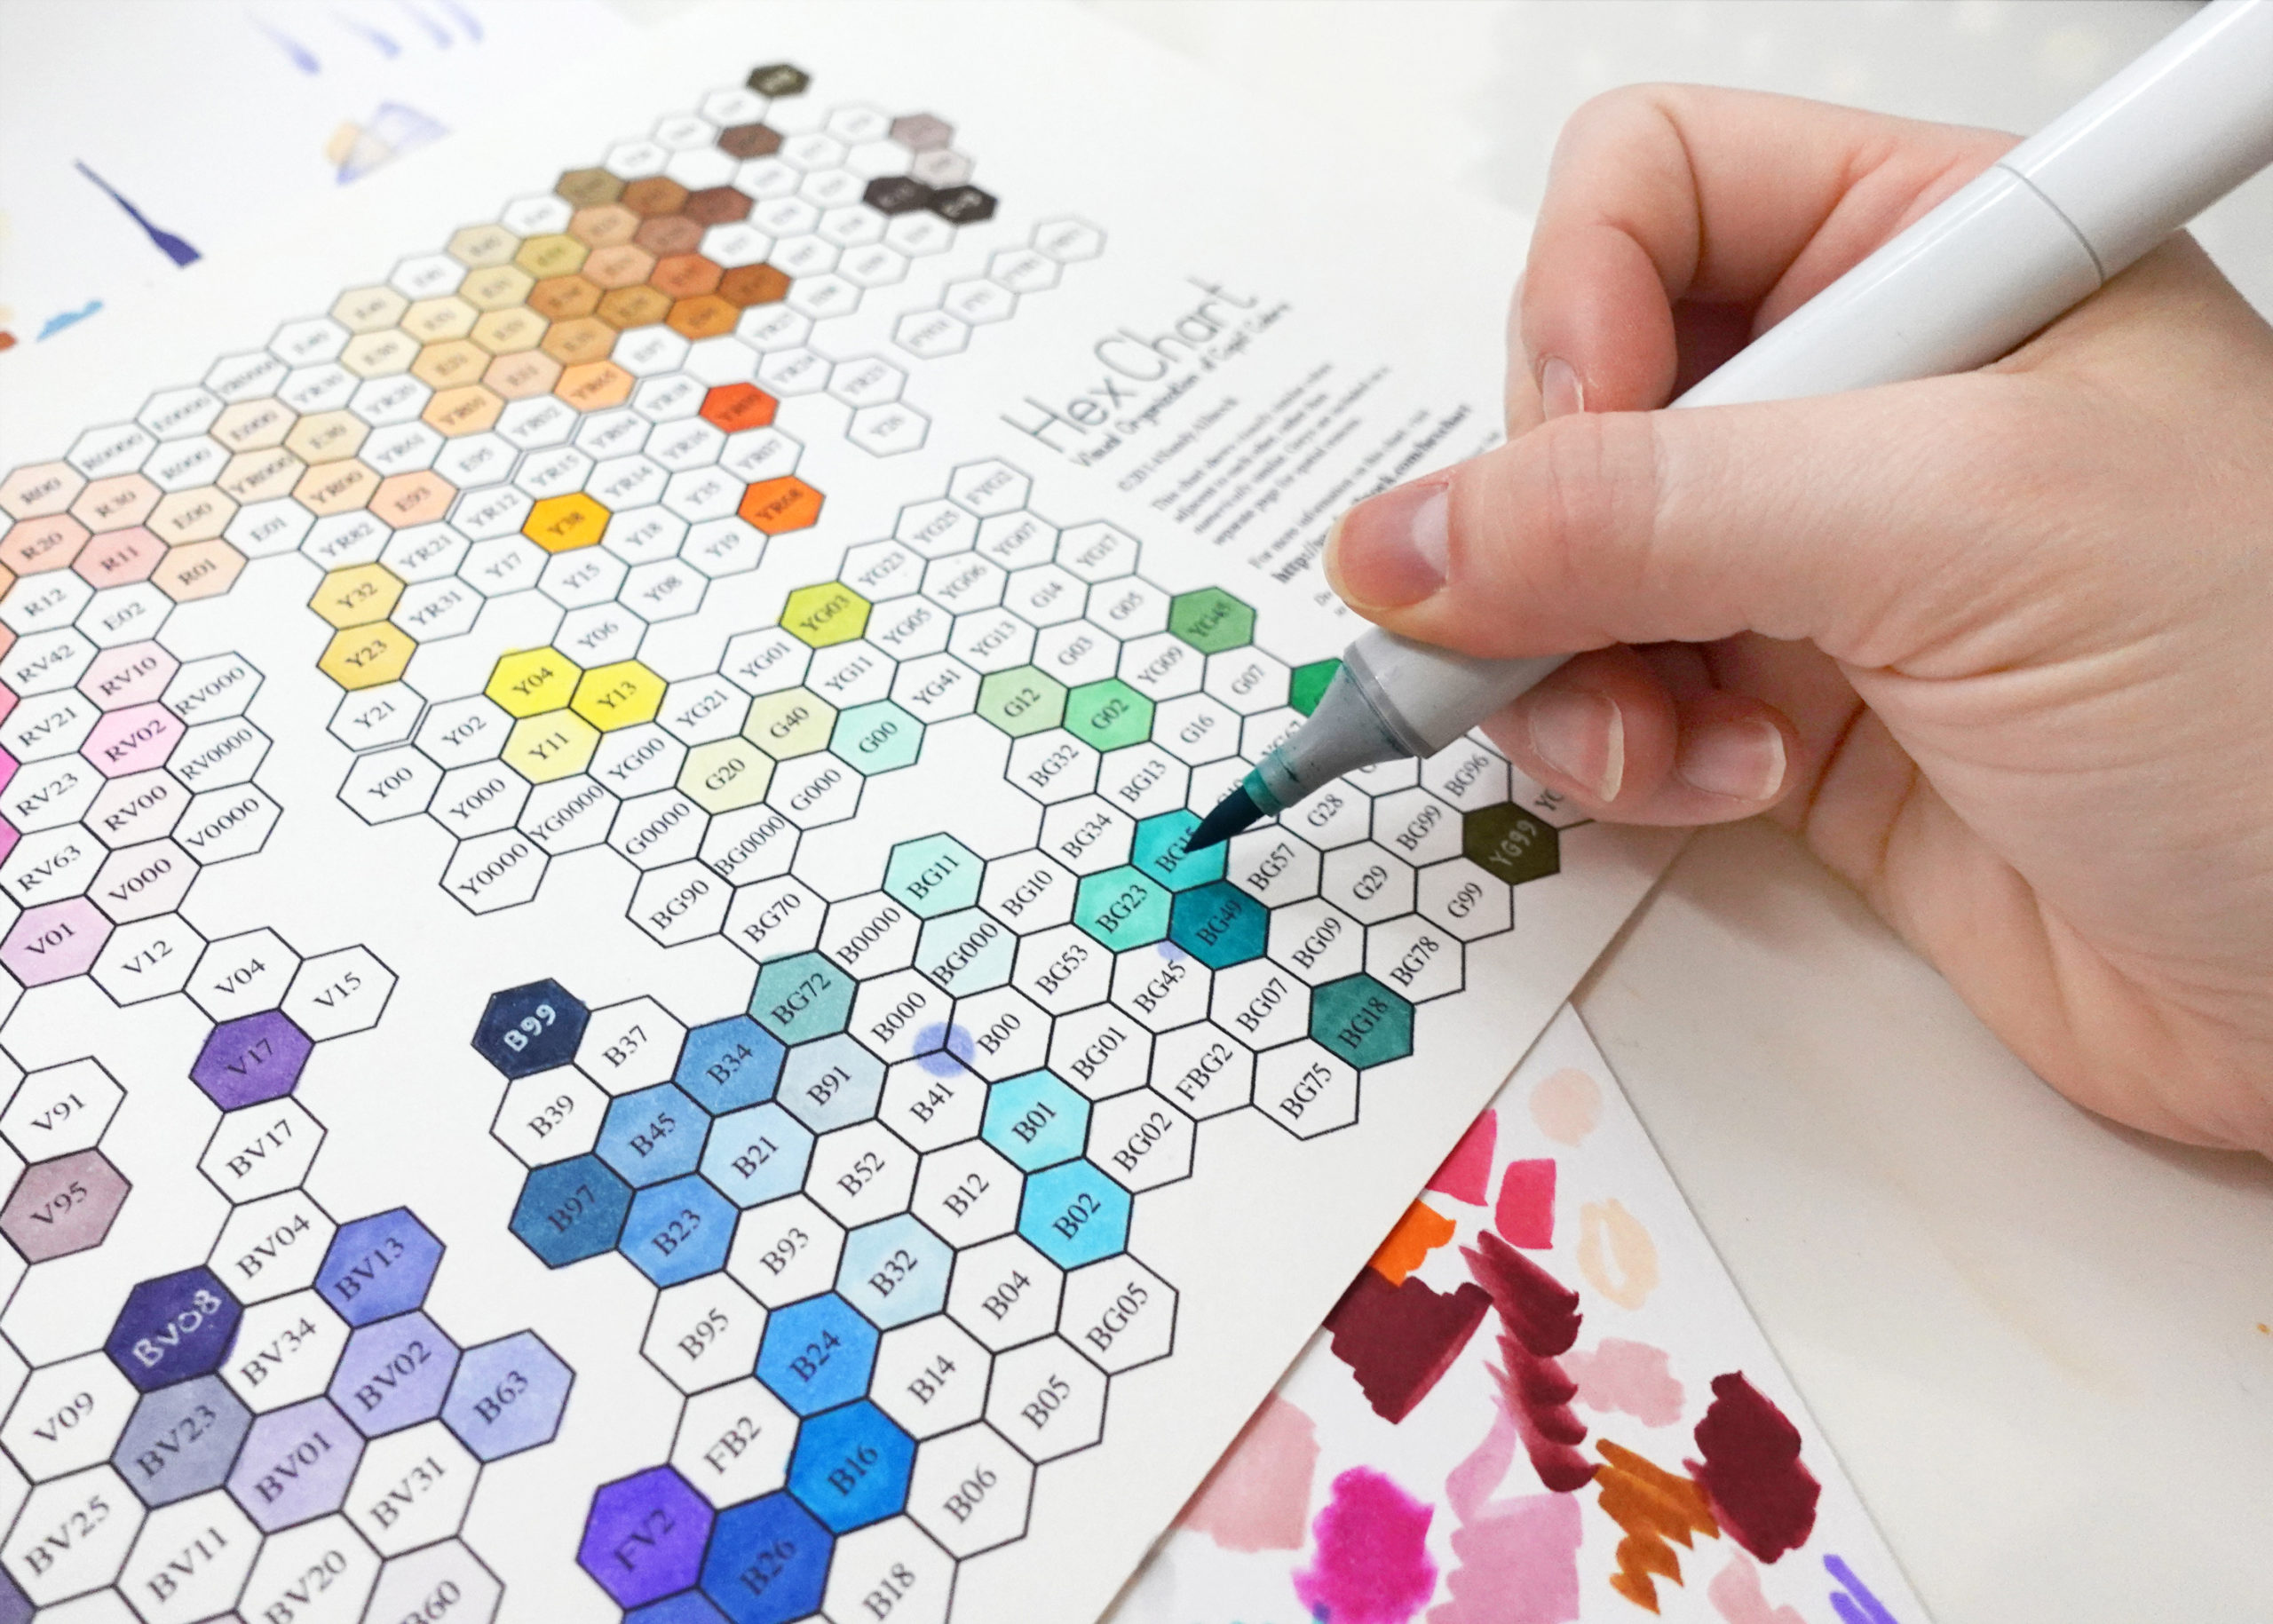
I love Sandy Allnock’s Copic Marker Hex Chart. Unlike many other Copic trackers out there, this one organizes all the colors visually instead of by number. The digital download includes a pre-filled chart so you can see all the color options available as well as a blank chart you can fill in as you collect new shades. It really helps to see where you have color gaps in your collection. You can also bring the chart with you on trips to the art store and know exactly which markers you have so you don’t accidentally buy duplicates.
3. Preserve the white of the paper for highlights
Similarly to watercolor, in order to make an object look like light is hitting it or it has shine in certain sections, you’ll need to make sure you don’t color in that section and let the white of the paper act as your highlight. This can be tricky to get the hang of at first, especially if you’re used to working in mediums that have white as a color. But there are no white Copic markers! The color of your paper will act as the white. You can of course utilize other mediums like white gel pen and white gouache to apply highlights on top of your marker renderings but your illustrations will be much more effective if you don’t rely on these methods exclusively for your highlights.
4. Use “brush with lift” for smoother brush stroke transitions
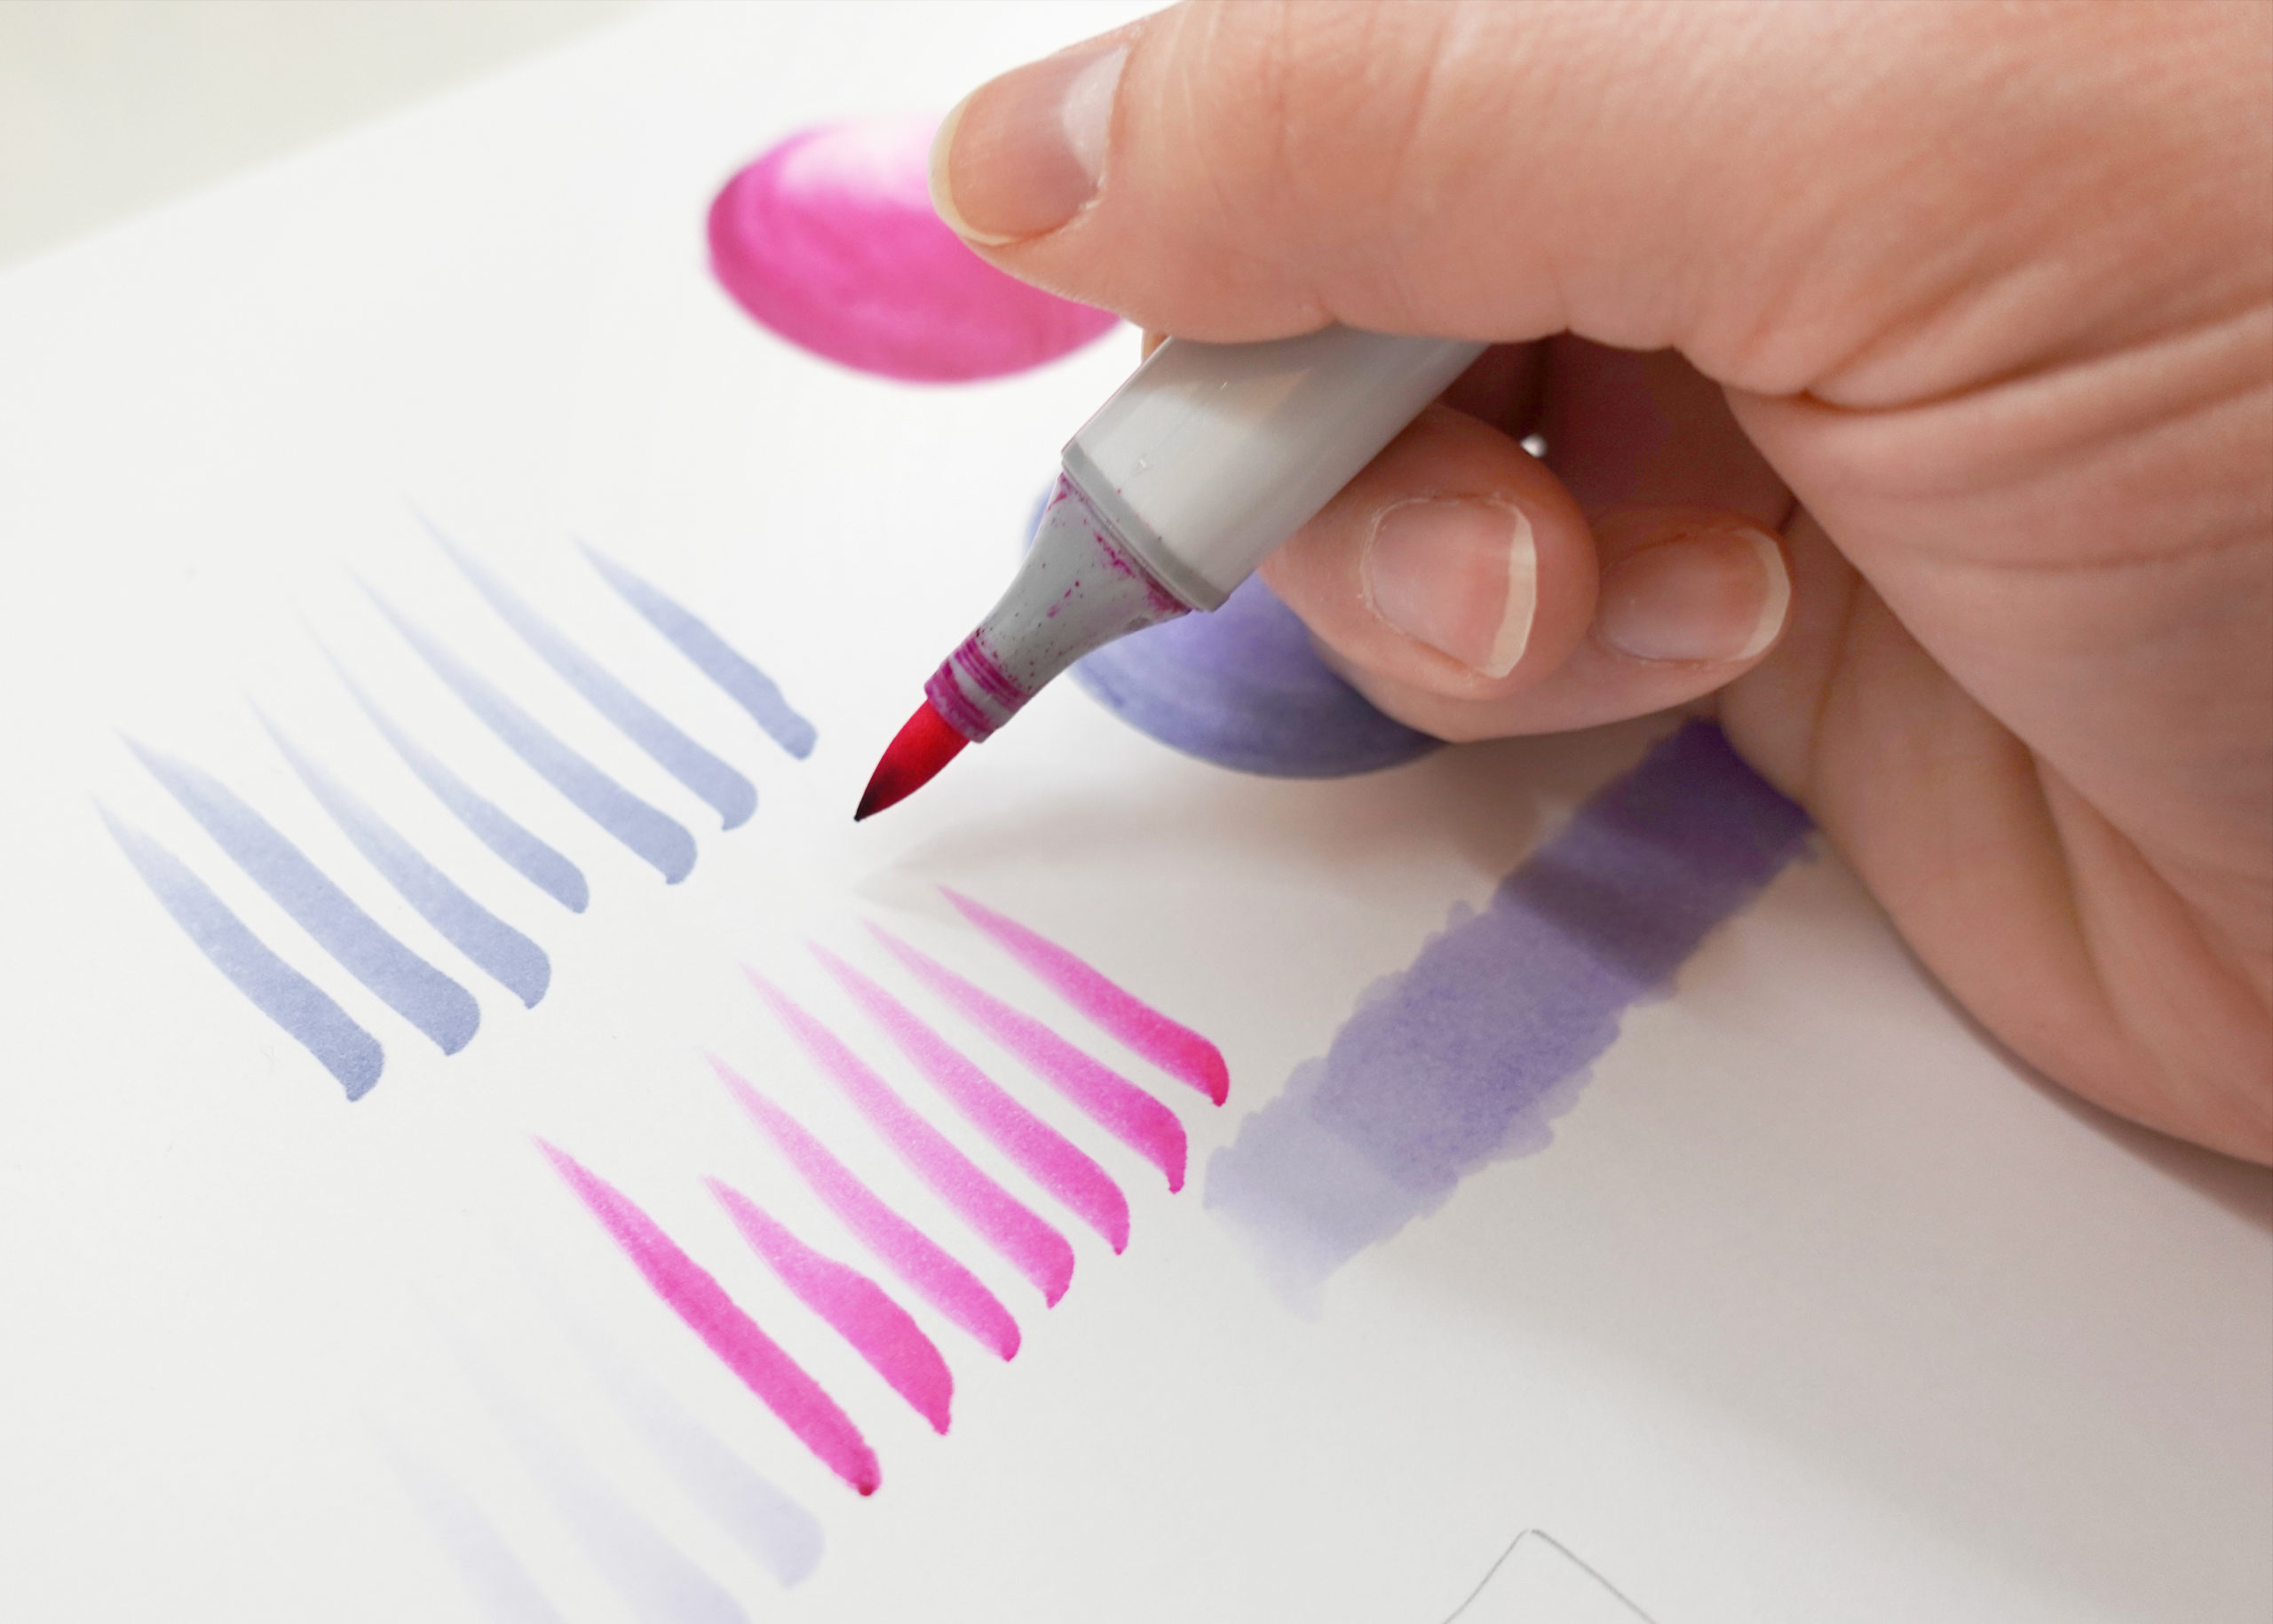
This is my most used brush marker technique. Start by applying a medium amount of pressure to the brush tip end of your marker, move the tip along the page and towards the end of the stroke, flick your wrist a way from you as you lift off the page to create a beautifully tapered line. This technique will help you transition colors, “blend” colors into the white of the paper, and make everything look a bit more smooth.
5. Build up shadows using multiple layers of the same color first
I love how many different shades of color you can achieve just by adding multiple layers of the same color. When adding shadows to your illustrations to make them look more three dimensional, instead of reaching for a darker color first, build depth by adding 2 or 3 layers of the same marker color and see if you can achieve the depth of color you’re after. Keep in mind, the marker ink will dry slightly lighter than it looks while wet.
6. When building color, work lightest to darkest
Once you go dark, you can’t go back! Unlike painting in acrylics or oils, you can’t layer lighter colored markers over darker ones. When illustrating darker colors, I always try first using a color that’s a shade or two lighter than the color I want the end result to be. That way I can add a couple layers of the same color to achieve a more even (and slightly darker) color. I also like rendering the lightest colors in my illustration first before adding sections with darker colors to avoid unwanted smearing or blending.
7. Work quickly when blending, you want to make sure the ink is still wet when mixing colors
One of the best things about Copic ink is how blendable it is, but you want to do all the blending while the ink is still wet on the page. For this reason you’ll want to work in sections and keep both colors that you’re blending handy. I’ll use my lighter color first, then blend to my darker color, and then go back over with my lighter color again to make the transition even smoother. I try to make this happen all within a minute or so before the ink is fully absorbed into the paper.
8. To avoid streaks, keep the brush tip on the page when filling in sections of color
While I love that you can build up the color by layering multiple coats of the same color, this can also lead to uneven color when you’re coloring in blocks or larger sections. To help avoid the overlapping layers, keep your brush tip marker on the page (don’t lift it off) and quickly fill in your section with solid color. And to avoid uneven color on large solid sections, try not to overlap previous brush strokes in between each section.
9. Use the chisel edge for uniform lines and patterns
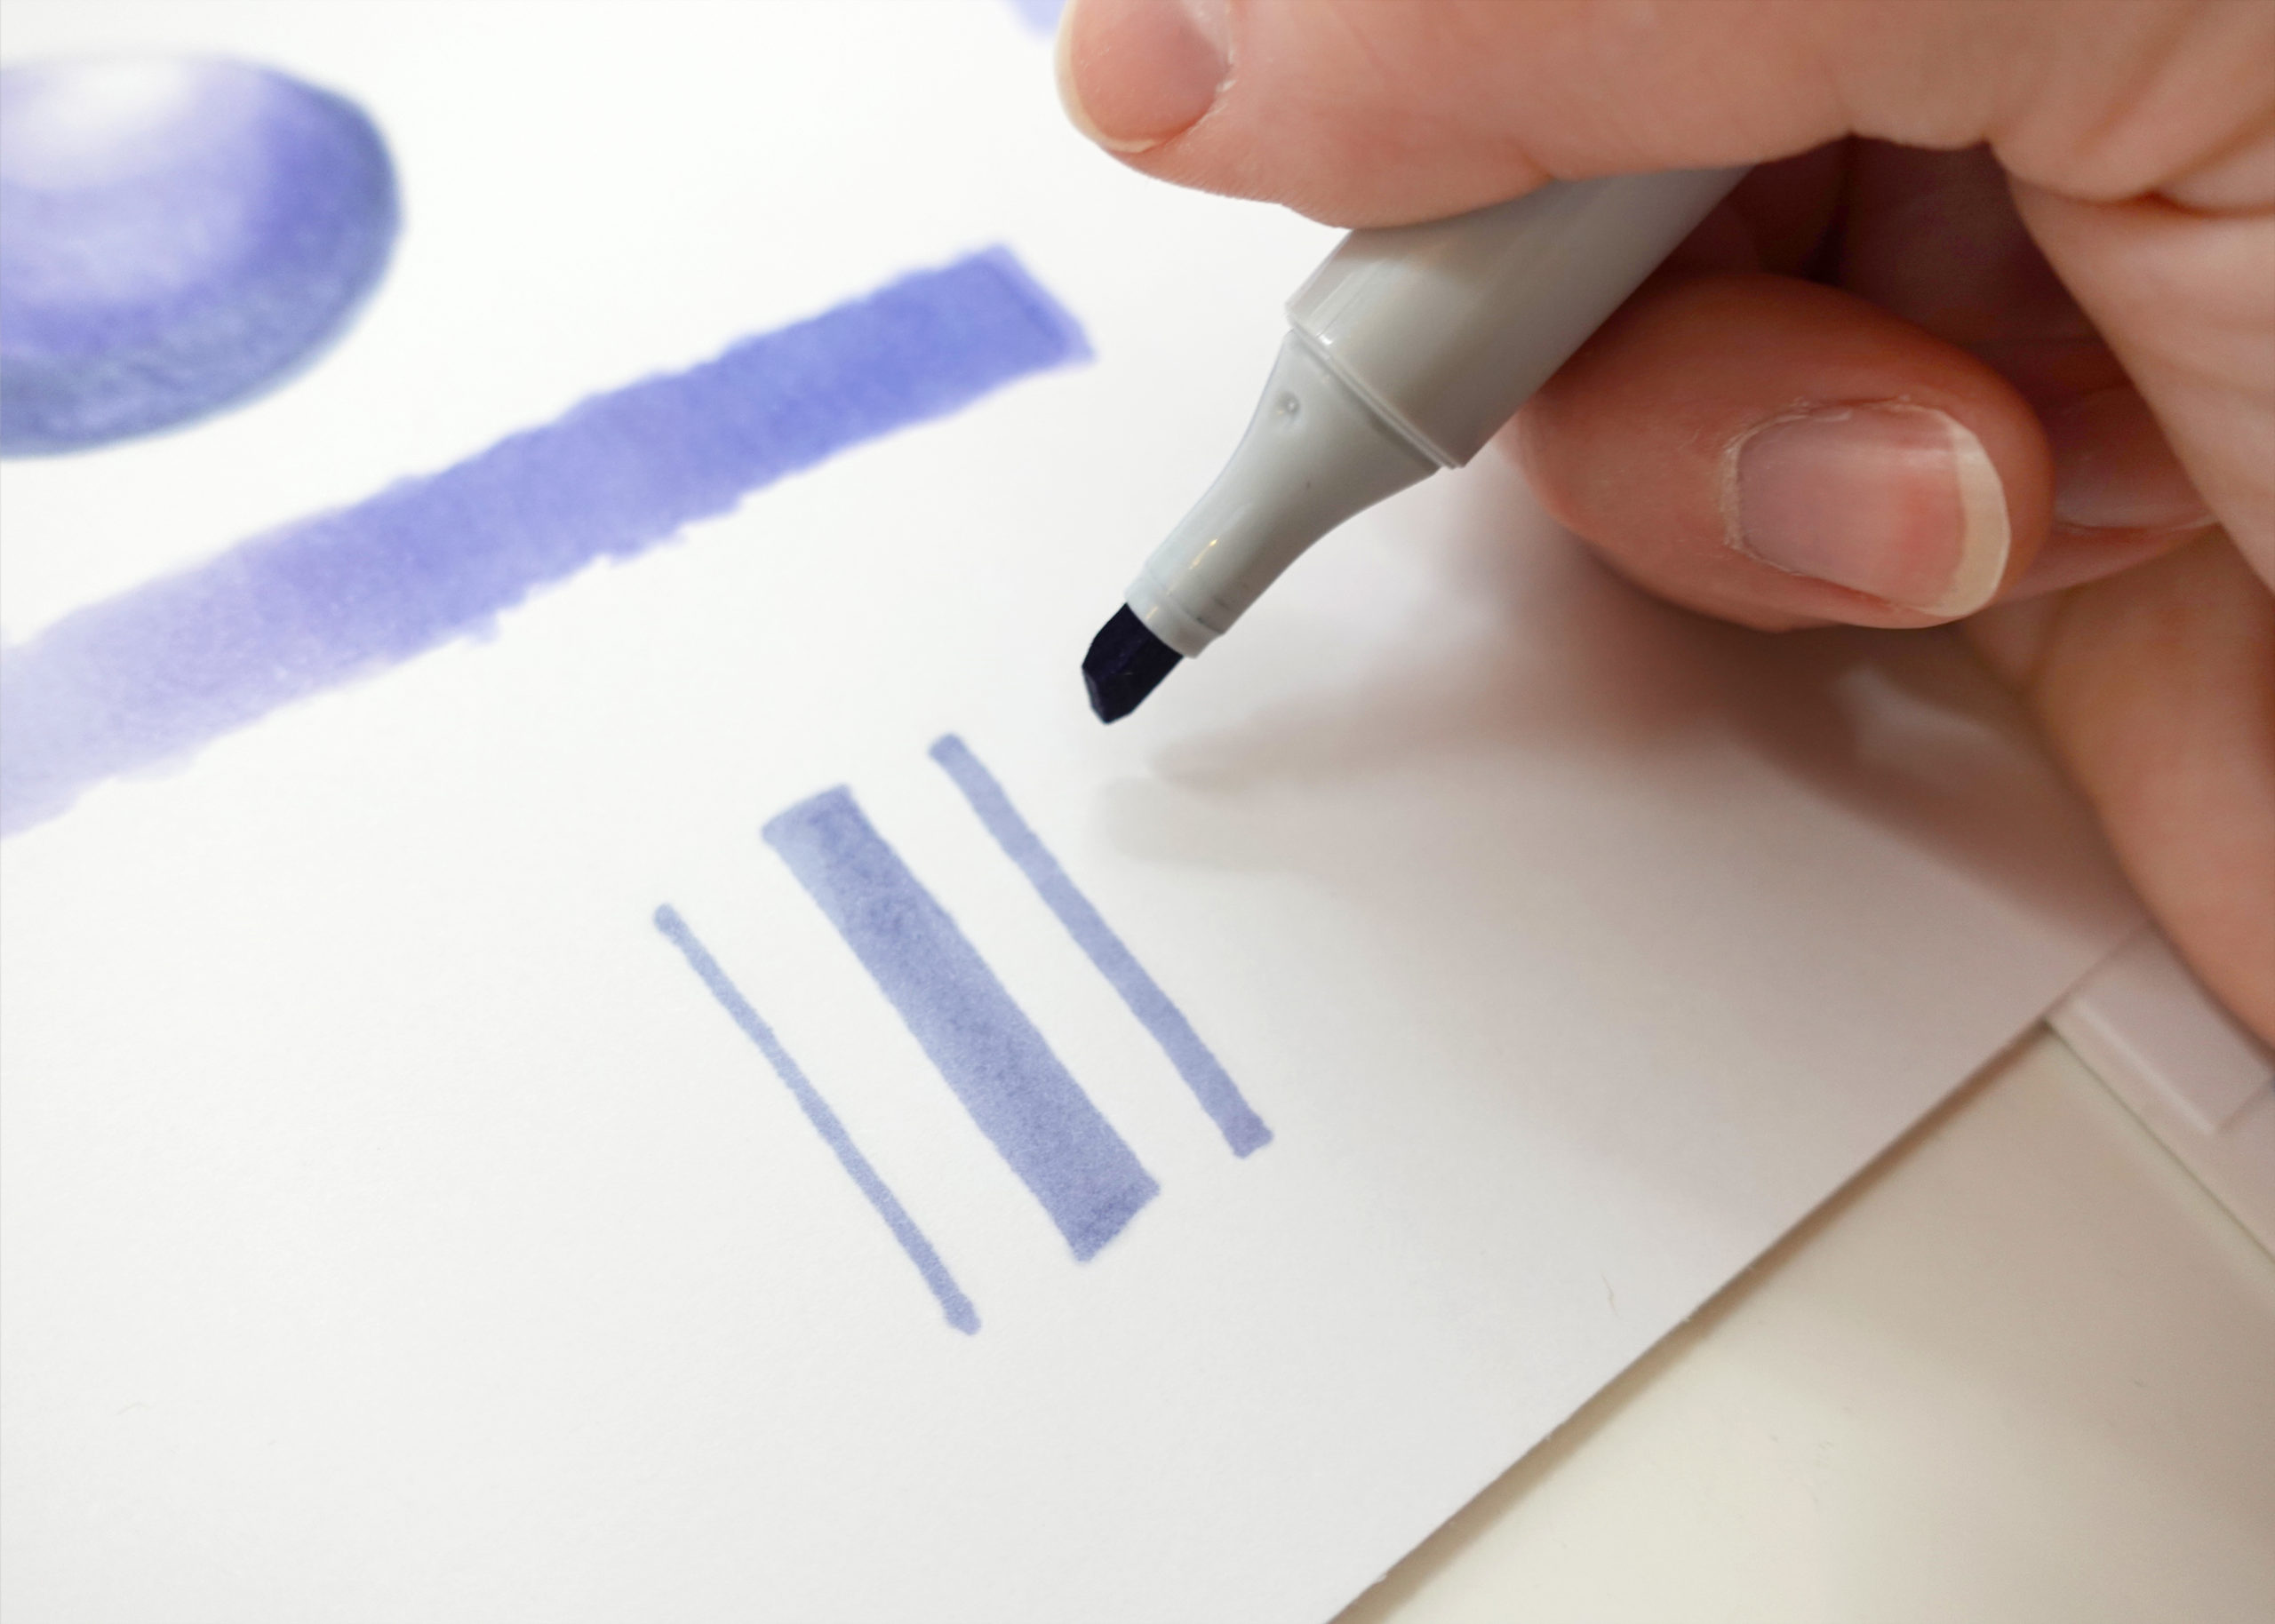
I tend to use the brush tip of my Copic Sketch markers most frequently, but when I need a uniform line, I’ll switch sides and go for the chisel end. There are three types of lines you can create with the chisel: narrow, medium, and wide. To achieve a narrow line, turn the short side of the chisel edge on its side and draw straight towards you (how I’m holding the marker in the picture below). To create a medium line, turn the short side of the chisel edge horizontal so you can use the full width of the short edge. For a wider line, place the entire width of the widest edge down on the page. The chisel end works great when you’re rendering stripes and plaids that need a consistent thickness.
10. Store your markers flat to lessen the chance they’ll dry out at one end
I’ve found that my markers last a bit longer and the ink doesn’t pool as much to one end when I store them flat. There are a variety of Copic Marker storage ideas out there, but I compiled some of my favorites and linked to the exact storage trays I use in this blog post.
That’s it! Those are my Top 10 Copic Sketch Marker Tips. I hope this post is helpful when you’re trying them out for the first time or you’re looking to improve your brush marker technique. I’m eager to hear what you think and if you have any questions, leave a comment below or send me a DM on Instagram. I’d love to see what beautiful things you’re creating!
xoxo,
P.S. If you enjoyed these tips and would like to learn more, be sure to get on my special mailing list for Artists & Creatives to get all the latest updates on new online course offerings, free live classes, illustrations resources and more.




I want color collection different. Then where is shopping color pen
Hi Pamela! I’ve found the best places to buy Copics are Blick Art Materials and Jerry’s Artarama online. I hope that answers your question! =)
Thank you for sharing this information. this is very helpful for a newbie like me.
Can you suggest to me the best Copic marker for beginners?
I bought this set of Copics SB12 because I am trying to get into coloring my artwork by more traditional means and having purchased a couple of Copic Sketch Markers in the past, I decided to go for the 12pc set. Now, they work wonderfully, as expected from the two I purchased years before, the multiple wonderful reviews, and the fact that Copics are used by many professionals. Also they apply really smoothly and have a very long life span.