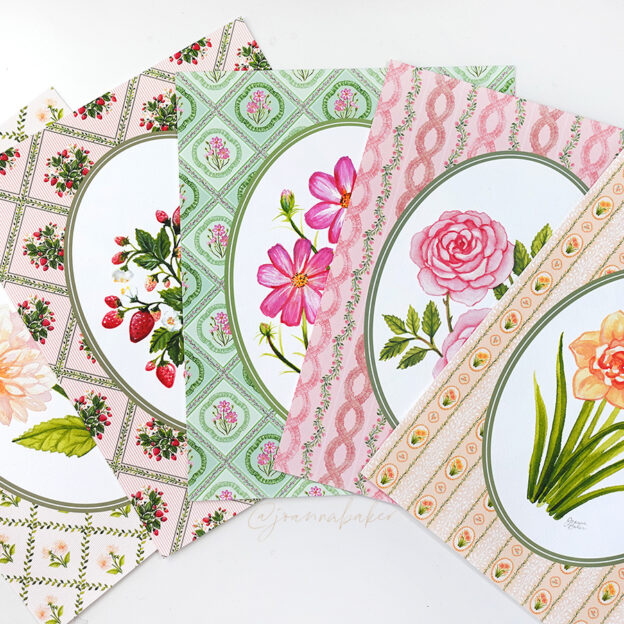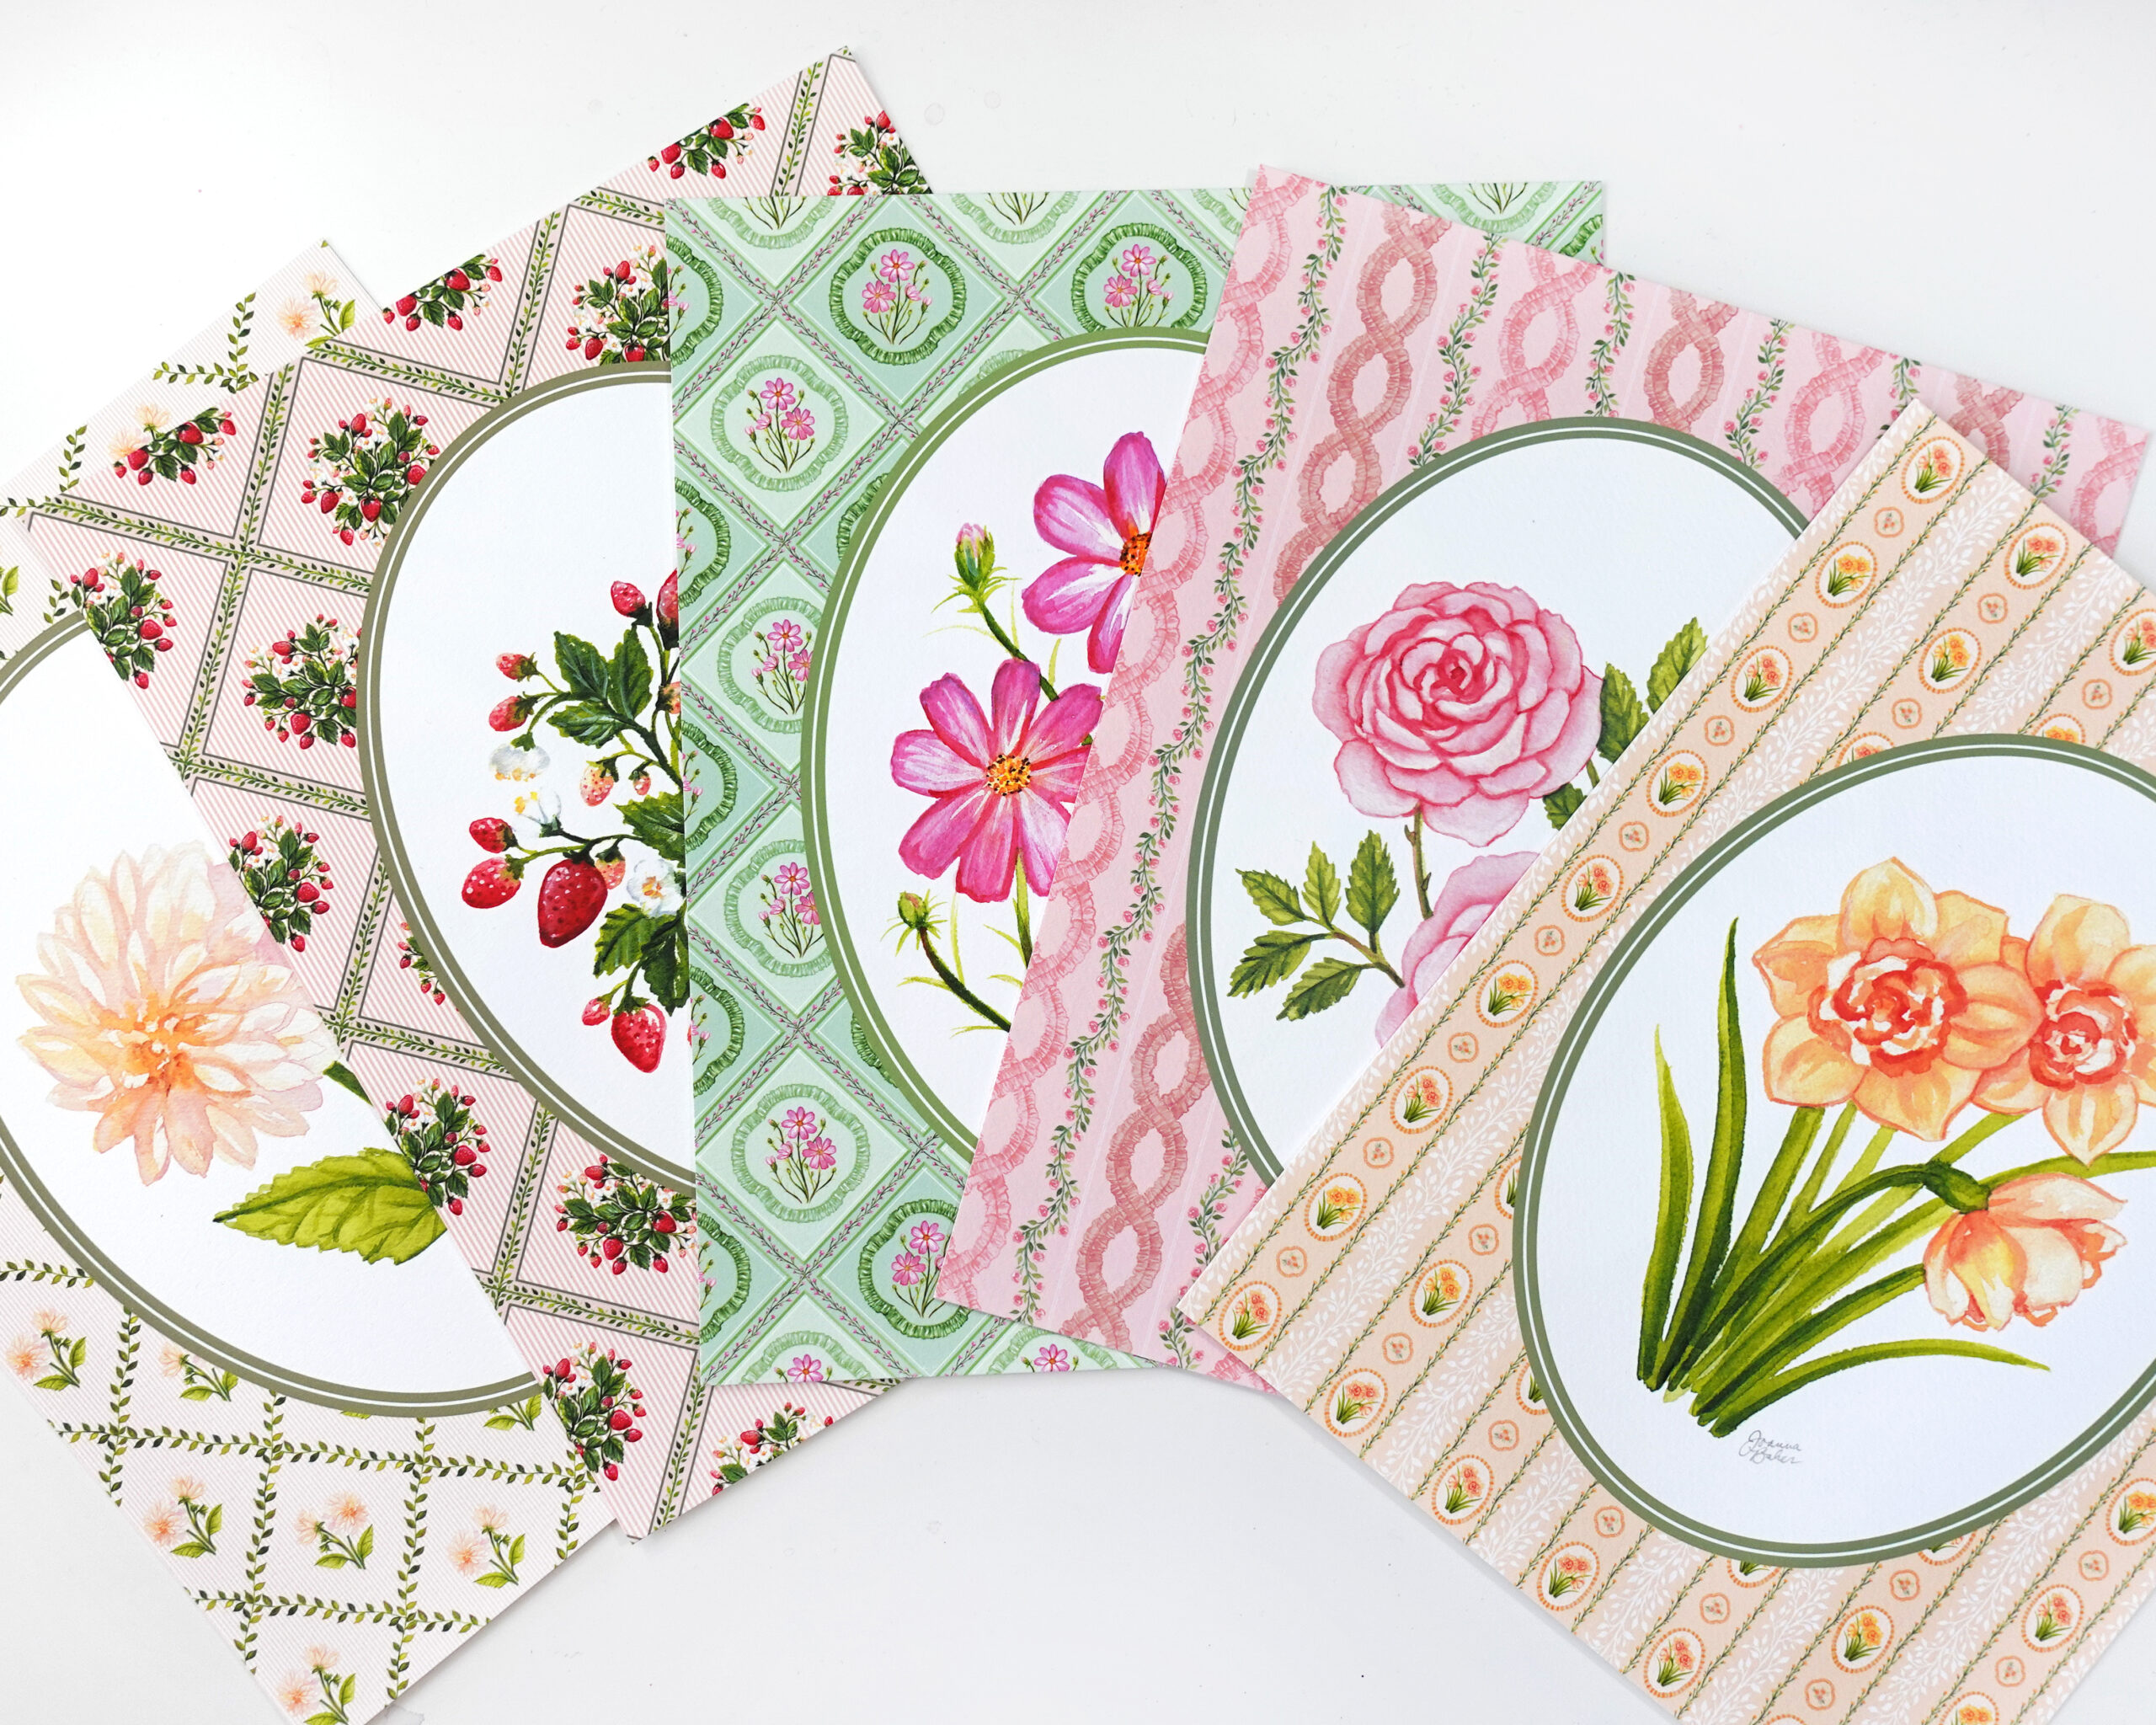
The Garden Medallion Art Print Collection launches tomorrow and to help you envision these beautiful art prints in your space, I thought I’d share some of my best DIY framing tips along with my favorite sources for vintage inspired frames and colorful mats. If framing intimidates you, know that you’re not alone. But the good news is that framing art prints is actually really simple. And you don’t need any fancy tools either – just a frame, a mat if you’d like, and some acid free framer’s tape!
My brand new collection of prints features a selection of original watercolor fruit & floral paintings from the Watercolor Garden calendar along with corresponding patterns I created using the same motifs. The result is a vintage wallpaper inspired look – each piece gives the appearance of having its own patterned mat! These art prints are equally beautiful framed straight to the edge as they are framed with an added mat. Let’s walk through a few options of frames and mats to give you some inspiration…
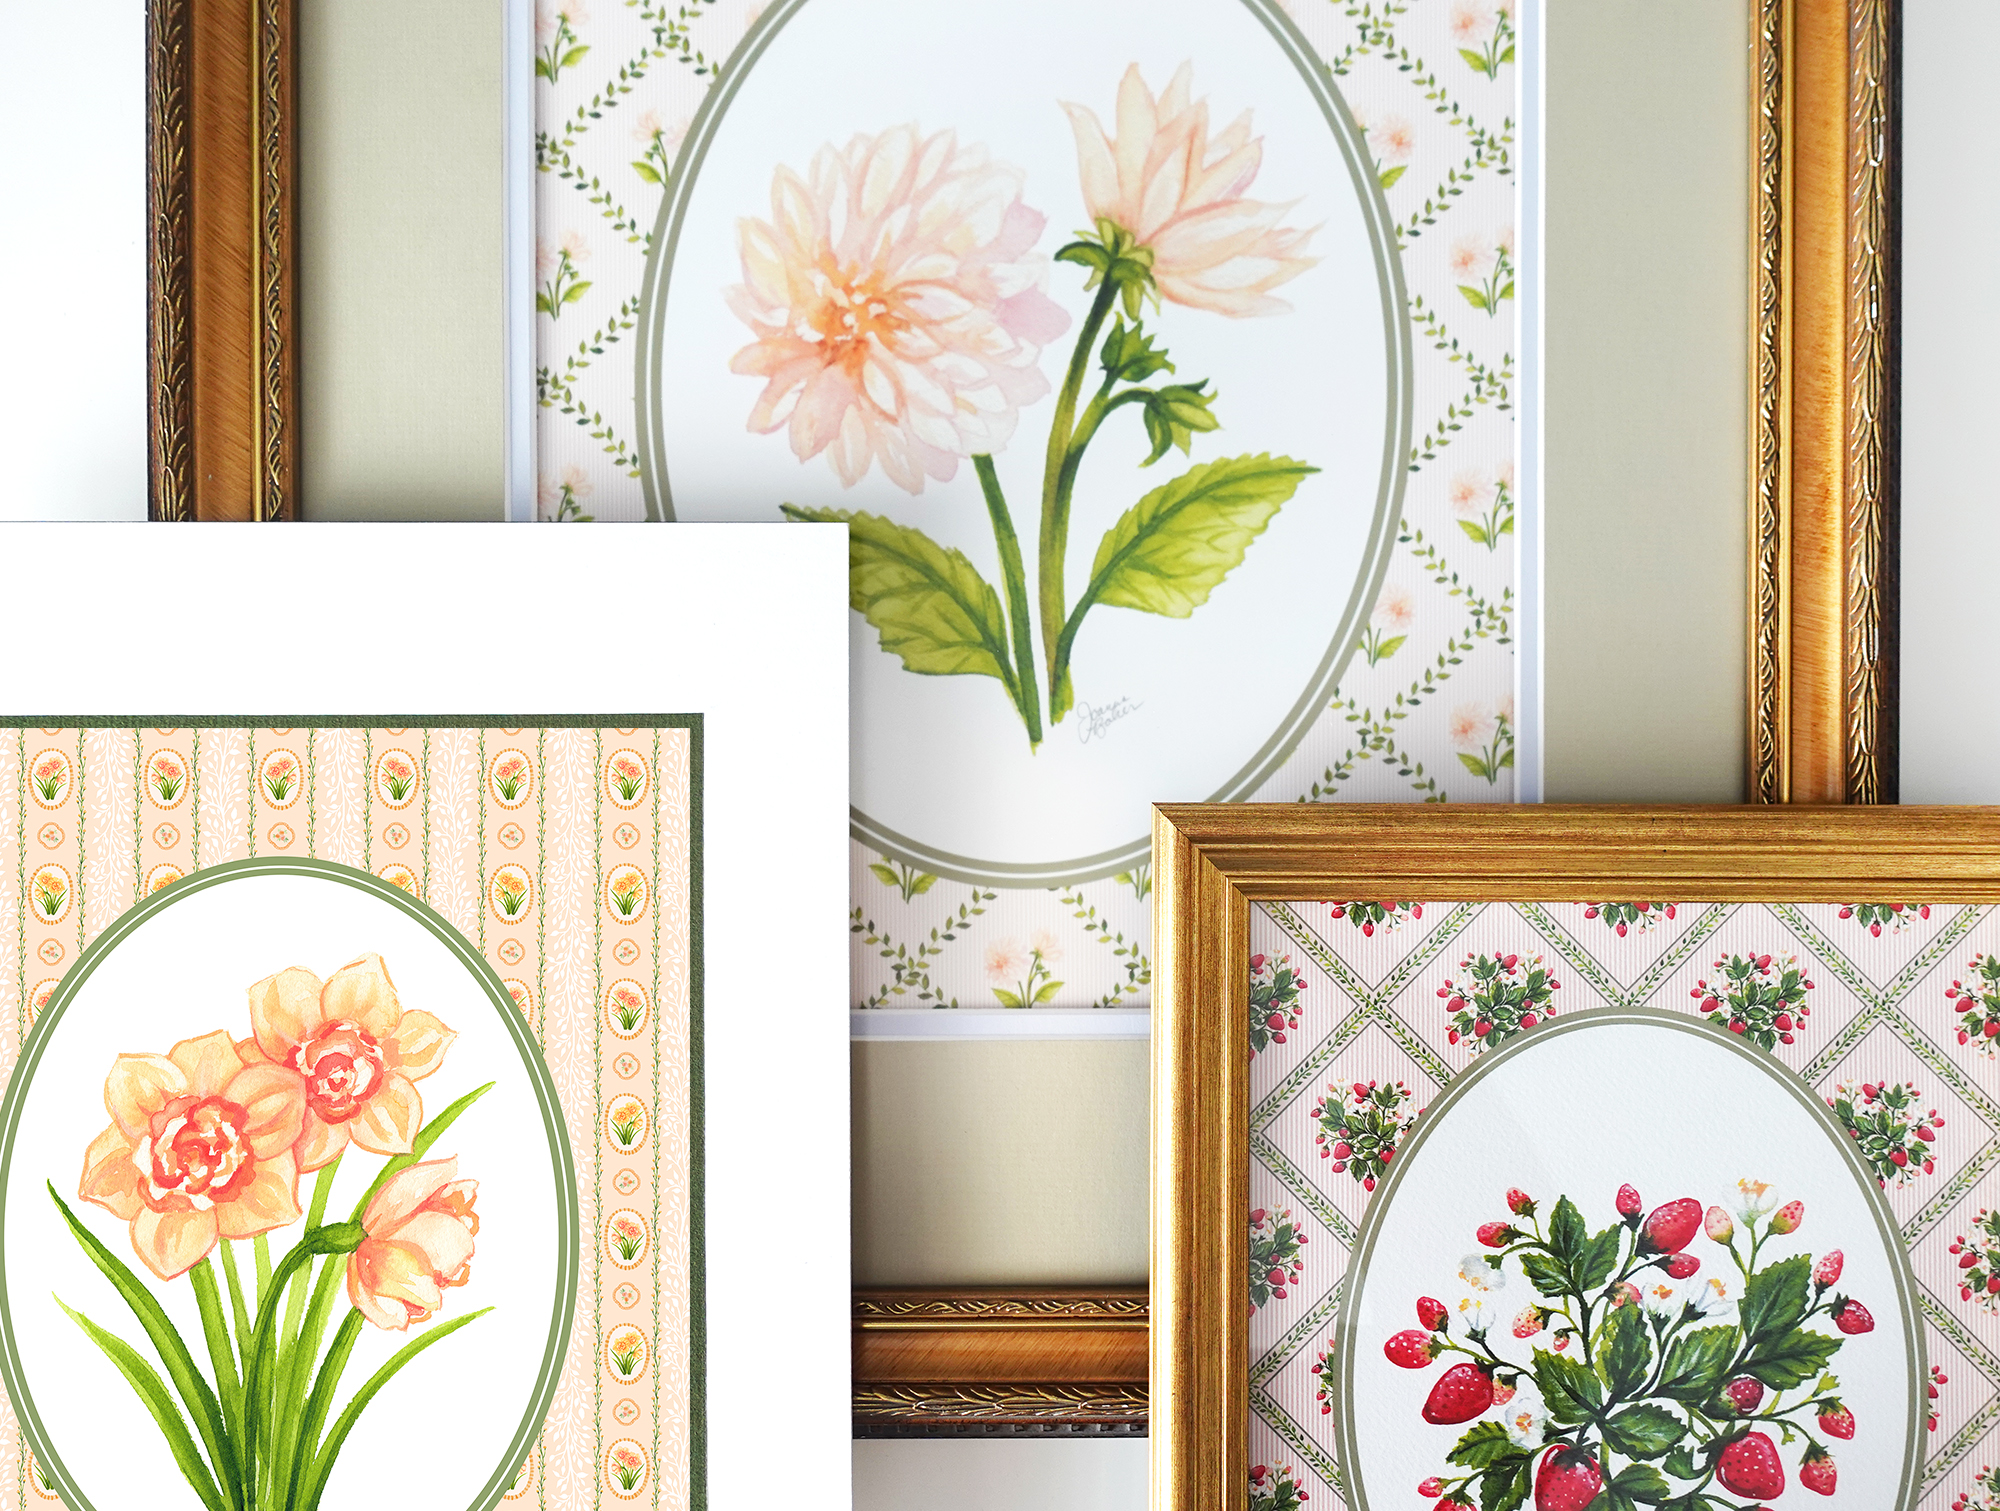
Each of the prints in the Garden Medallion Collection is printed on 100% cotton archival paper and available in sizes 5×7, 8×10, and 11×14. If you frame them straight to the edge (no mat) you’ll want to find a frame with the same size opening as your print. For example, the Strawberry Trellis print above is framed to the edge, so I just placed an 8×10 sized print inside an 8×10 frame and voila, it’s as simple as that! If you’d like to give your print a little extra pizazz though, I recommend adding a mat. Most standard mats will fit a frame that is one size larger than the print itself. The standard U.S. sizes are:
16″ x 20″ frame matted to 11″ x 14“
11″ x 14″ frame matted to 8″ x 10“
8″ x 10″ frame matted to 5″ x 7“
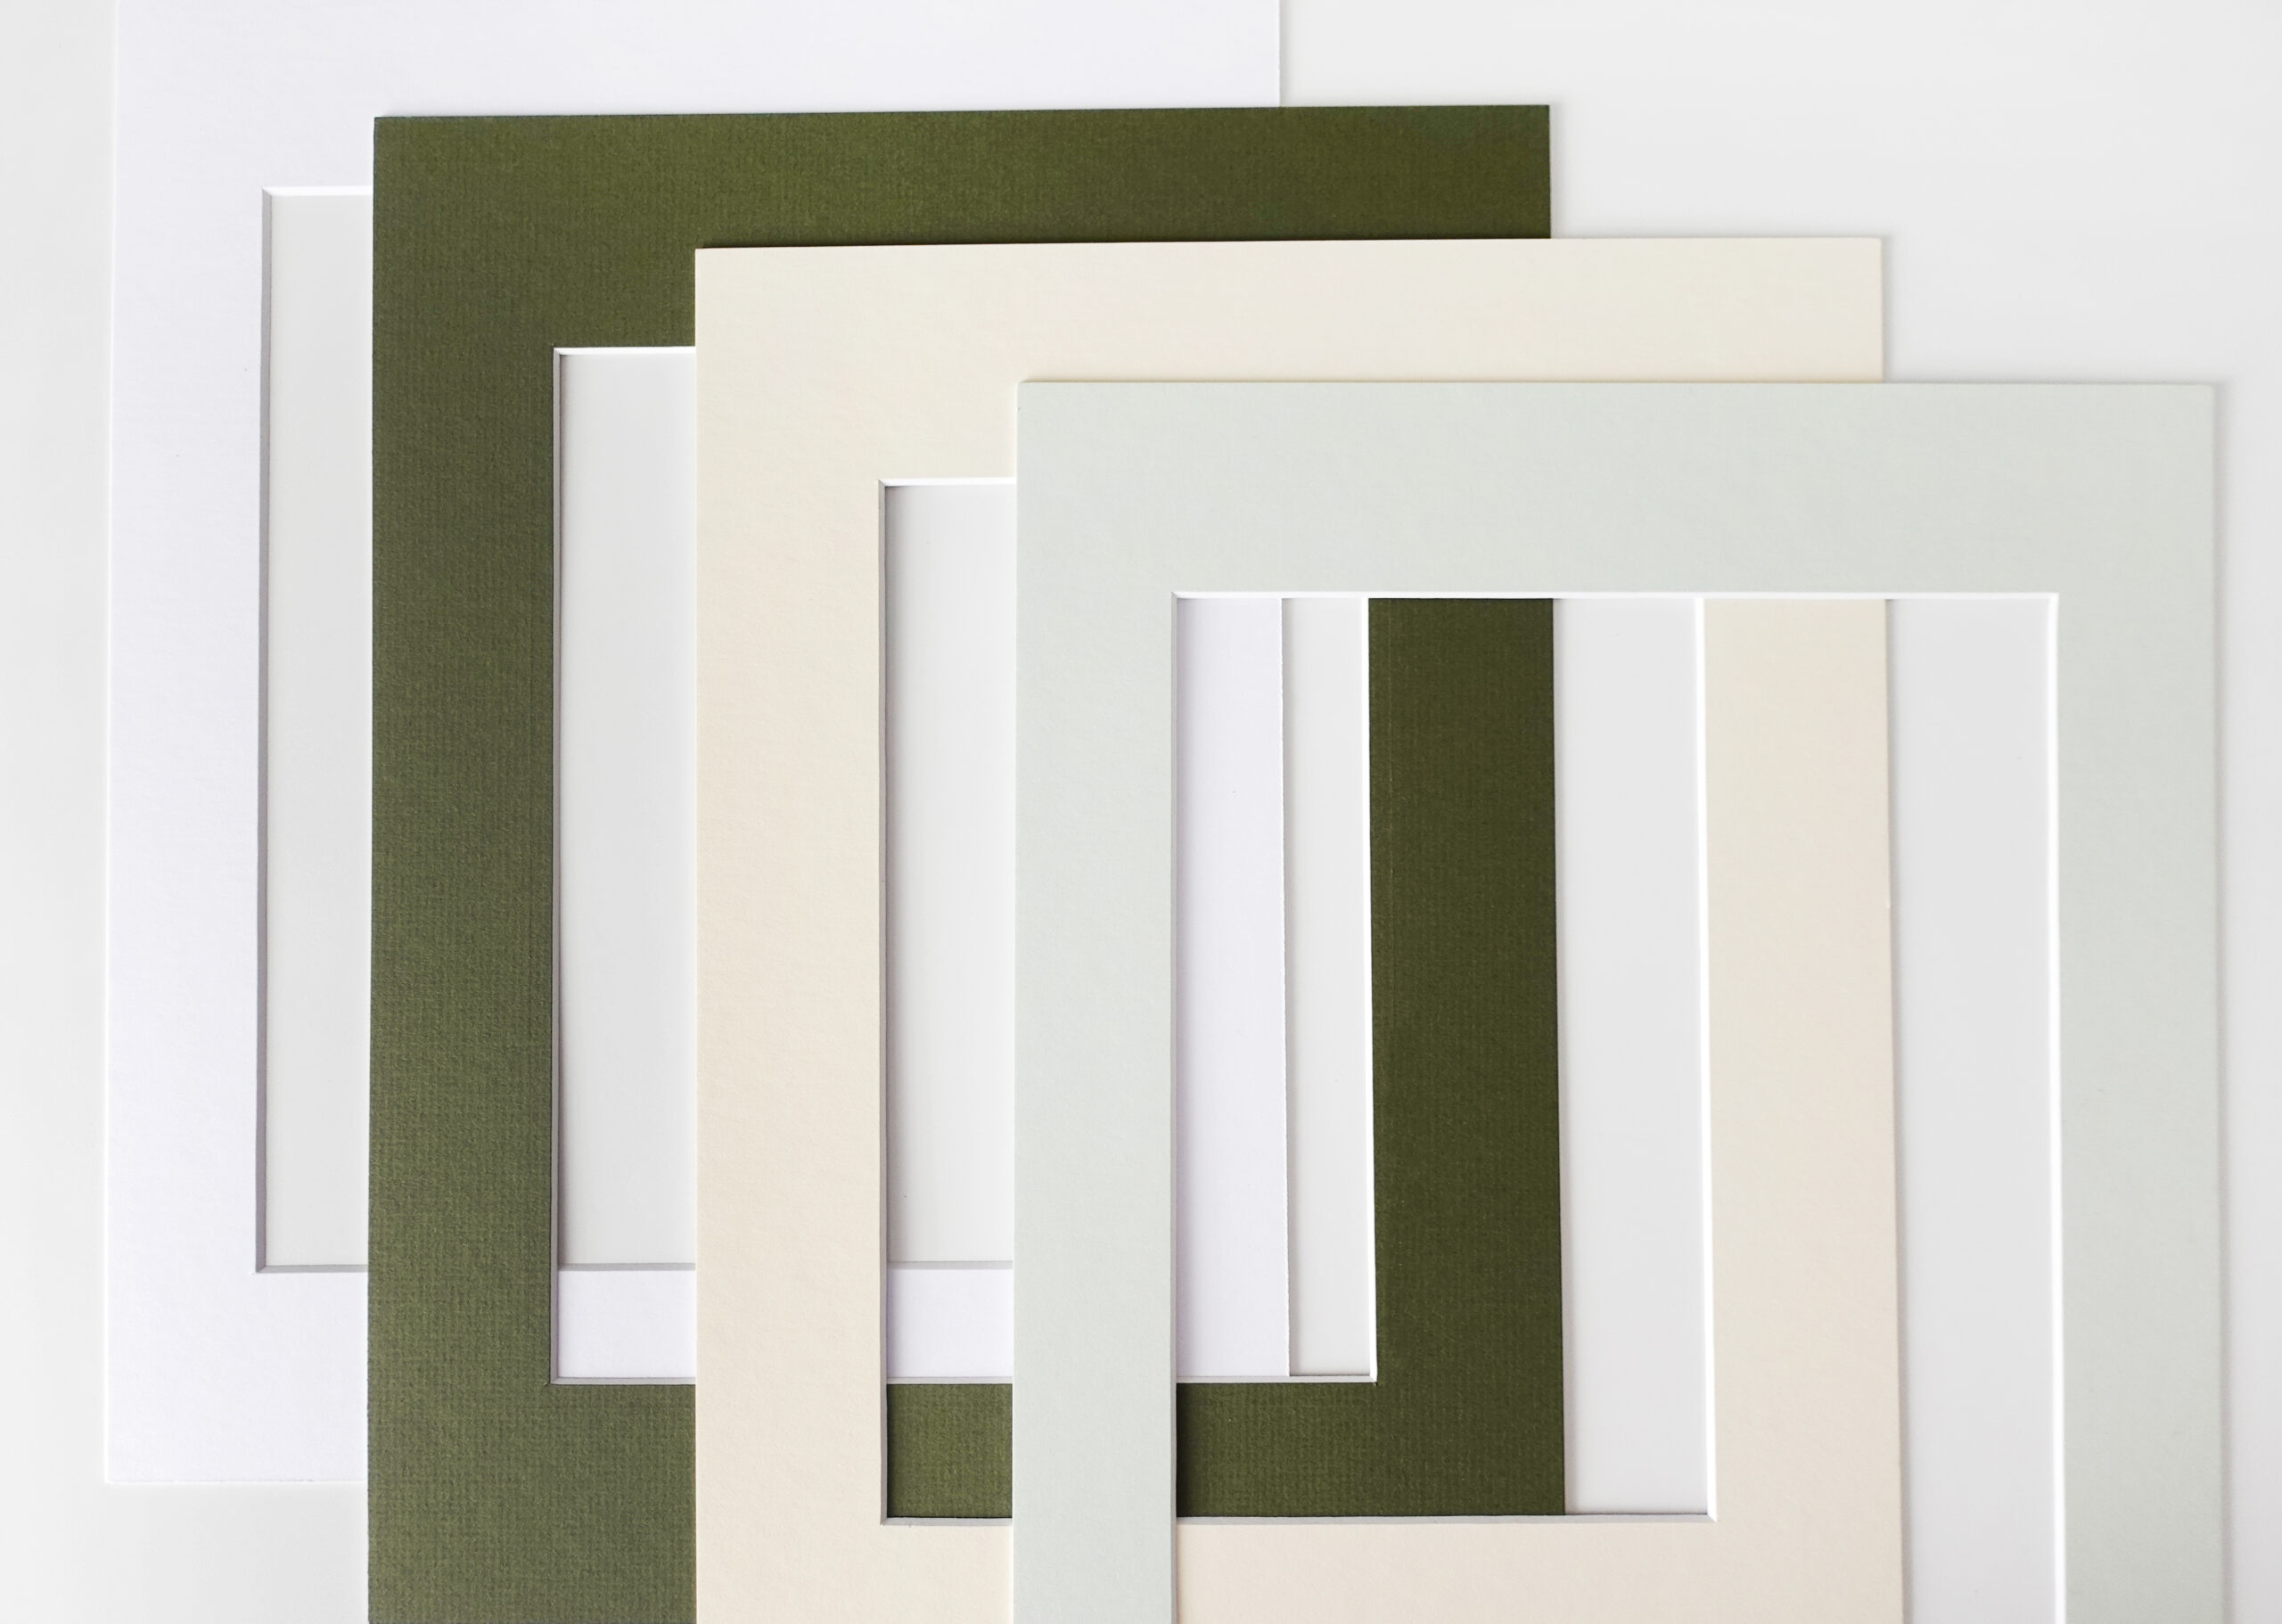
One of my best tips for making your art prints feel extra fancy is to go with a two-toned double mat. There are a variety of different pre-set color options and sizes available in the market. But for a super custom look, you can get creative and choose your own color combination! For the Garden Medallion prints, I’ve found that greens, pinks, and neutrals look really beautiful together and complement the colors in the collection. I’ve linked some sources for pre-set and custom double mats below.
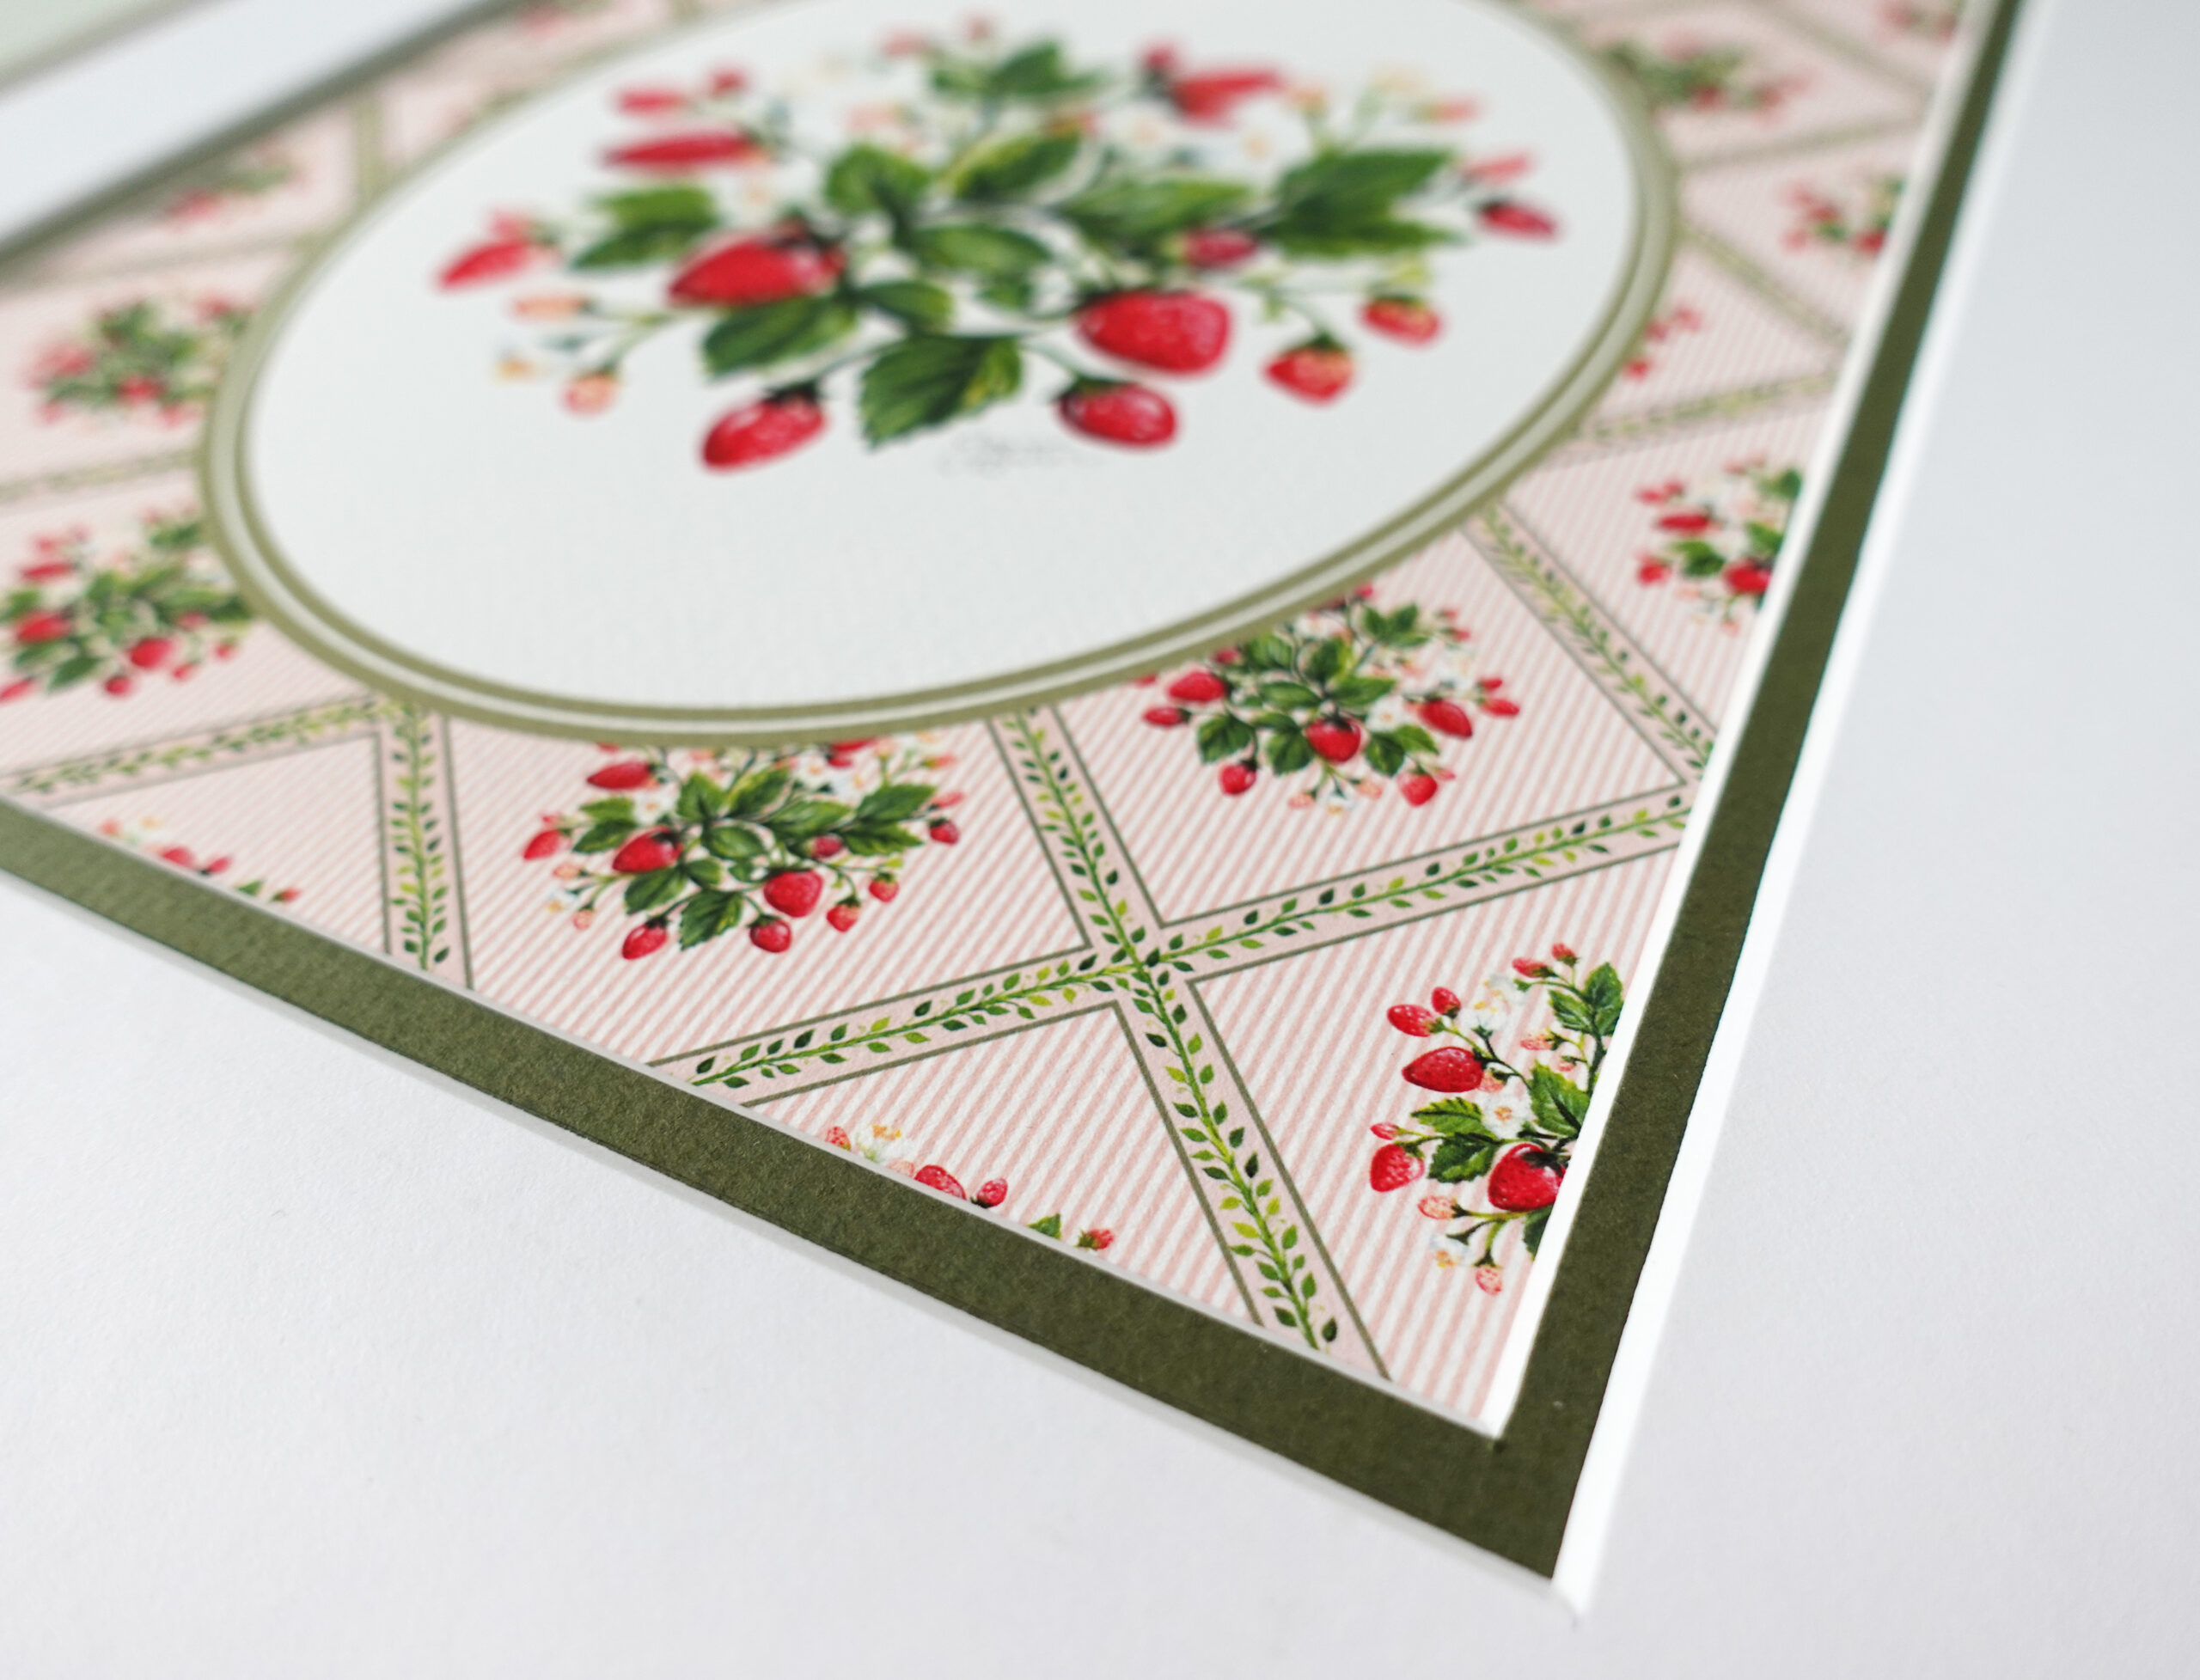
Mat Sources:
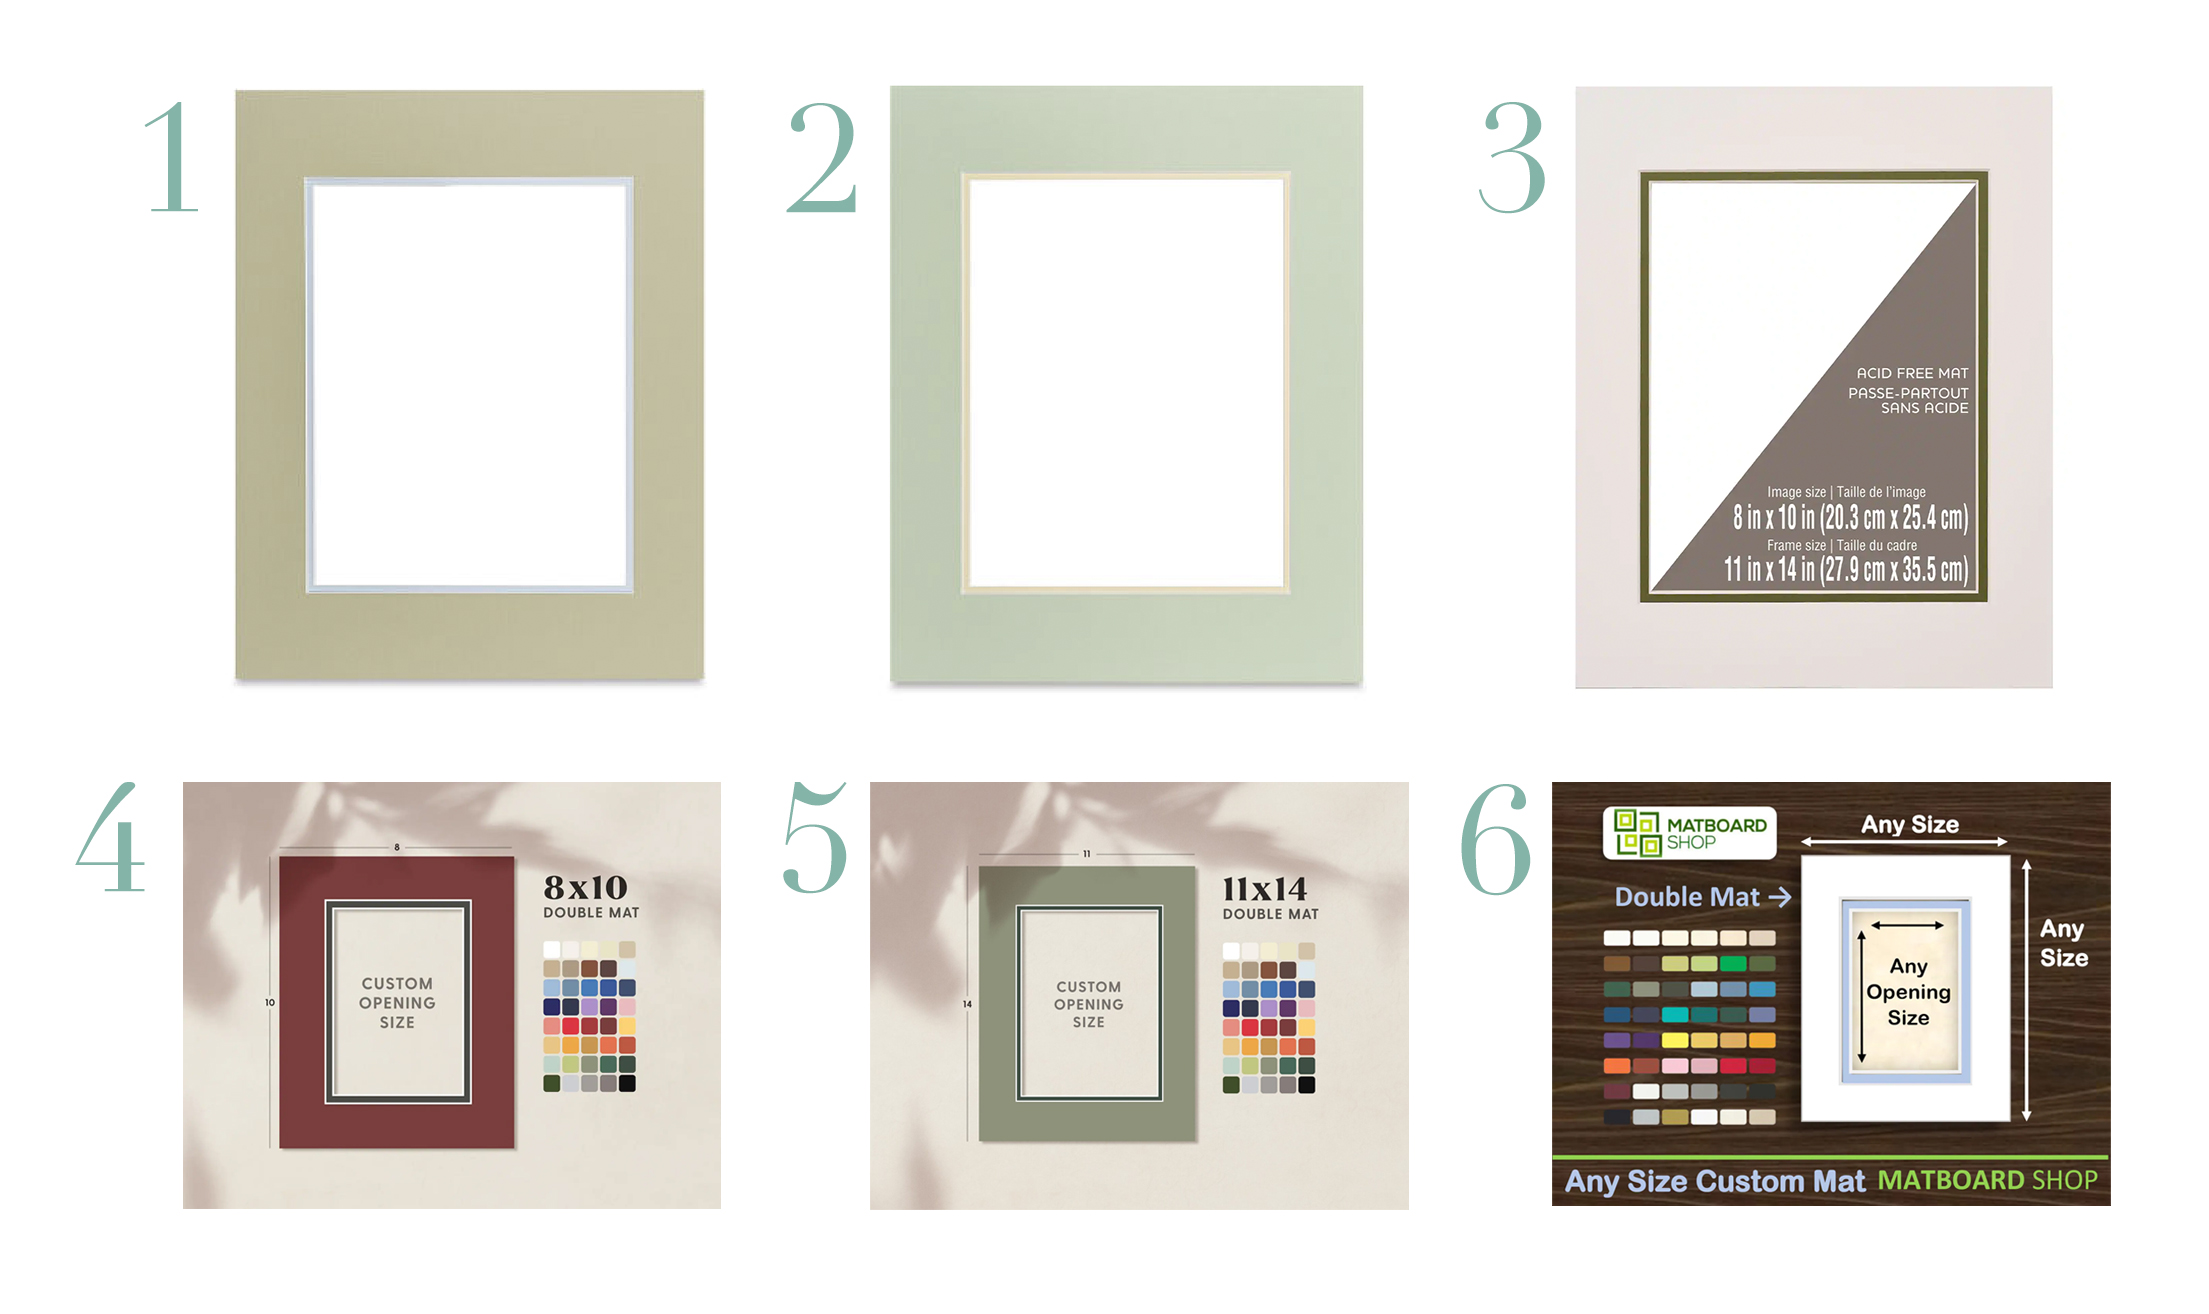
- Sauterne/Sheer Blue Double Mat – Available for 5×7, 8×10, and 11×14 Sized Prints (this colorway looks beautiful with the Dahlia Vines art print)
- Soft Green / Cream Double Mat – Available for 5×7, 8×10, and 11×14 Prints (this colorway works great with the Daffodil Vines and Cosmos Ruffles art prints)
- White / Dill Double Mat – Available for 8×10 Prints (this option works well with the Strawberry Trellis art print)
- 8×10 Double Mat Available in Multiple Colors (Single Mat Option Found Here)
- 11×14 Mat Available in Multiple Colors (Single Mat Option Found Here)
- Double Mat in Variety of Sizes and Colors (the Desert Rose and Sage colors would work beautifully with the Ruffled Roses art print)
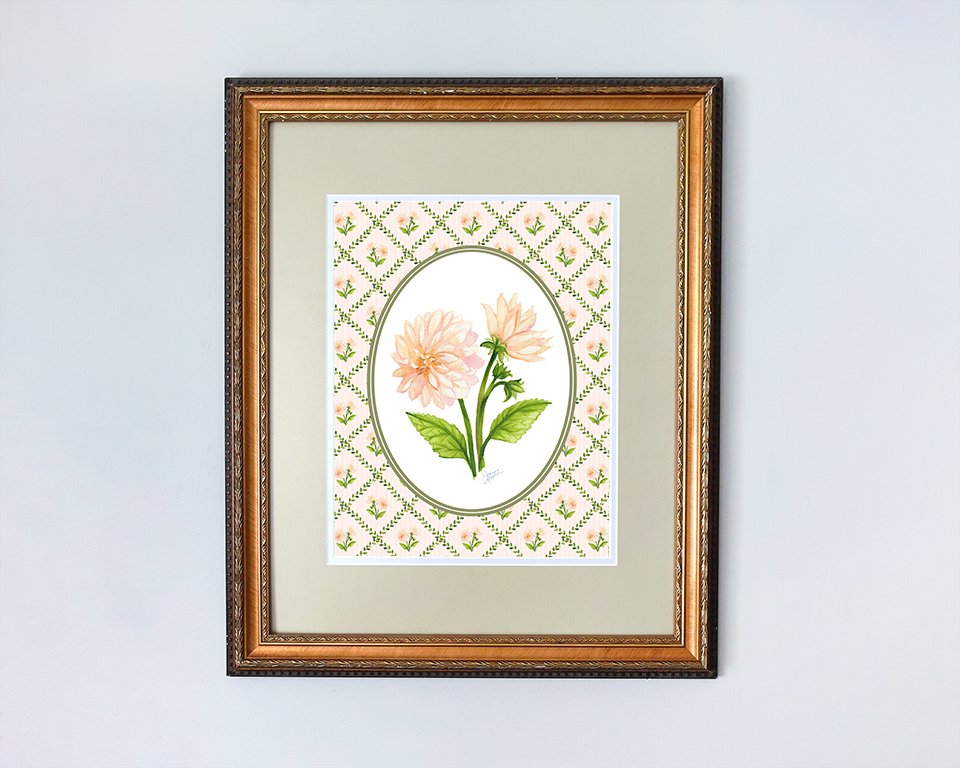
Let’s talk about frames! Because these patterns are reminiscent of vintage wallpaper, I think a beautiful antique gold frame is the perfect complement to the Garden Medallion Collection. While the frame that I have in my studio below is unfortunately no longer available, I’ve rounded up a bunch of similar and affordable frame options I think would look great with the prints. Some of them are available in multiple finishes and sizes. And remember, if you decide to mat your art print, be sure to choose the frame size that corresponds with the outer edge of the mat, not the dimensions of your artwork.
Frame Sources:
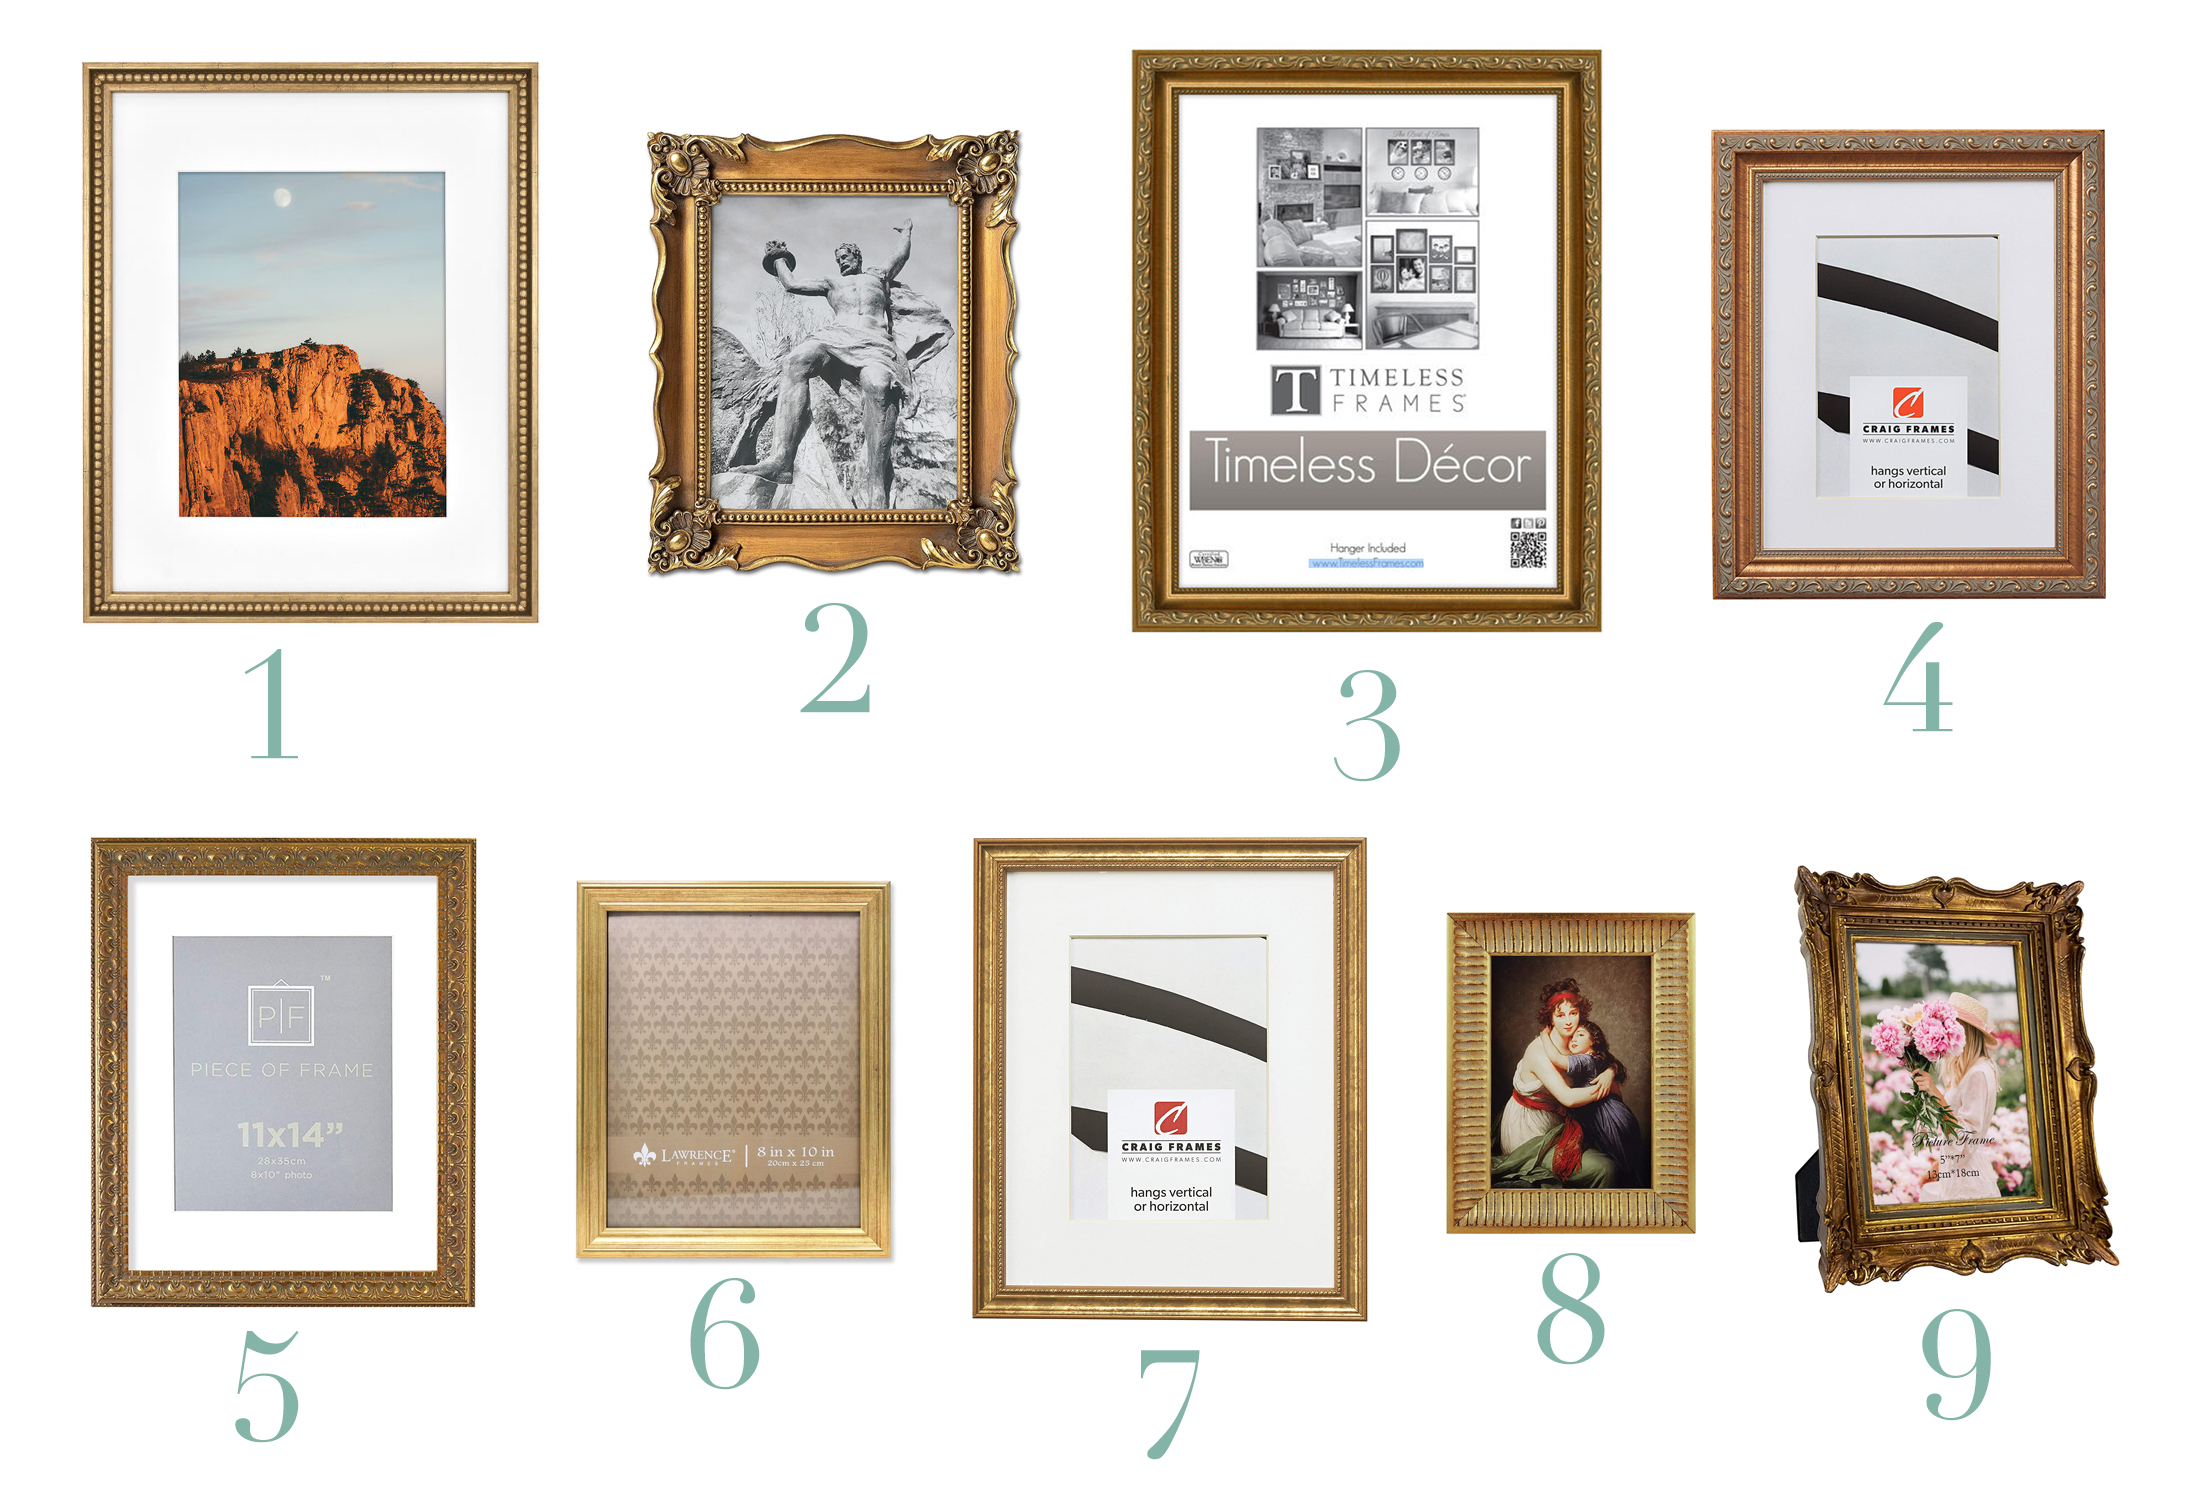
- Gold Bead Frame – 16×20 Matted to 11×14
- Ornate Gold Frame – 8×10
- Gold Scroll Frame – 16×20
- Antique Gold Scroll Frame – 16×20 Matted to 11×14
- Ornate Bronze Frame – 11×14 Matted to 8×10
- Simple Gold 8×10 Frame
- Gold Beaded Detail Frame – 16×20 Matted to 11×14
- Vintage Gold Frame – 5×7
- Ornate Gold Tabletop Frame – 5×7
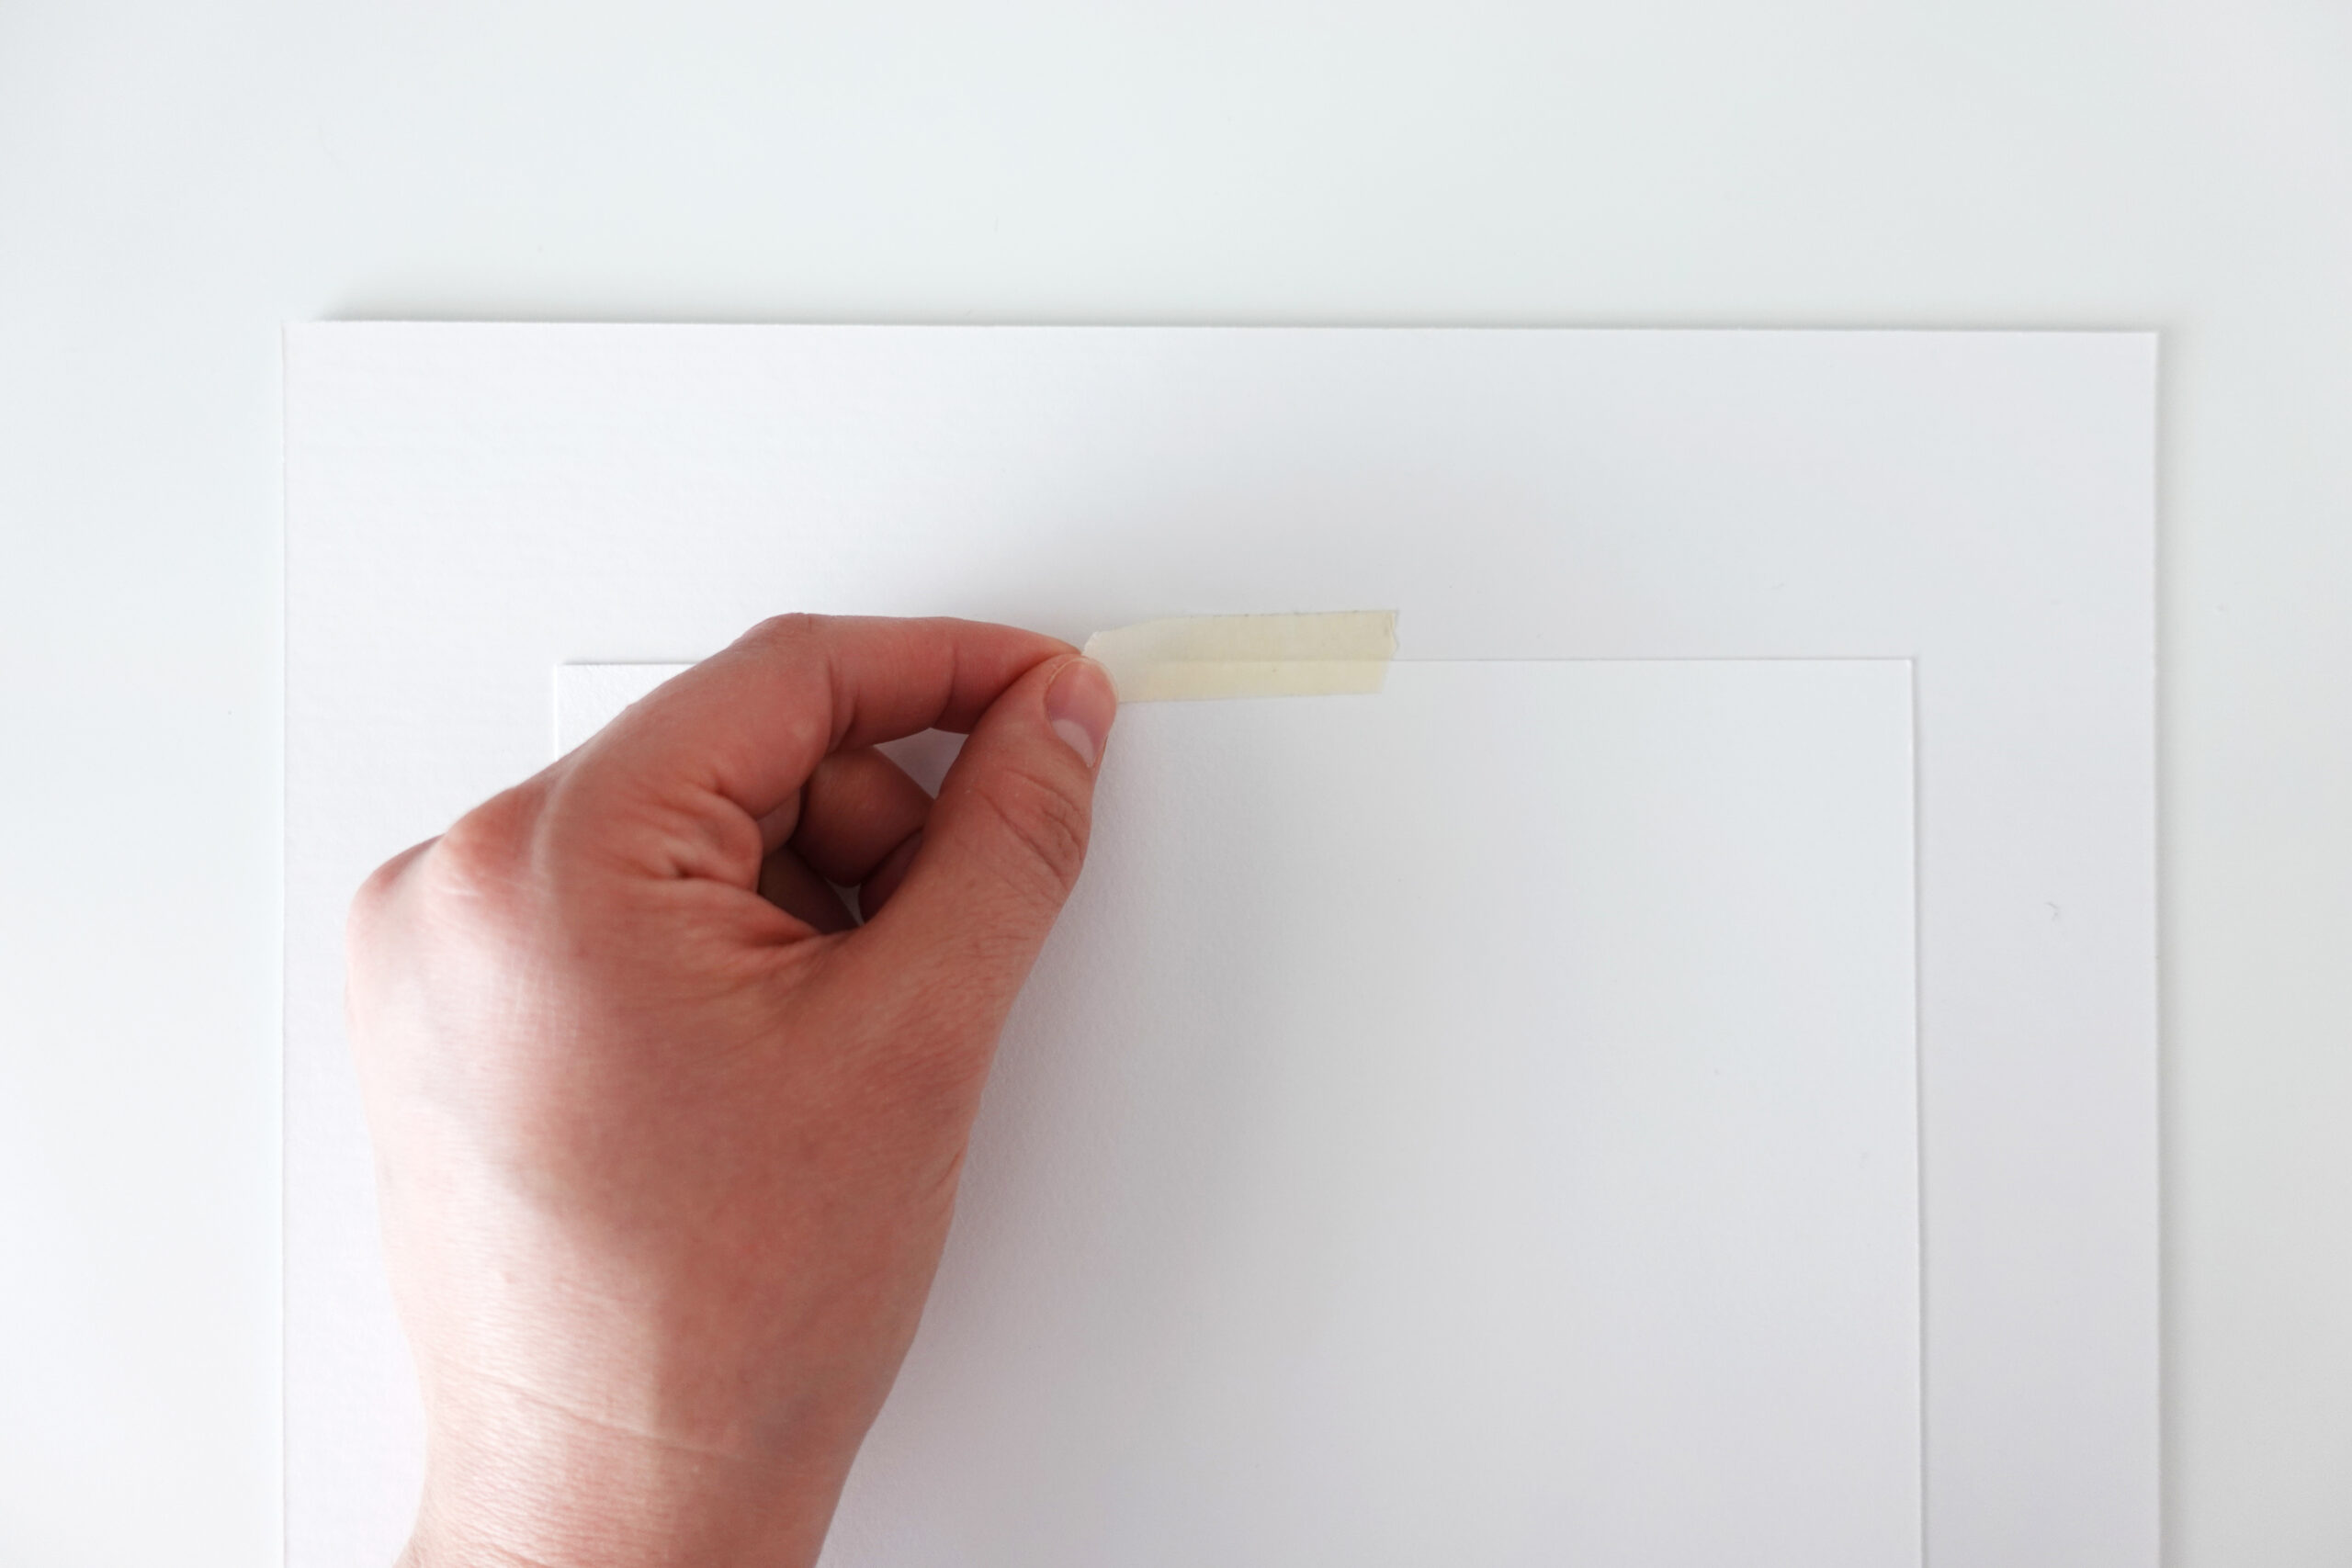
To attach your art print to a mat, use a piece of acid free or archival tape like this option or this option. It’s important to use acid free or PH neutral tape because otherwise the tape will degrade over time and can stain the art print paper. I usually place about a 2″ section of tape, centered horizontally at the top. But you can also place two pieces vertically a few inches apart to create a hinge. The key is to use the least amount of tape necessary to secure the art.
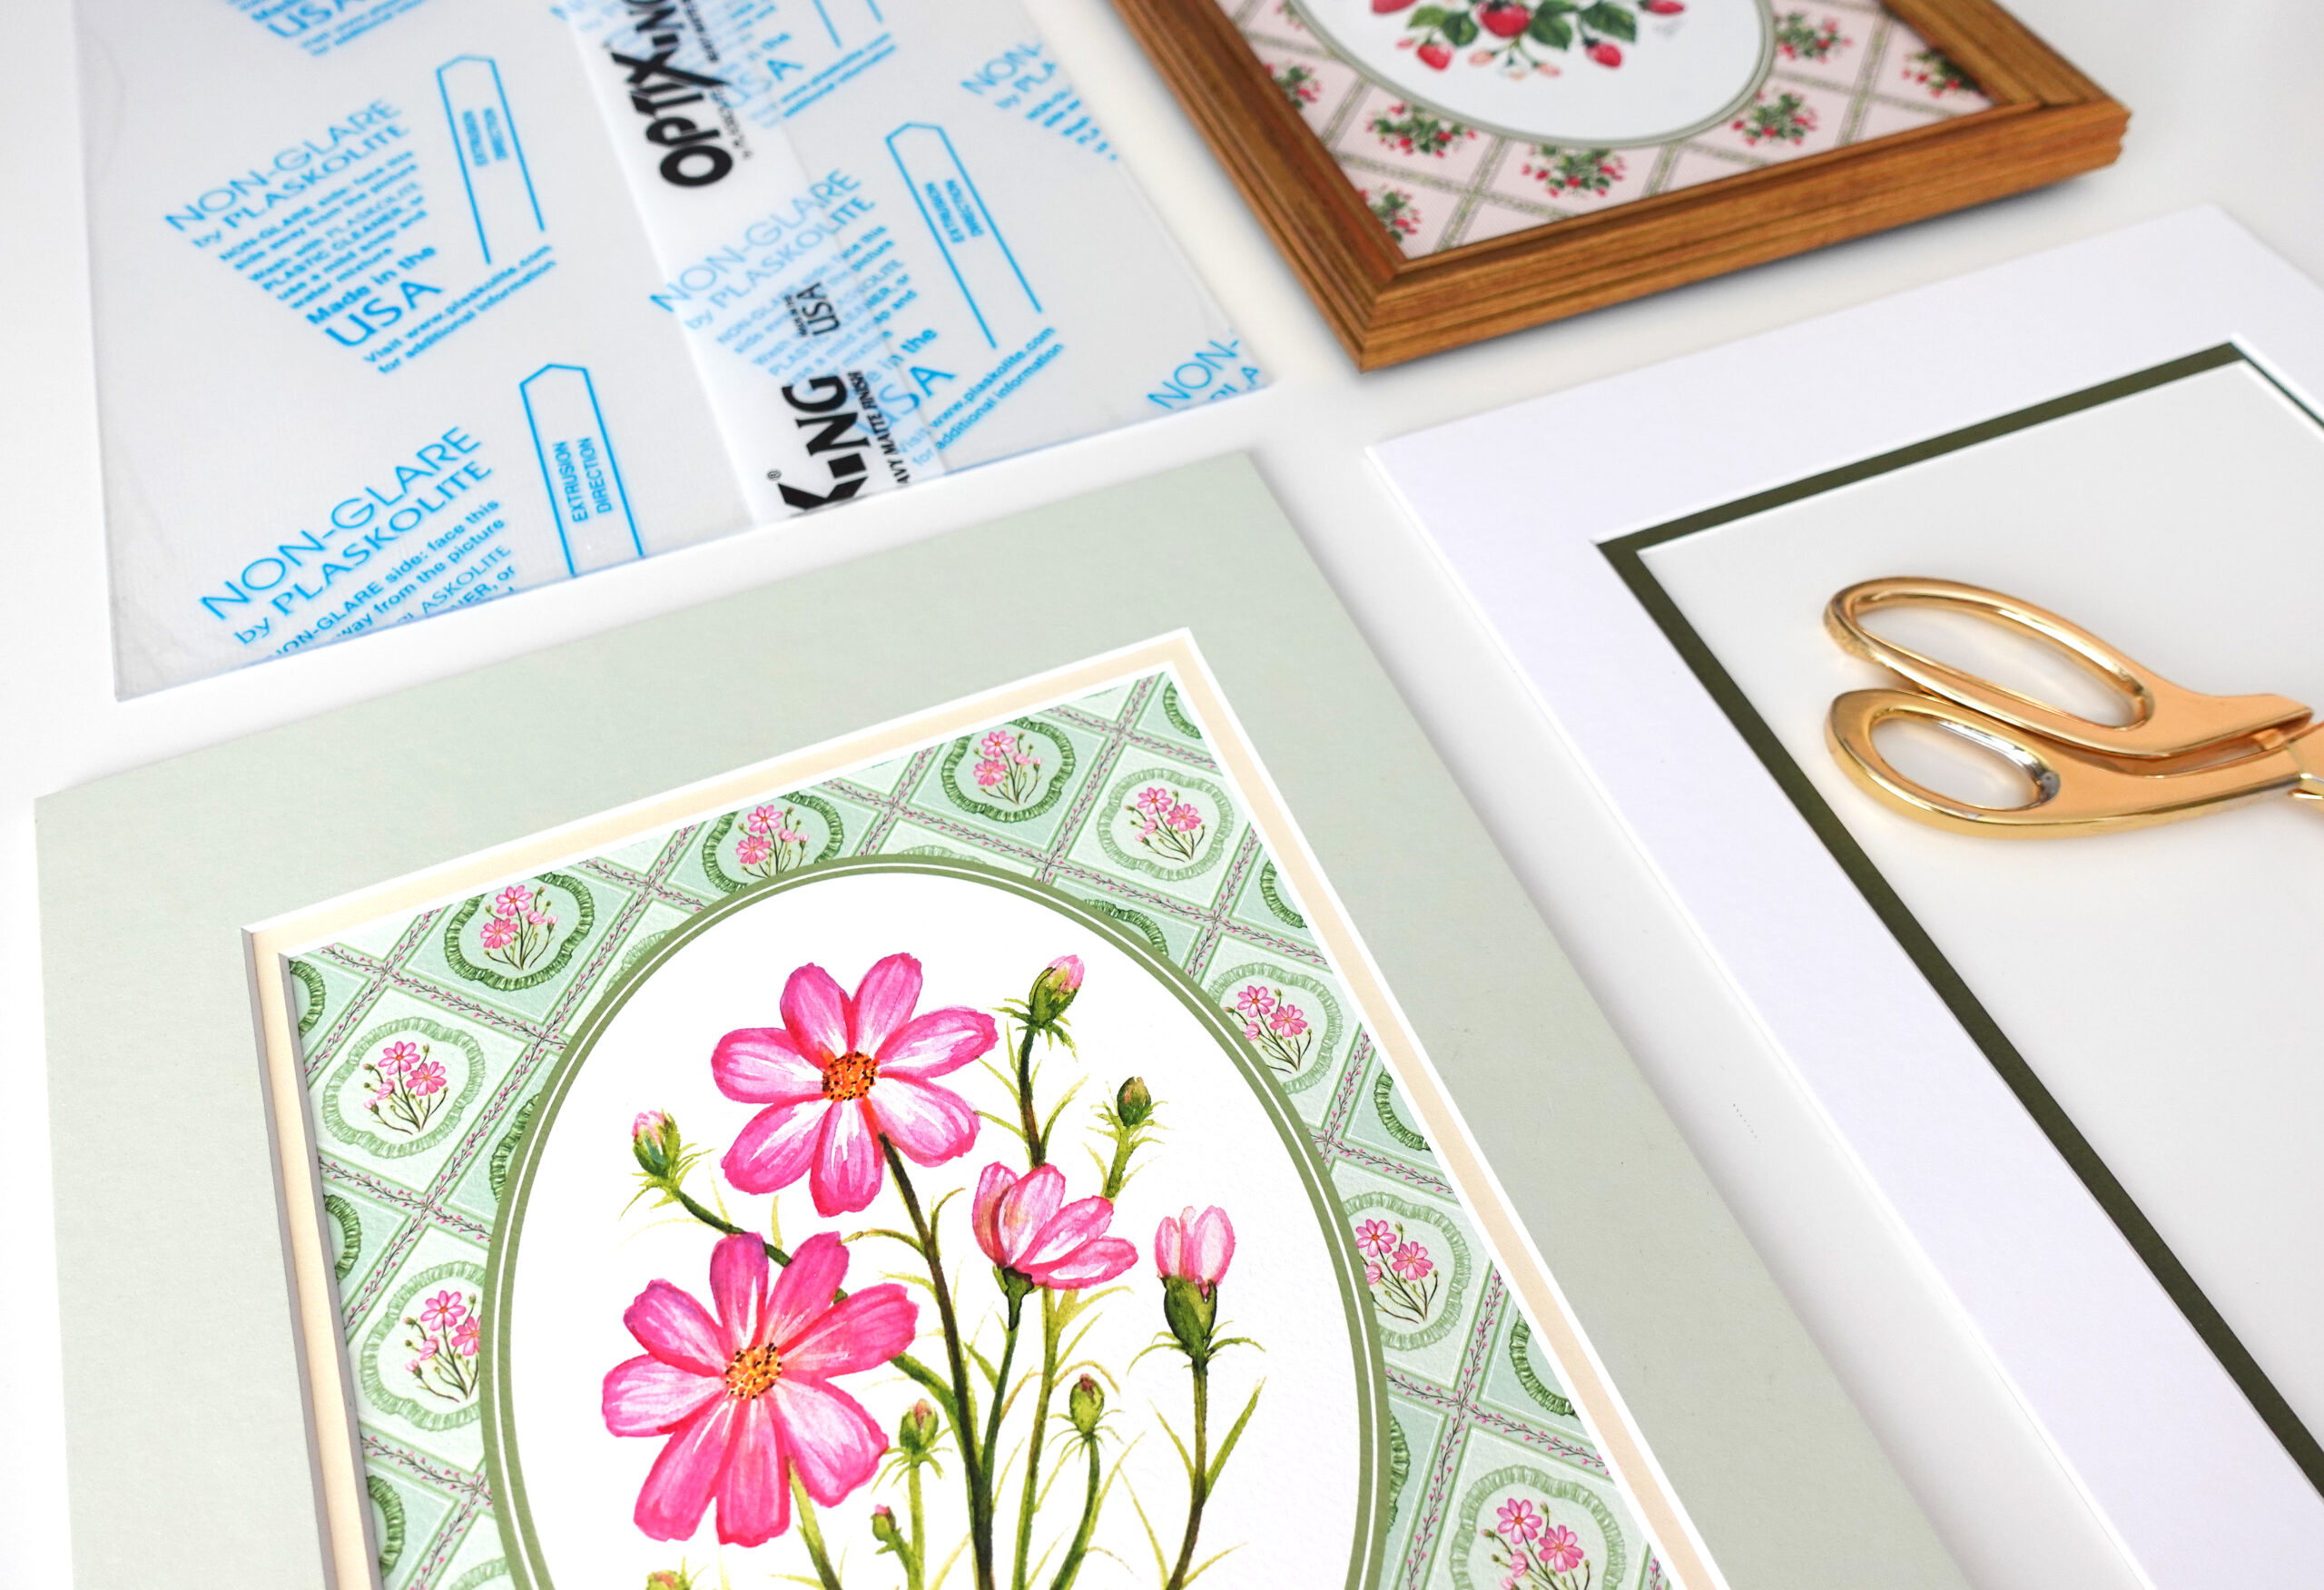
To protect the longevity of your print while reducing glare, you can also swap out the glass or plastic comes with your frame and replace it with a non-glare plexiglass. I ordered this kind from Blick to frame my Dahlia Vines print currently hanging in the studio. It definitely resists the glare, but I do notice that it blurs the image when you look at it from severe side angles so just keep that in mind. Other plexiglass options like this also offer an anti-UV film for added protection in sunny spaces.
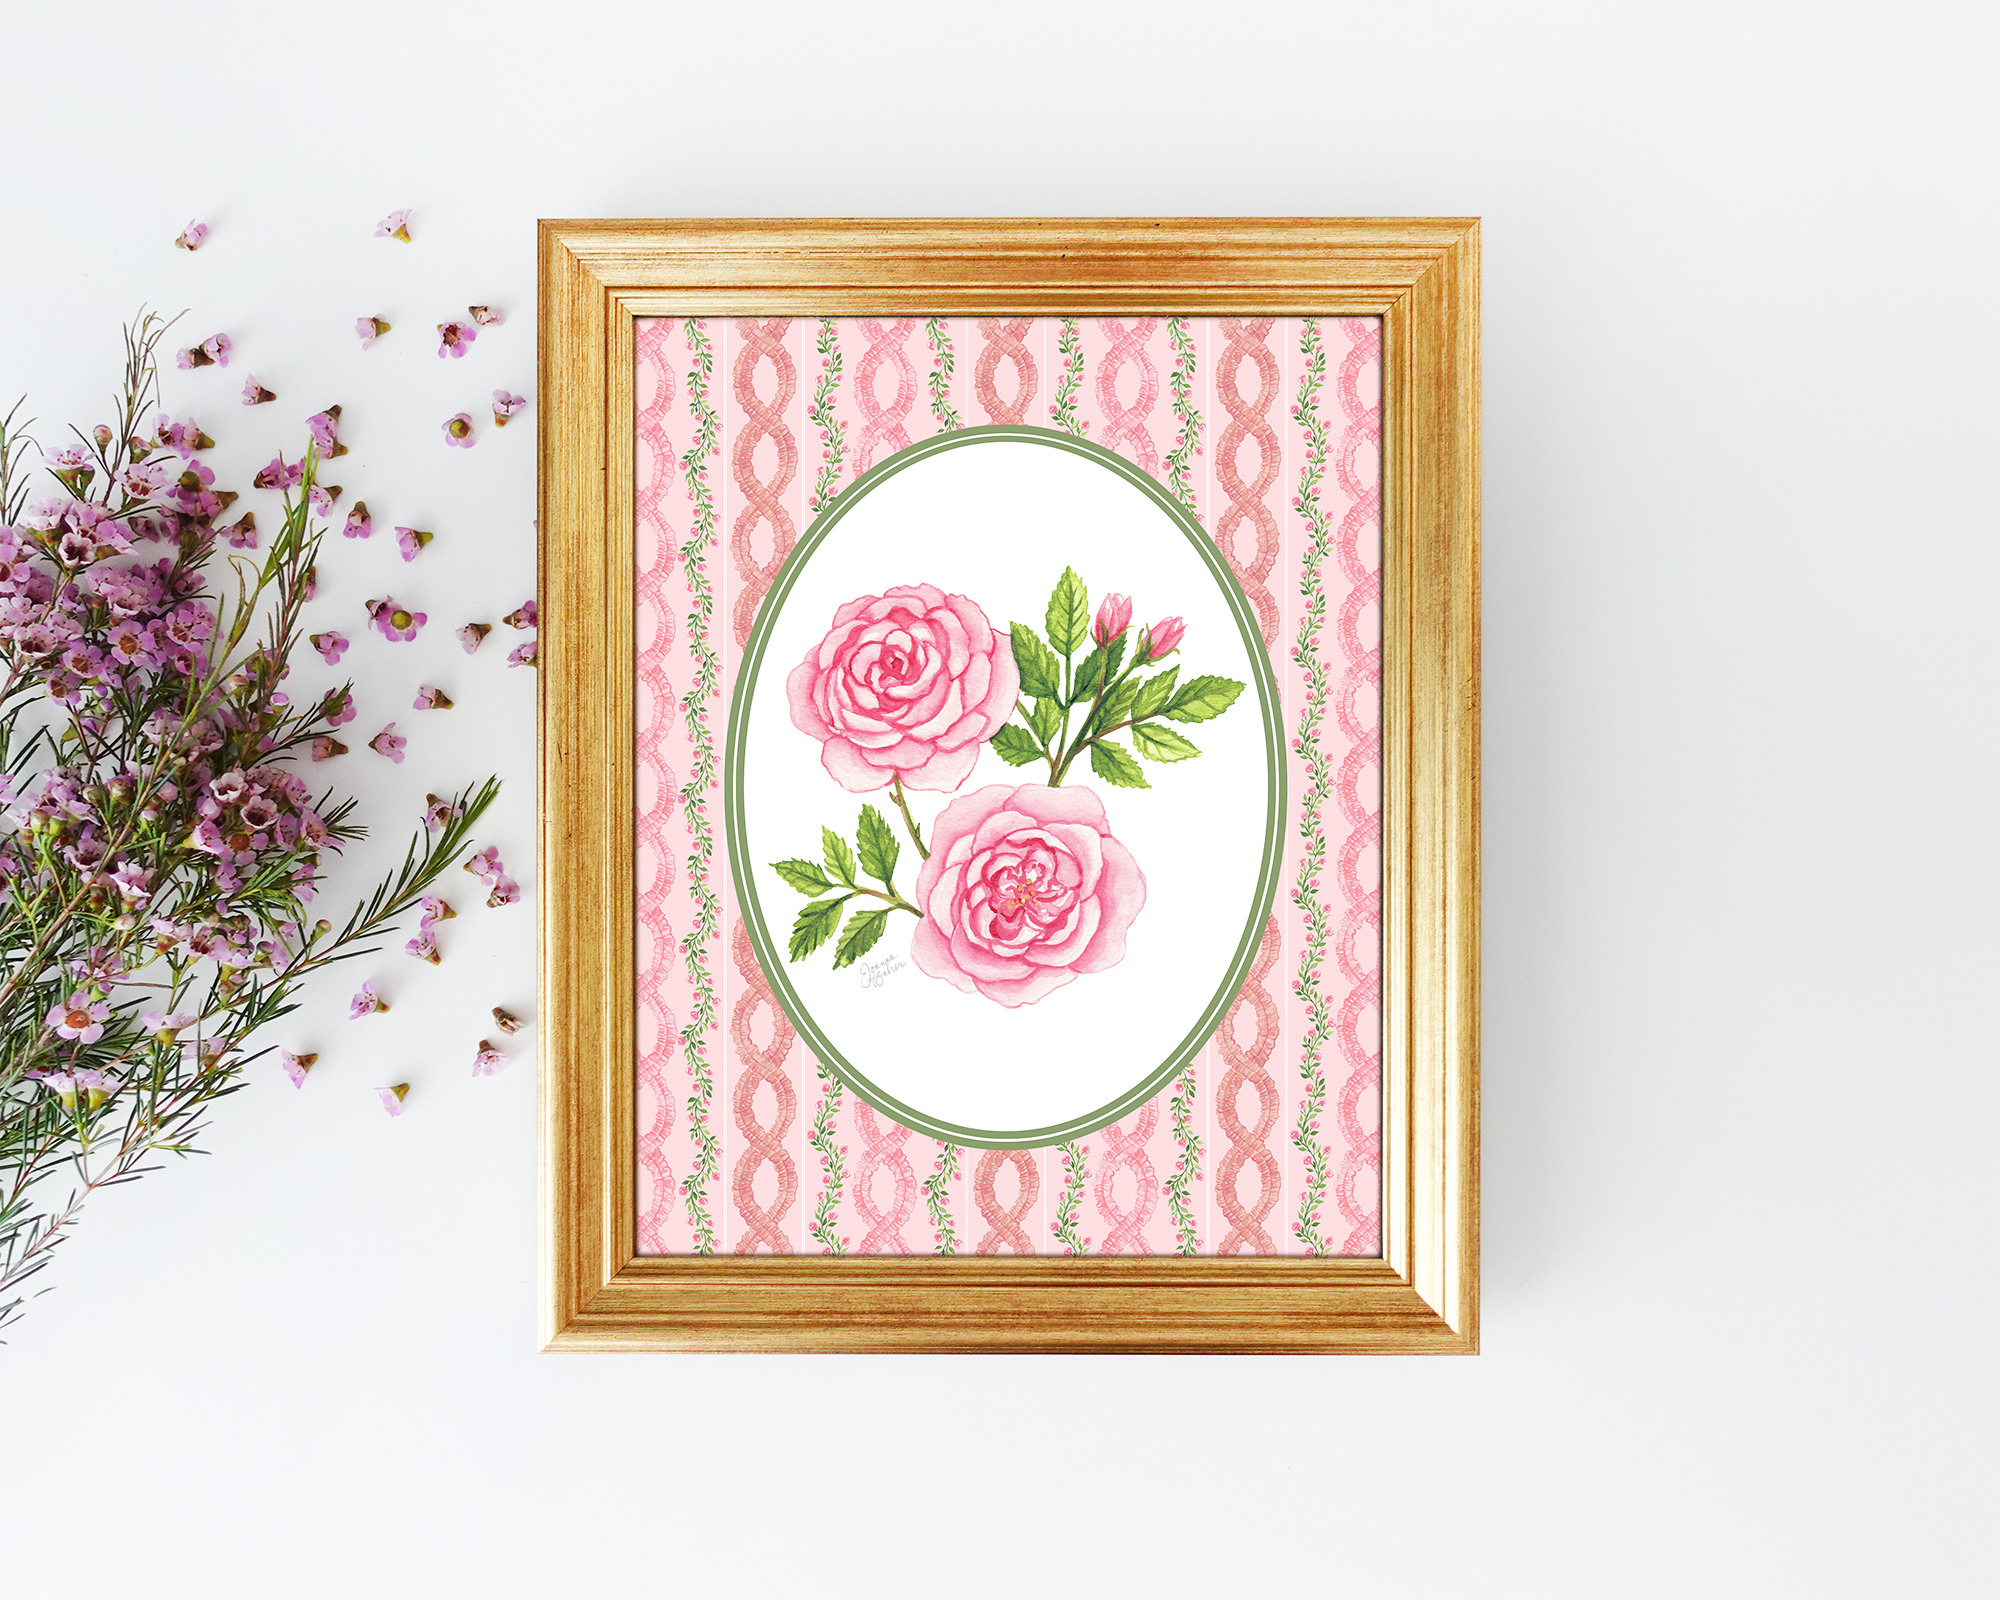
Ruffled Roses print framed to the edge with option #6
I hope this post gets you excited to display your favorite prints from the Garden Medallion collection in your space! This group of watercolor paintings and patterns feels like the culmination of so many little shifts in my work over the past few years and I’m thrilled to see where it leads next. Thank you so much for your support of the collection and I can’t wait to share it with you in full on Tuesday, May 16th at 2:00pm ET!
xoxo,
